Posted on Leave a comment

Creative Studio Sanding Back The Sliding Door Wall|Creative Studio Part 2 | DIY Renovations

Curious as to what the room looked like before the window was replaced? Check out Part 1 of the Creative Studio DIY series

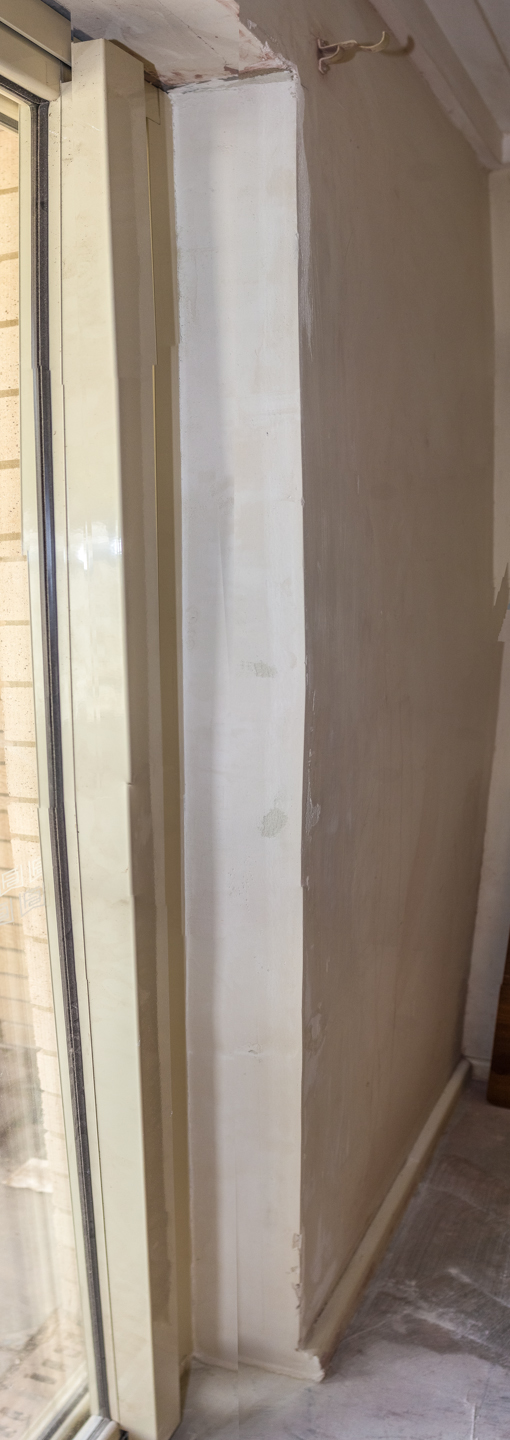
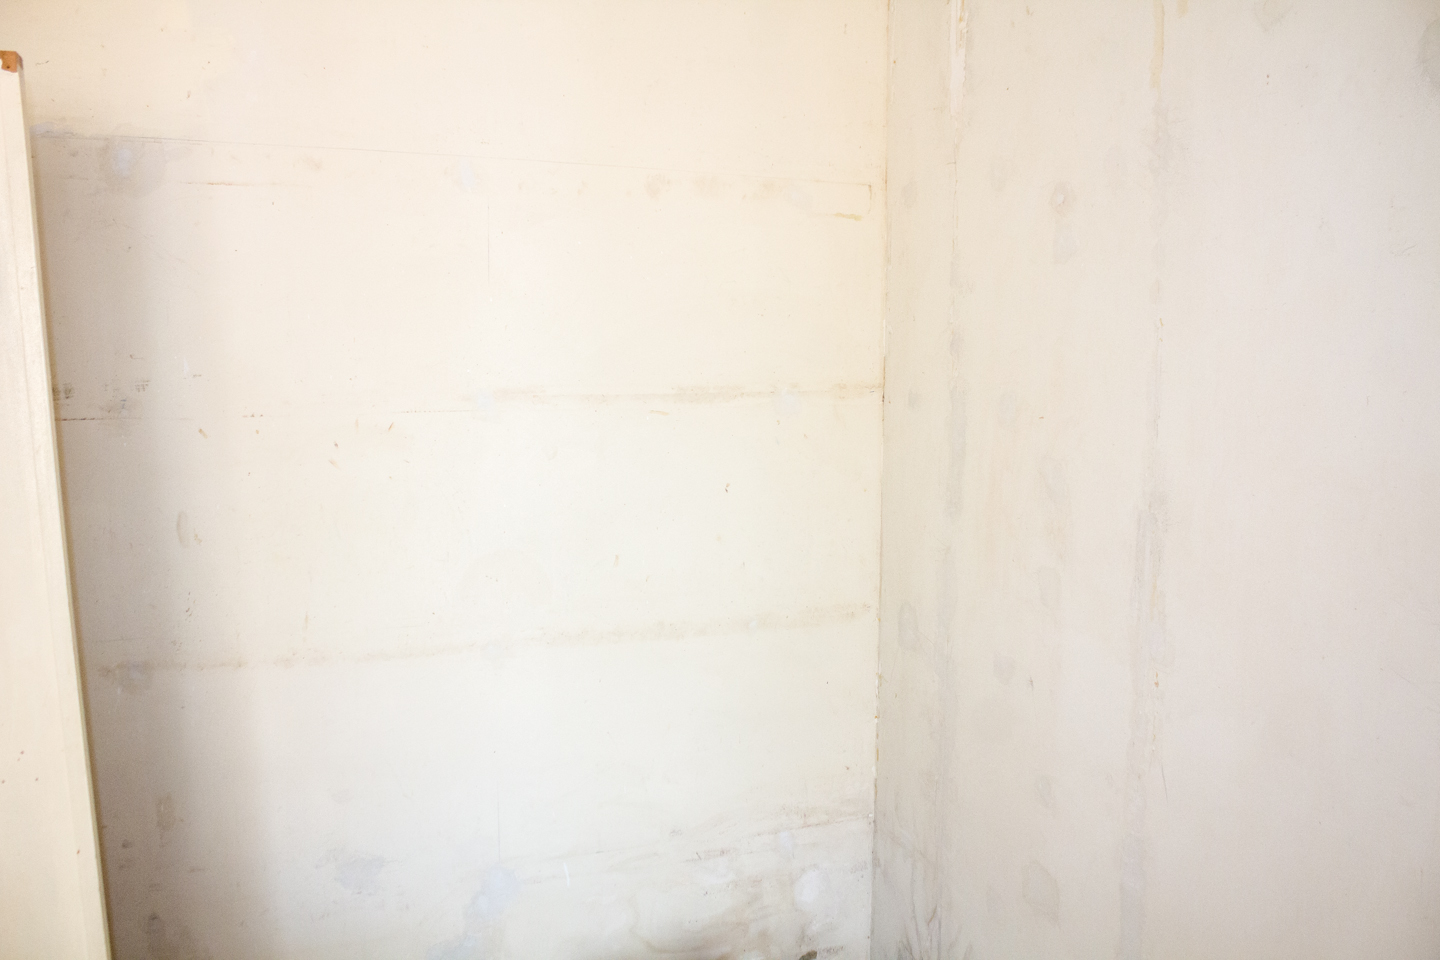
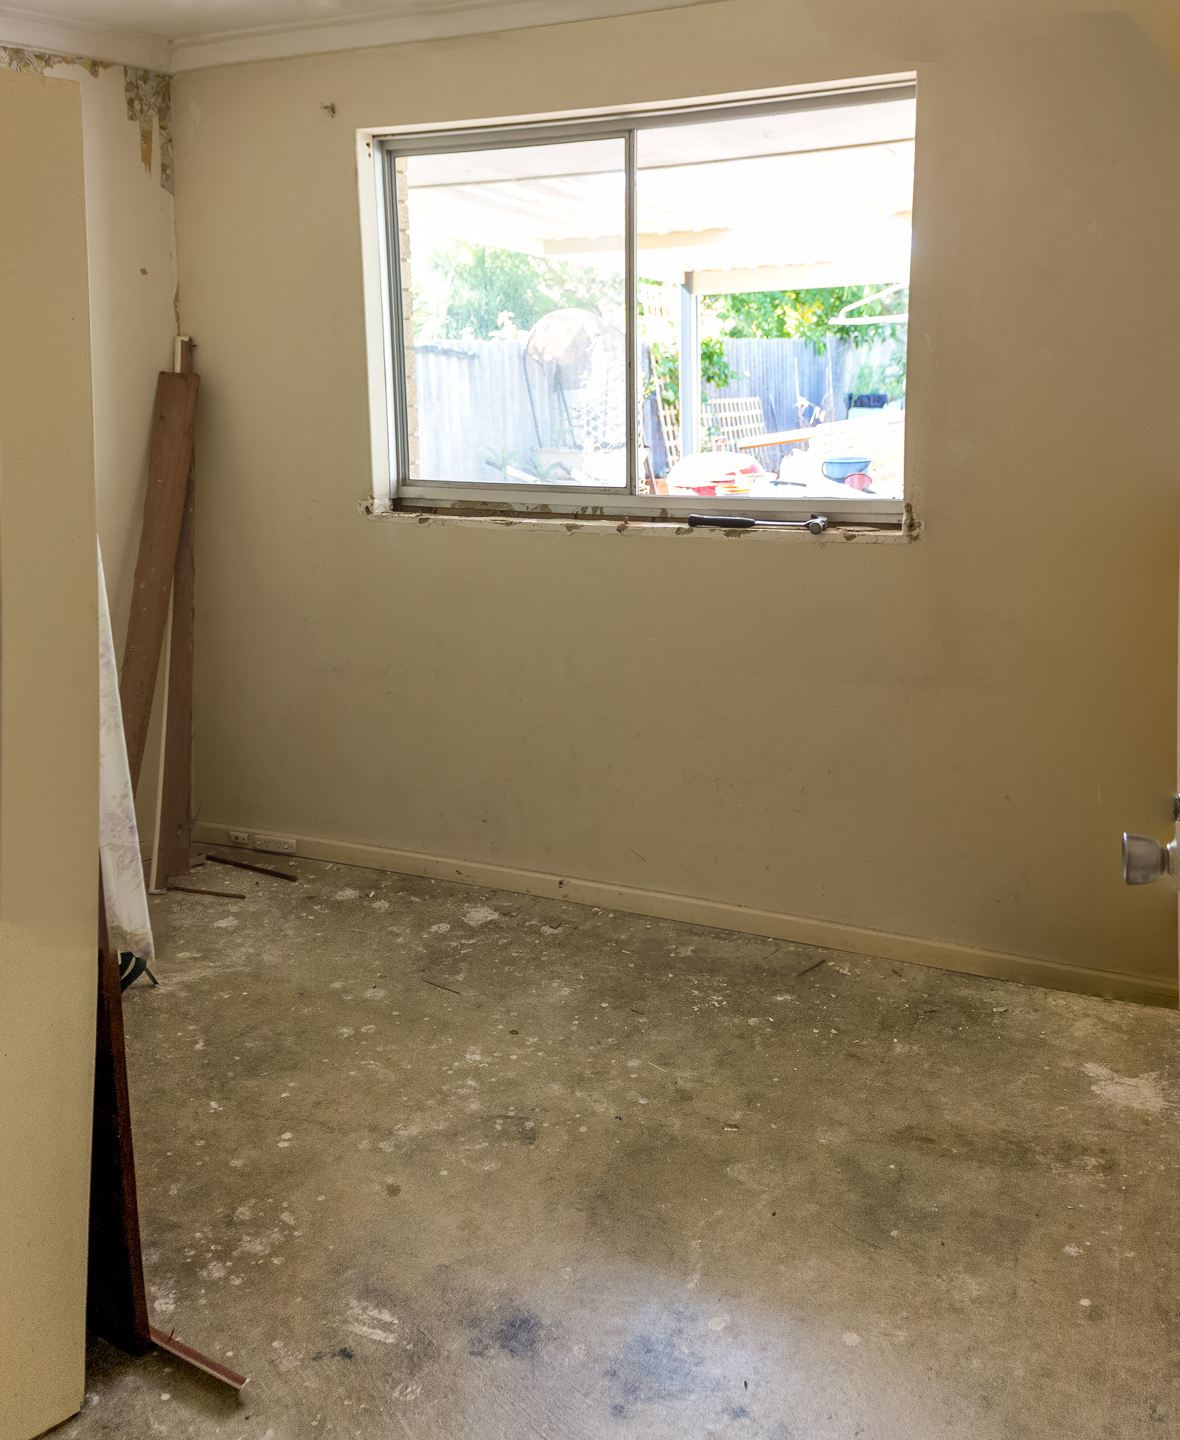
The next thing we had to do was sand it back to remove the rough edges. Aft

We used a 80 grit sand paper wrapped around a small wooden block for this.

After which we use spak fill to fill up parts which had dents and chips.

Let it dry as per the instructions of the spak filler you are using and sand it back again till a smooth finish.

Enjoy,
Grace-yi

The Wall left of the sliding door
The Wall right of the sliding door


Check out what happens next!
Part 2 of the Creative Studio DIY Series
Part 3 of the Creative Studio DIY Series
Posted on Leave a comment

Removing Studs and filling the wall up |Creative Studio Part 3 | DIY Renovations

Curious as to what the room looked likebefore now? Check out

Part 1 of the Creative Studio DIY series
Part 2 of the Creative Studio DIY Series

Just wanted to encourage you to try  DIY at home.. I use to think it was really hard to fill the cracks on the wall or even to use the drill!

There is an art to it, but with practice. You will soon be glad that you did! Reminds me of the saying..

Give a man a fish and you feed him for a day;

Teach a man to fish and you feed him for a lifetime.

Here is what I did today.. It may just look like a white wall.. but the before photo was not very pretty.. it was pretty disgusting.. It had dead bugs.. i think moths.. and roaches and mold and the studs where the shelves were.

Enjoy,
Grace-yi

diy wall renos 05
The final result.. nice and smooth

Continue reading Removing Studs and filling the wall up |Creative Studio Part 3 | DIY Renovations

Posted on Leave a comment

Creative Studio Converting Window Into Sliding Door|Creative Studio Part 1 | DIY Renovations

I documented the day-to-day progress we made while renovating the creative studio.

So join me in our reno adventure as we change this spare room into something I have been dreaming about for years; a place with sufficient storage which also  inspires creativity.


The room cleared out ready for the carpenters to convert window into a door

Enjoy,
Grace-yi

Continue reading Creative Studio Converting Window Into Sliding Door|Creative Studio Part 1 | DIY Renovations

Posted on Leave a comment

How to Prepare Olives For Preserving | Checking | Home Grown | Preserving Adventures

So some of you may be not sure what to do after the olives has been soaking for 7-8 days.

Here is my post from day 1

So I thought I’ll do a post of how to change the brine solution. and what to do if there is mould.

Scroll down or “click to continue” to see more of the process:)

Enjoy
Grace-yi

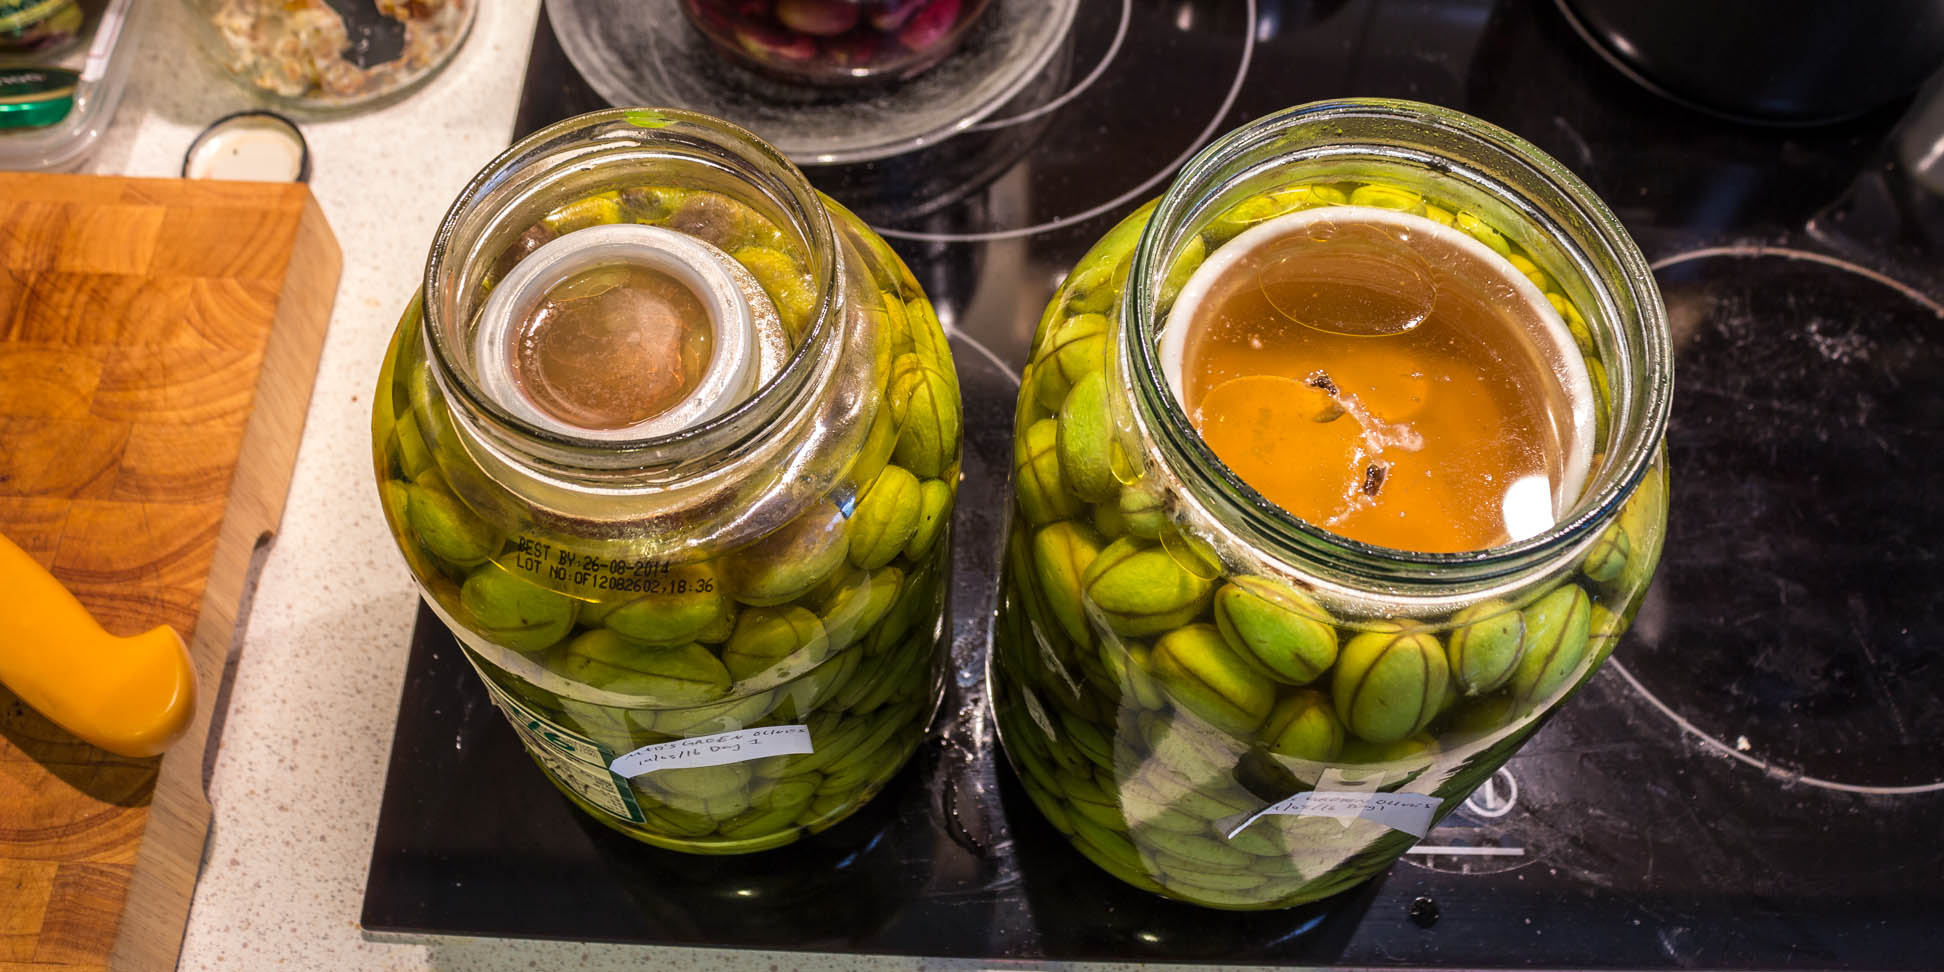
Olives after 8 days of neglect

This is what my olives looked like after 8 days of neglect. There was some mould but it’s easy to just scoop them out.

Note: If you really don’t want any mould, then you can use more olive oil on the top to make a seal.

Continue reading How to Prepare Olives For Preserving | Checking | Home Grown | Preserving Adventures

Posted on Leave a comment

Mulan | Costume Design| Re-Use | Op Shop Finds

We had to dress up as a character from any book, film or tv series.

We decided with Mulan and Li Shang as hubby and I are both familiar with it and it was a good dress up for couples.

Hubby and I all dressed up ready for the party

I got most of the materials from the op shop such as scarves and red silky fabric, the silky maid of honour bathrobe and borrowed the necklace and blue scarf from mum. I had to do a bit of sewing to make it look more like the Mulan from the match maker scene.

For hubby’s out fit, I used scarves to make the grey and black body piece on top of his green shirt and an old bed sheet from the op shop for the cape. I  made the cape by measuring from his neck to his ankle for the height and then I measured him horizontally from his left  biceps to the right.

A HUGE thank you to Sam and Laney for helping us with hair and make up:D

Enjoy,
Grace-yi