Curious as to what the room looked like before the window was replaced? Check out Part 1 of the Creative Studio DIY series
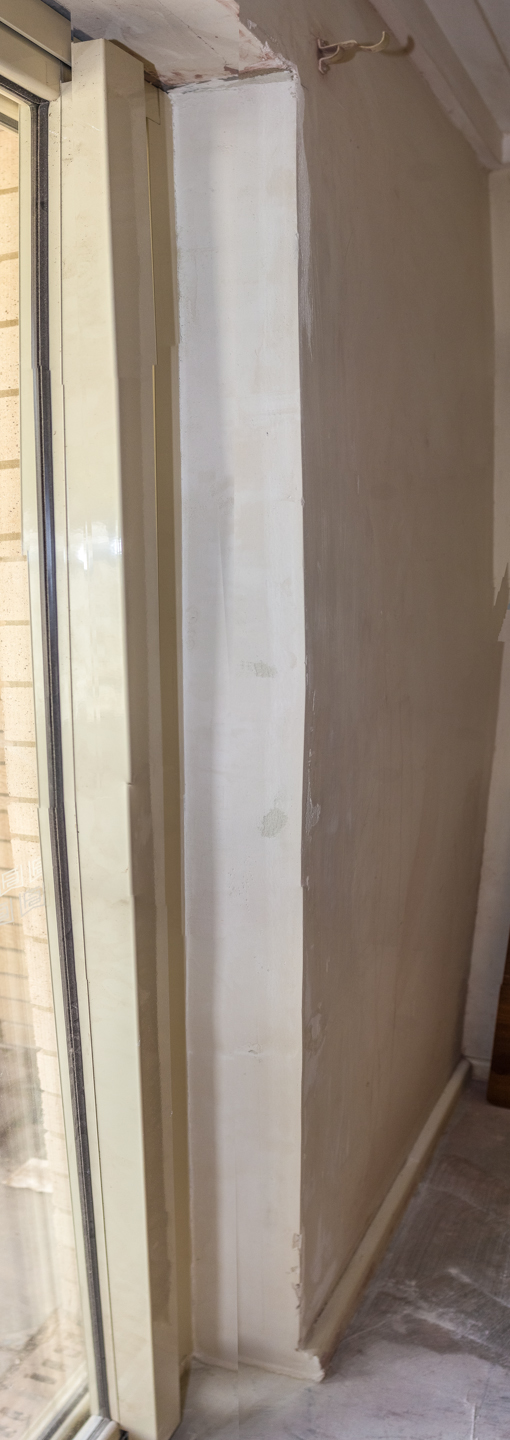
The next thing we had to do was sand it back to remove the rough edges. Aft
We used a 80 grit sand paper wrapped around a small wooden block for this.
After which we use spak fill to fill up parts which had dents and chips.
Let it dry as per the instructions of the spak filler you are using and sand it back again till a smooth finish.
Enjoy,
Grace-yi


Check out what happens next!
Part 2 of the Creative Studio DIY Series
Part 3 of the Creative Studio DIY Series


