Posted on Leave a comment

Creative Studio Sanding Back The Sliding Door Wall|Creative Studio Part 2 | DIY Renovations

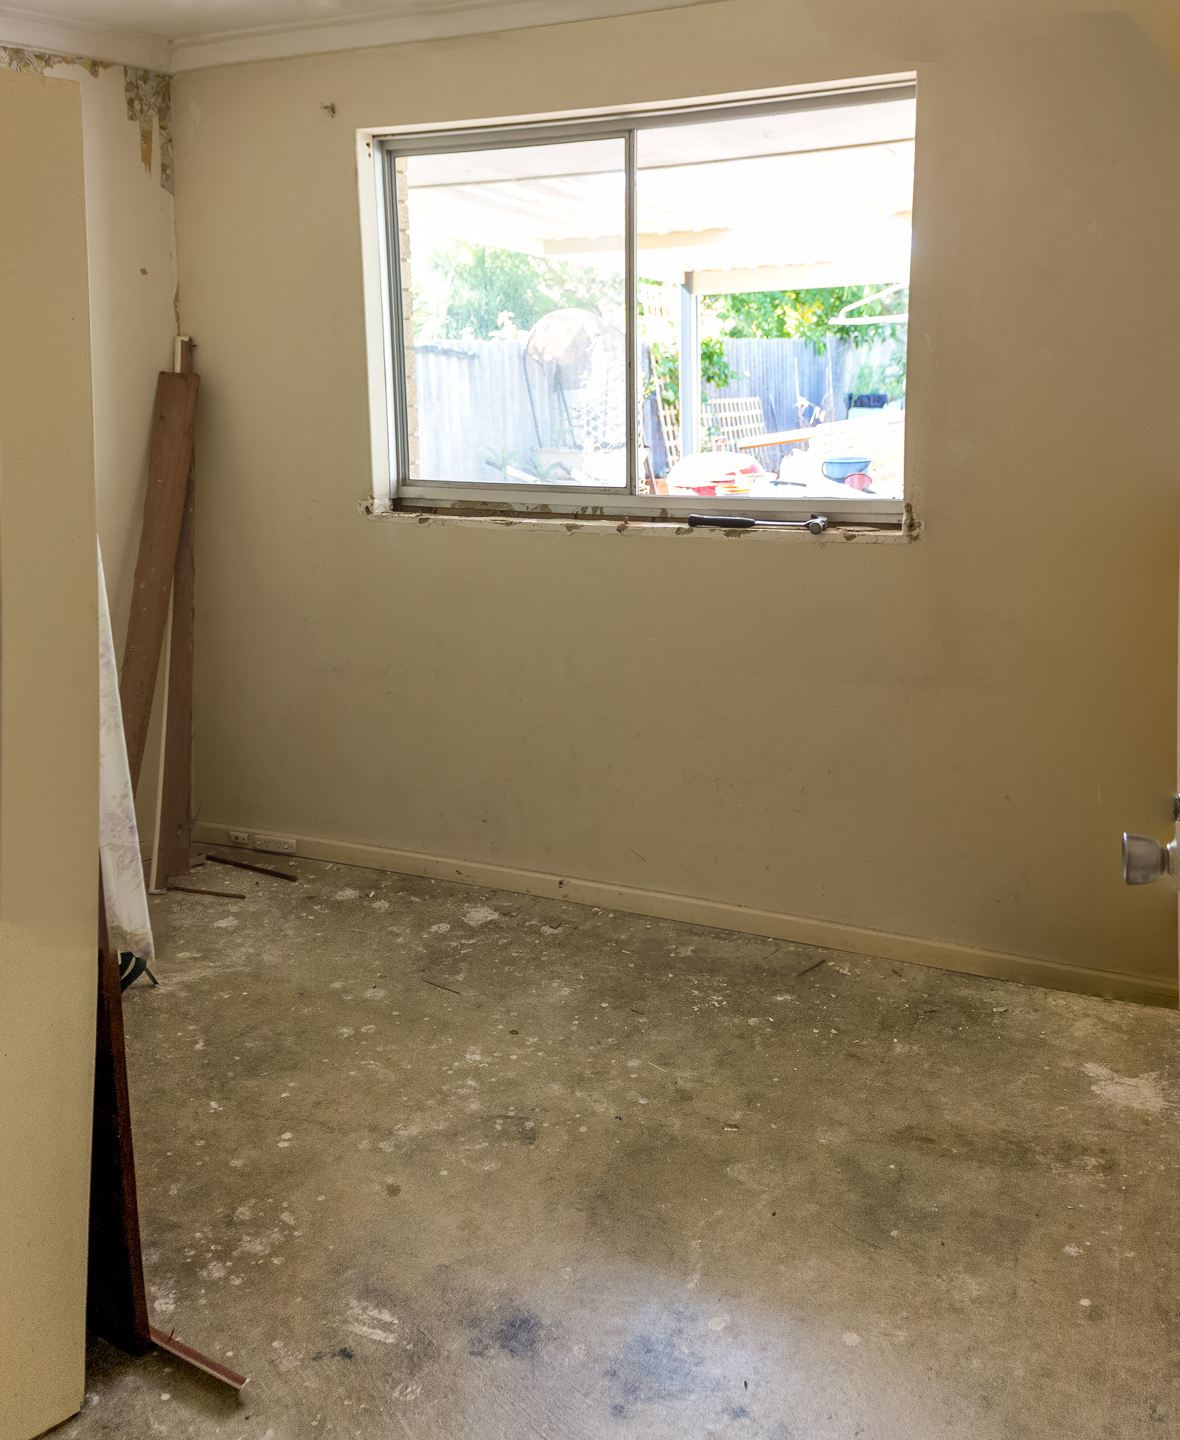
Curious as to what the room looked like before the window was replaced? Check out Part 1 of the Creative Studio DIY series

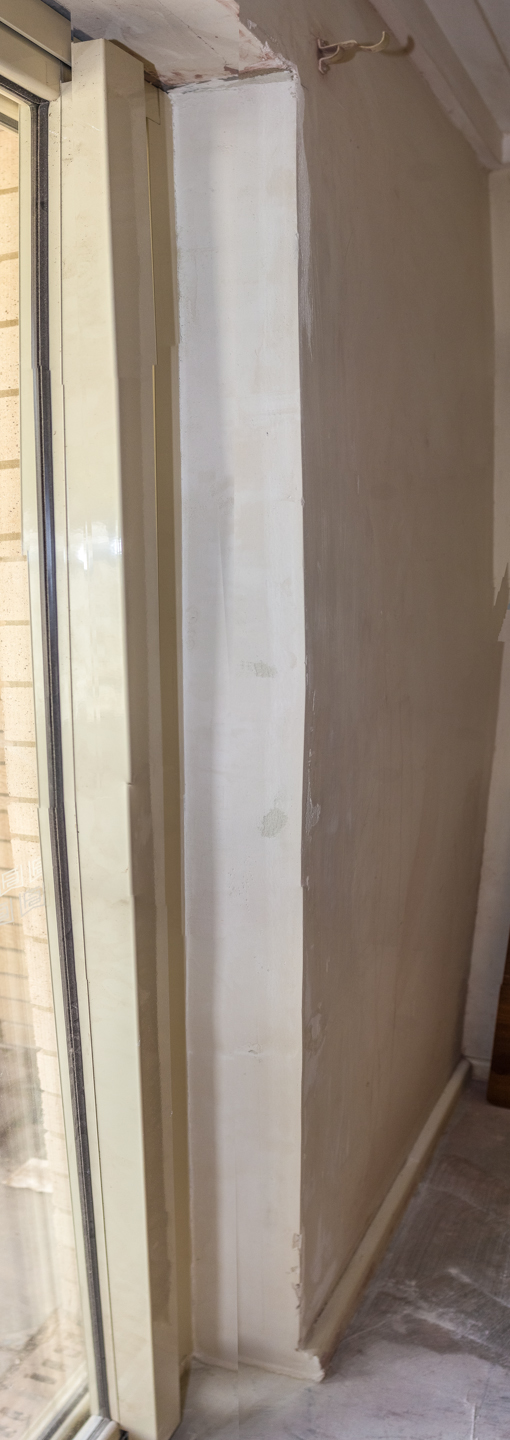
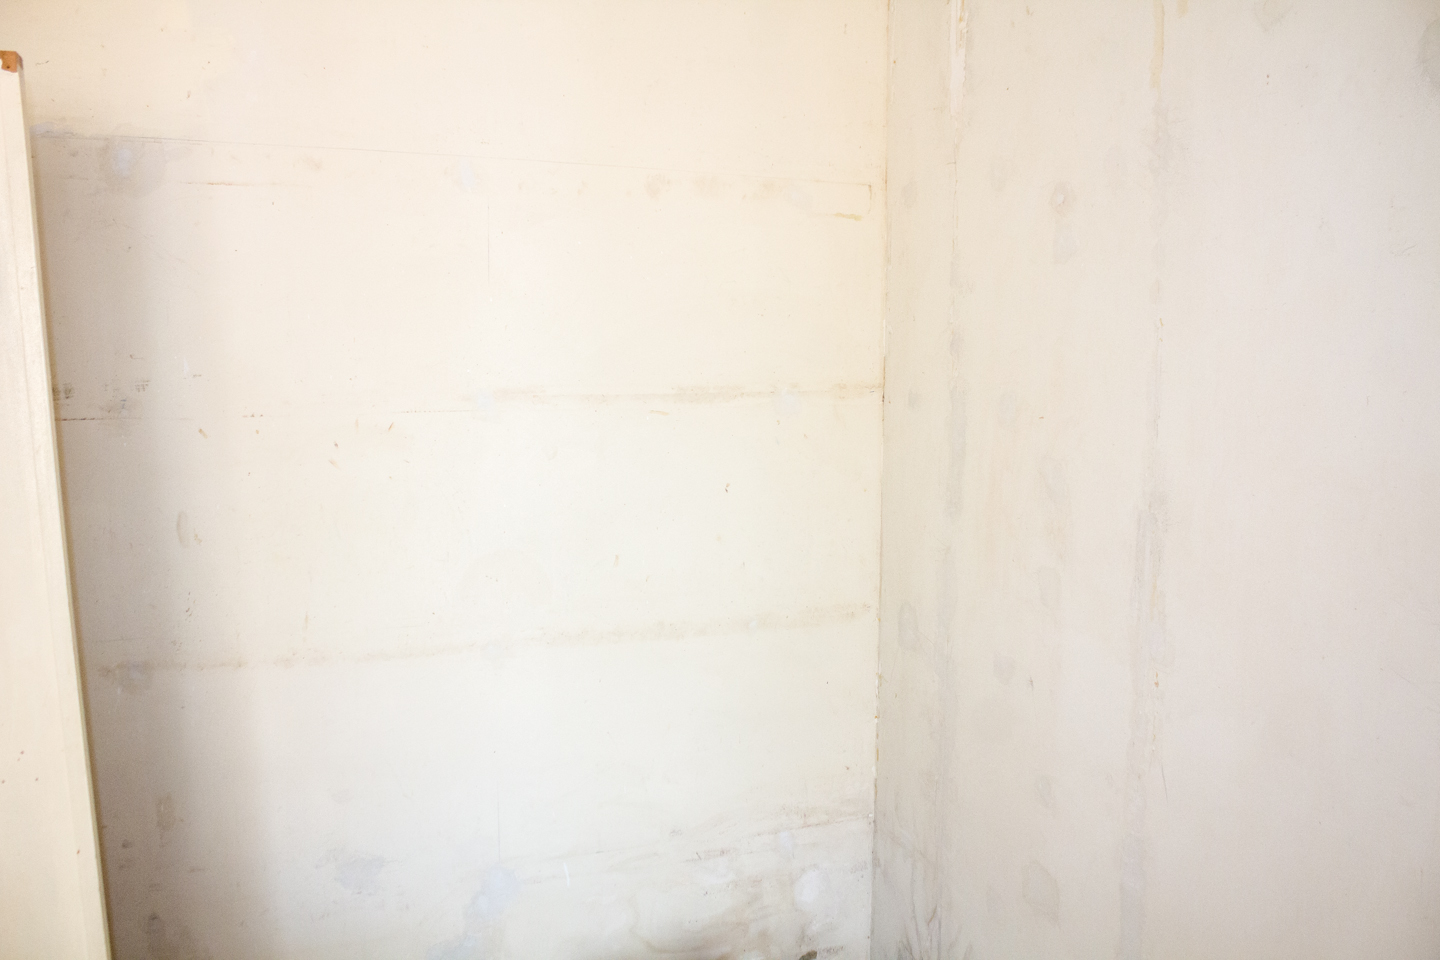
The next thing we had to do was sand it back to remove the rough edges. Aft

We used a 80 grit sand paper wrapped around a small wooden block for this.

After which we use spak fill to fill up parts which had dents and chips.

Let it dry as per the instructions of the spak filler you are using and sand it back again till a smooth finish.

Enjoy,
Grace-yi

The Wall left of the sliding door
The Wall right of the sliding door


Check out what happens next!
Part 2 of the Creative Studio DIY Series
Part 3 of the Creative Studio DIY Series

Posted on Leave a comment

Removing Studs and filling the wall up |Creative Studio Part 3 | DIY Renovations

Curious as to what the room looked likebefore now? Check out

Part 1 of the Creative Studio DIY series
Part 2 of the Creative Studio DIY Series

Just wanted to encourage you to try  DIY at home.. I use to think it was really hard to fill the cracks on the wall or even to use the drill!

There is an art to it, but with practice. You will soon be glad that you did! Reminds me of the saying..

Give a man a fish and you feed him for a day;

Teach a man to fish and you feed him for a lifetime.

Here is what I did today.. It may just look like a white wall.. but the before photo was not very pretty.. it was pretty disgusting.. It had dead bugs.. i think moths.. and roaches and mold and the studs where the shelves were.

Enjoy,
Grace-yi

diy wall renos 05
The final result.. nice and smooth

Continue reading Removing Studs and filling the wall up |Creative Studio Part 3 | DIY Renovations

Posted on Leave a comment

Creative Studio Converting Window Into Sliding Door|Creative Studio Part 1 | DIY Renovations

I documented the day-to-day progress we made while renovating the creative studio.

So join me in our reno adventure as we change this spare room into something I have been dreaming about for years; a place with sufficient storage which also  inspires creativity.


The room cleared out ready for the carpenters to convert window into a door

Enjoy,
Grace-yi

Continue reading Creative Studio Converting Window Into Sliding Door|Creative Studio Part 1 | DIY Renovations

Posted on Leave a comment

Creative Studio Ombre Feature Wall |Creative Studio Part 5 | DIY Renovations

During the previous weeks we have been arduously preparing the walls in our creative studio for this moment.

It’s time to add colour to this blank canvas:D

So excited! I wanted to do something special for the feature wall which is the wall with the sliding door.

Here is just a sneak peek of what I plan on doing;)

Click “Continue Reading” or scroll down for an artistic impression of the wall in the room.

I did a test run with the colours and techniques on an mdf board. Not quite happy with the cottonblue on the bottom.. It has too much a purple tinge
I did a test run with the colours and the technique of creating an ombre [aka gradient effect] on a mdf board. Not quite happy with the cottonblue on the bottom.. It has too much a purple tinge. So we went to the shops and looked for a darker colour which will be perfect for the skirting.
Enjoy,
Grace-yi

Continue reading Creative Studio Ombre Feature Wall |Creative Studio Part 5 | DIY Renovations

Posted on Leave a comment

Laundry Cupboard | New Years DIYs |DIY Renovations

So after A year and a bit over of procrastination, we finally got to do the DIY projects in the end of the old year and also the New year!

1st one was the Door Bell Hoodies DIY re-using a soda can for the hoodie.

2nd is the Laundry Demolition and Installation

02/01/16 Day 8: [Working Day 3 ] Hubby used a bracket and piece of wood to reinforce the cupboard to the wall
02/01/16
Day 8: [Working Day 3 ] Hubby used a bracket and piece of wood to reinforce the cupboard to the wall
Continue reading Laundry Cupboard | New Years DIYs |DIY Renovations