So.. I woke up earlier then usual on this faithful Friday morning.
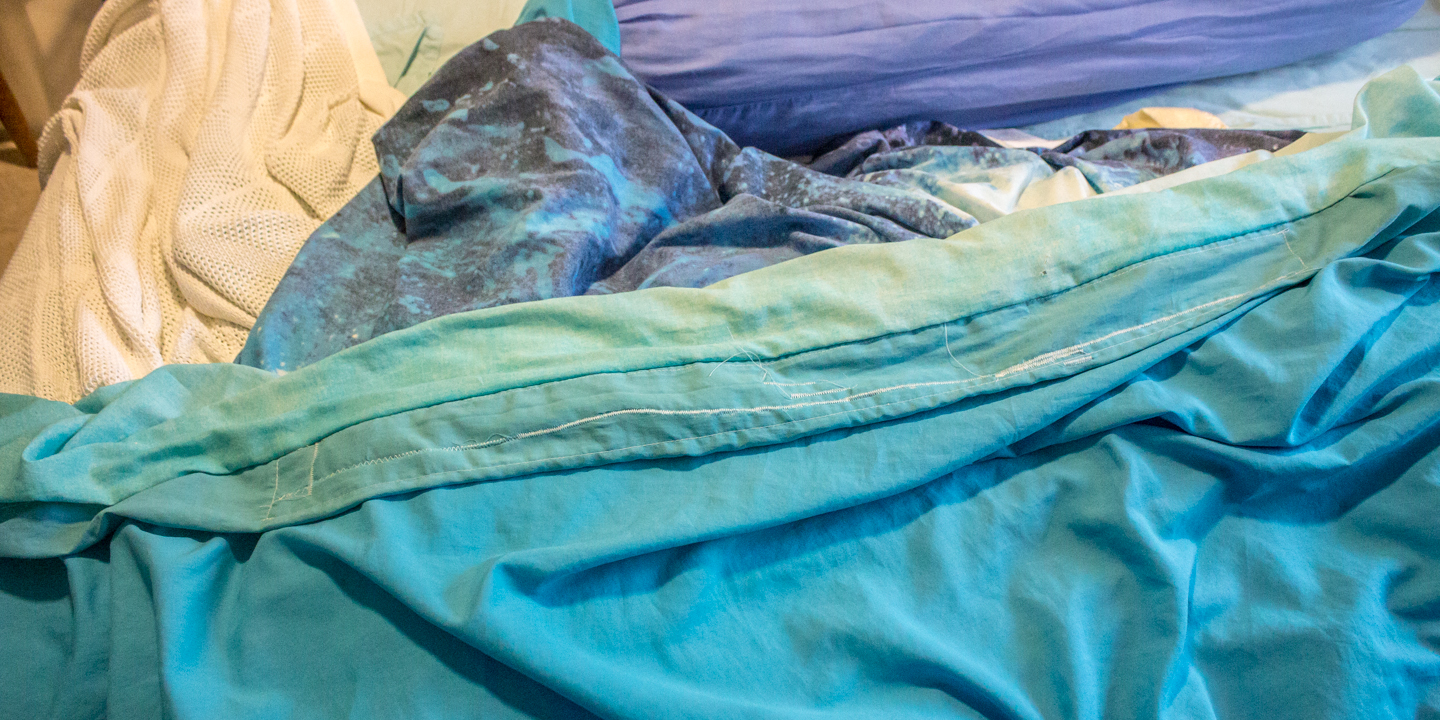
I noticed how ripped our doona was after a month of neglect.
In hindsight, I wished I fixed it when it was just a tiny little hole instead of this ripper which was ripped at several places.
It took me 1/2 a day to fix it and below is the fix 😀
Scroll down or click “Continue reading ” to see what I did to fix it
Enjoy,
Grace-yi

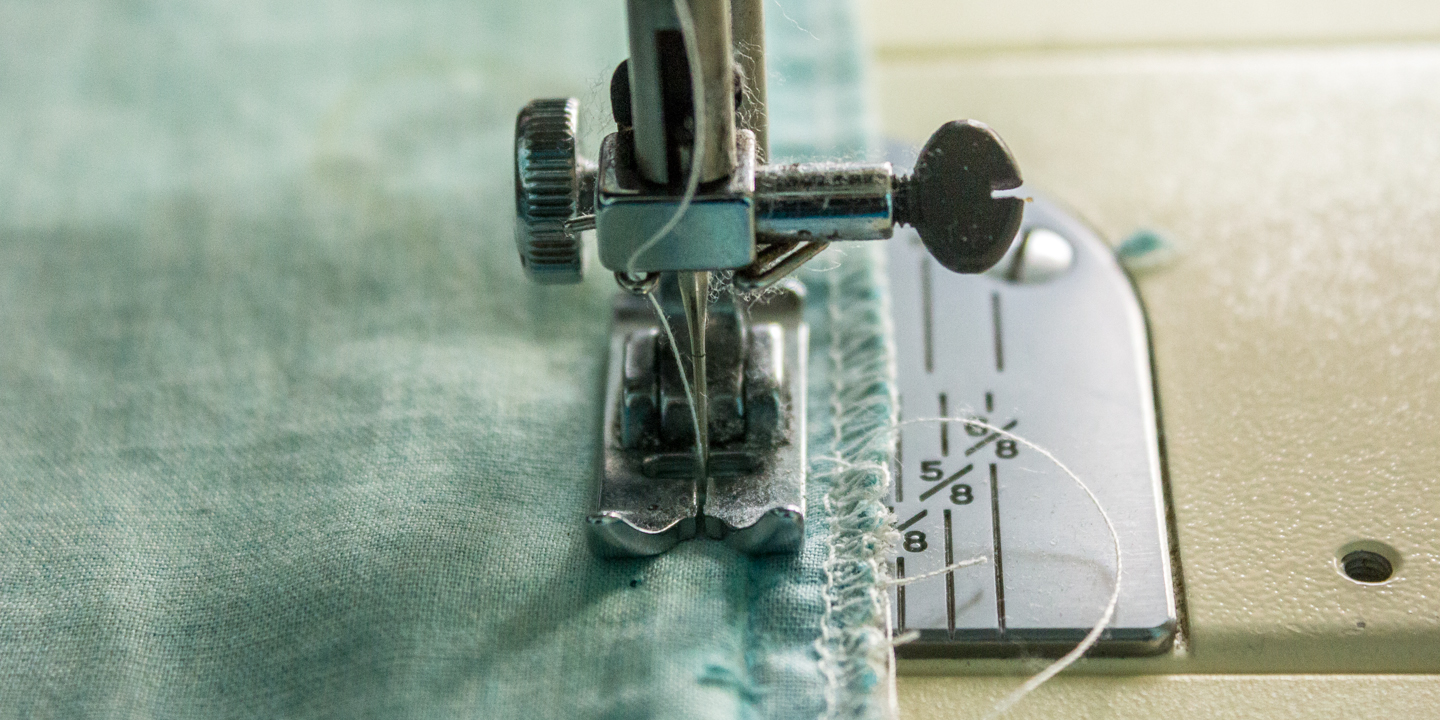
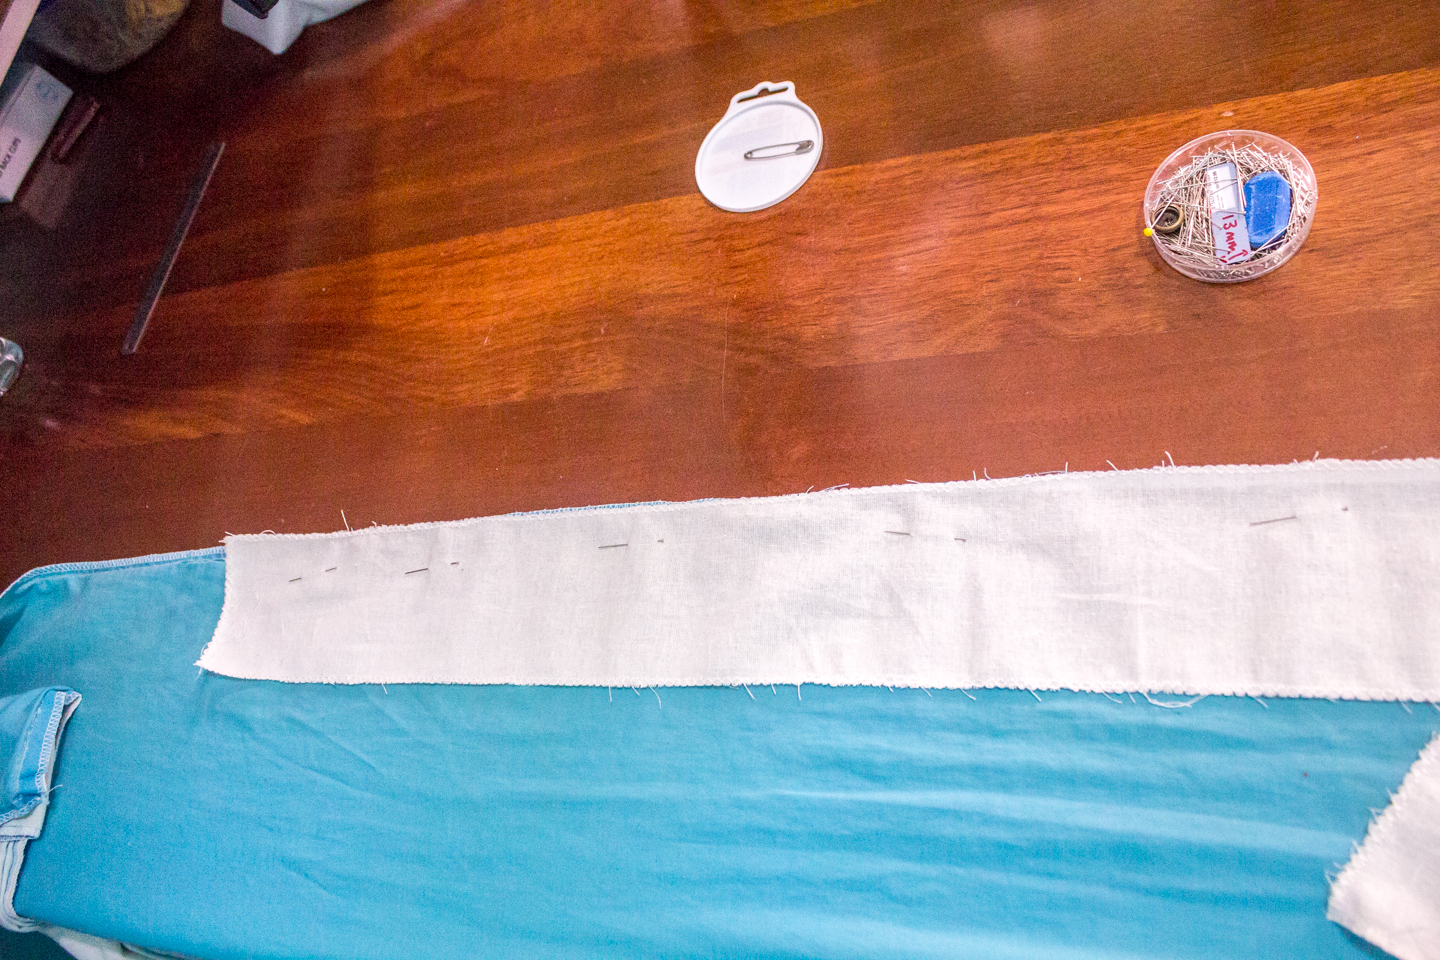
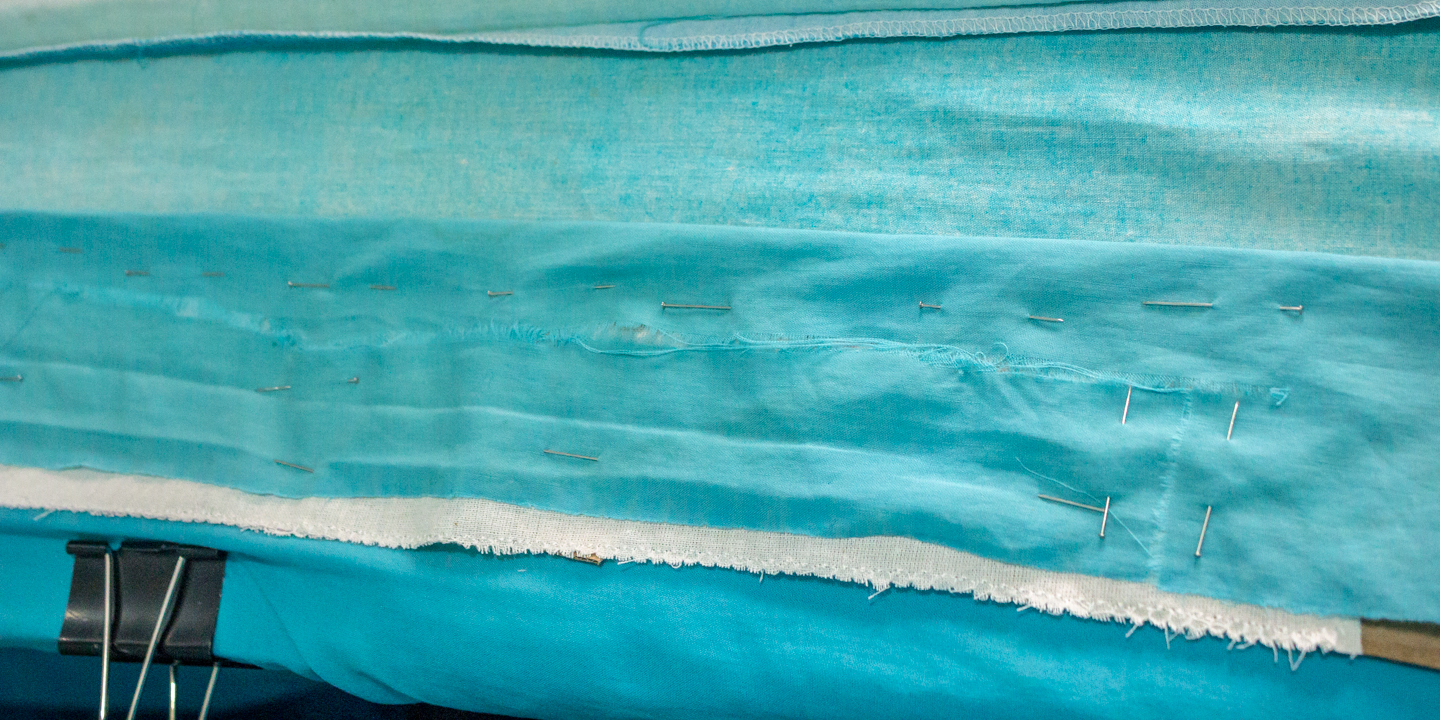
use the over lock stitch to ensure the calico fabric doesn’t fray before pinning the fabric to the calico.

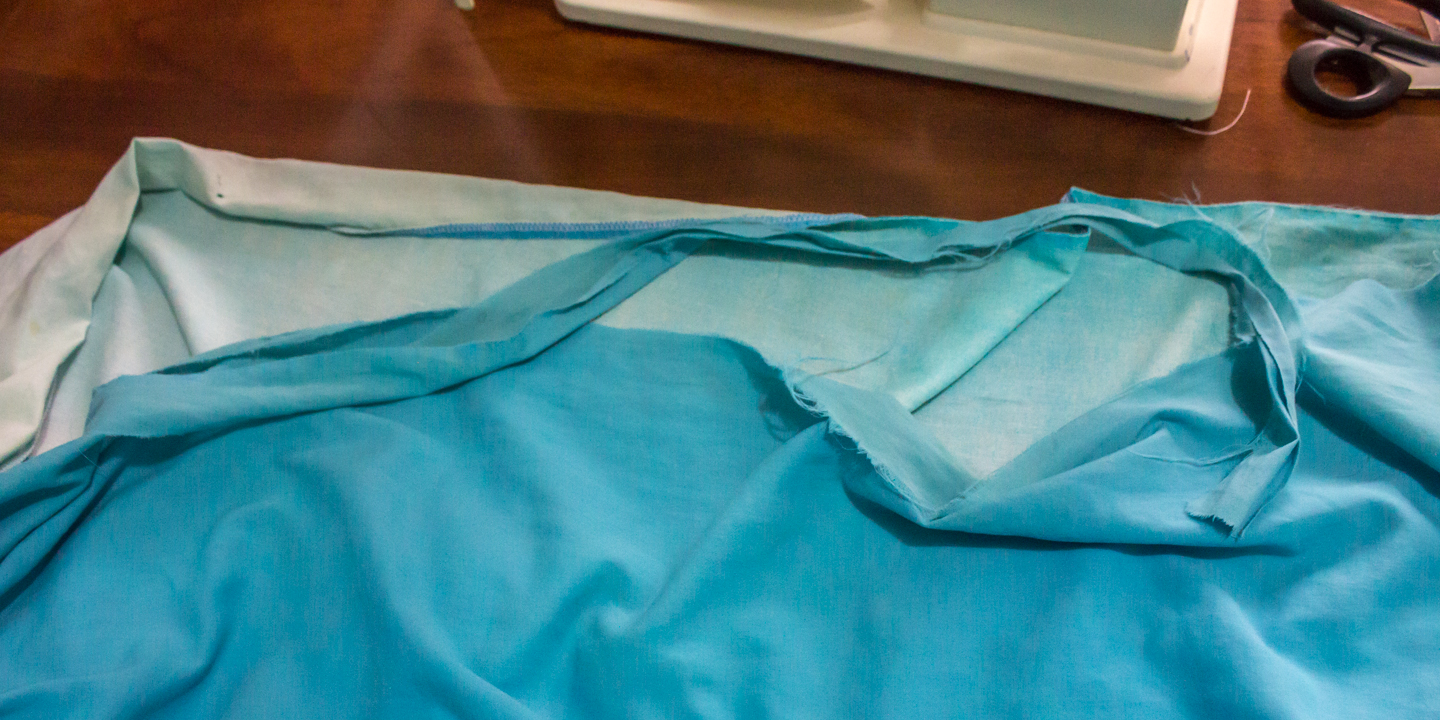
line the top of the plain colour layer to where it use to be. Line up the calico to be flush with the seam.
Only pin the calico and plain colour fabric
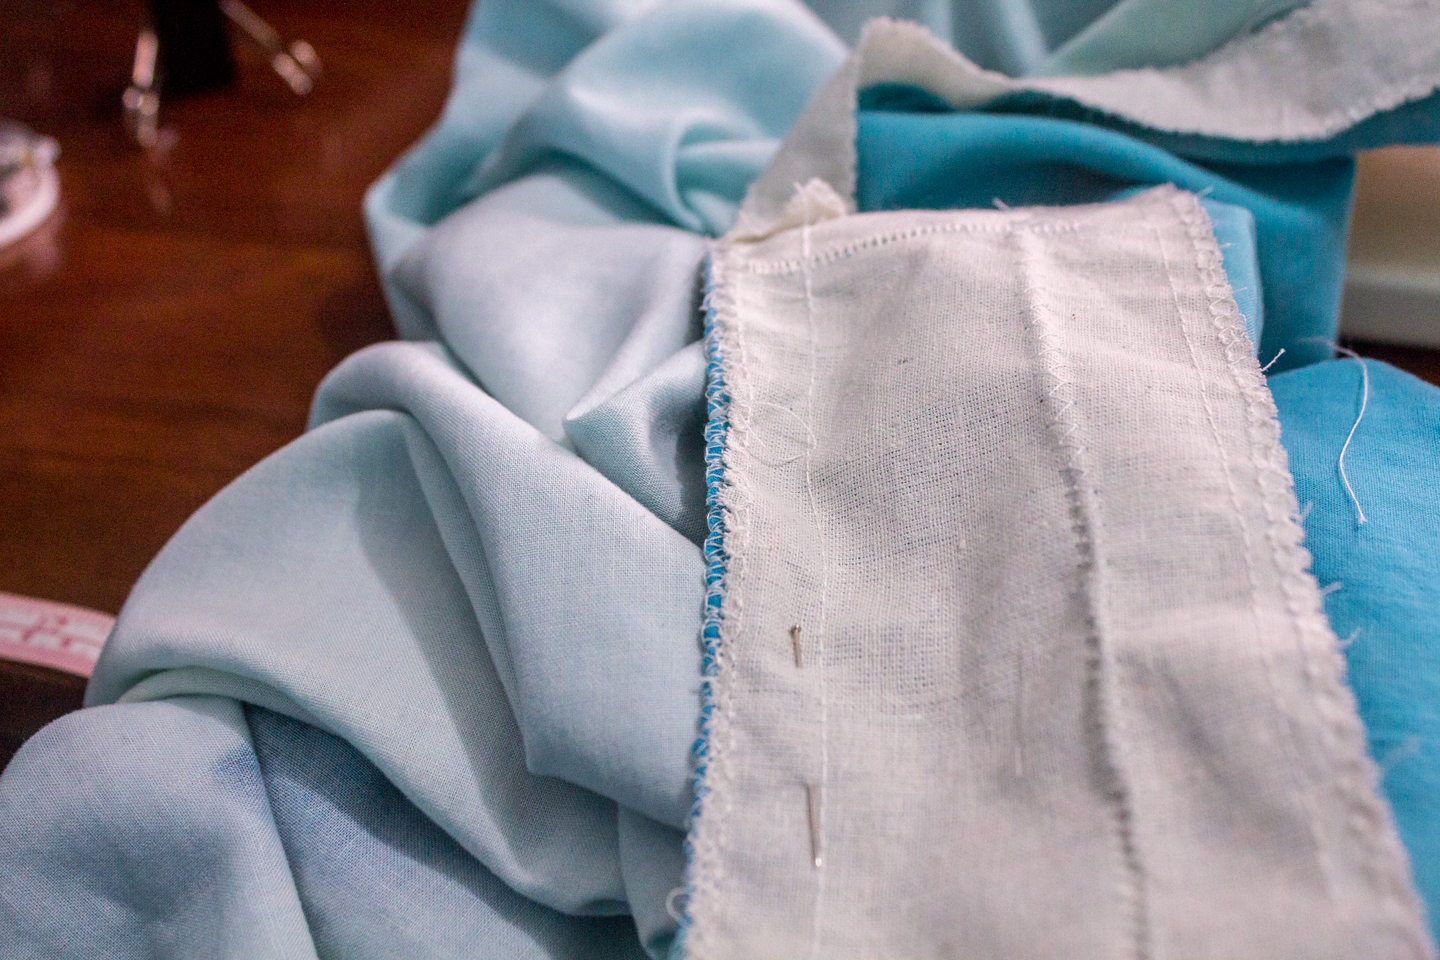
Now that we have lined the top part of the fabric, we will look at the bottom of the fabric as the fabric ripped in more then 1 place.
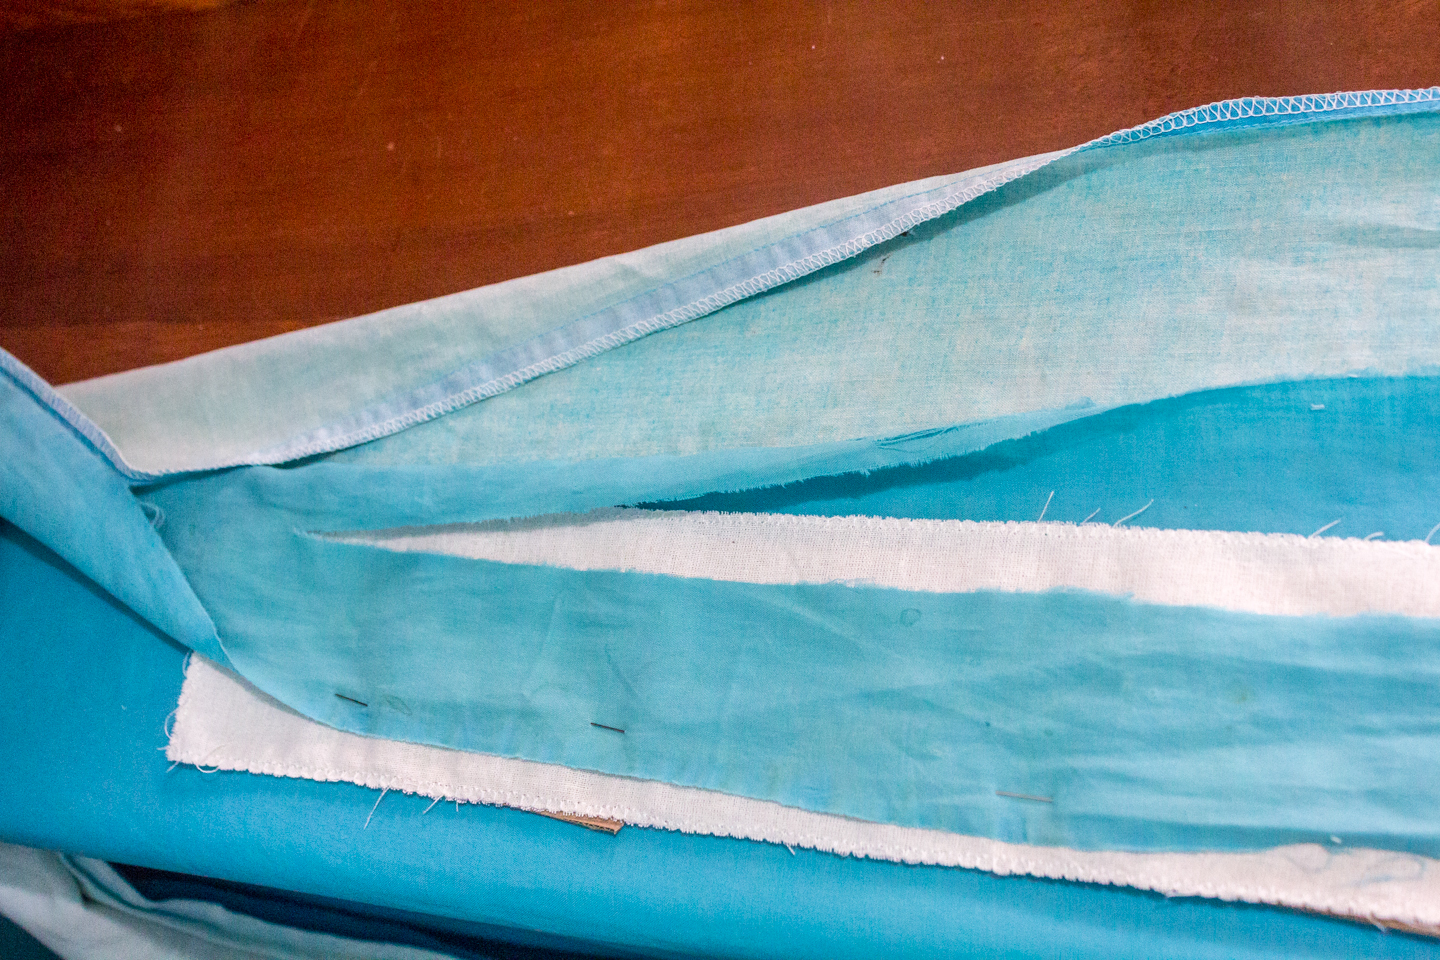

Now line up the calico layer to the plain fabric and use the over lock stitch to secure both the fabrics
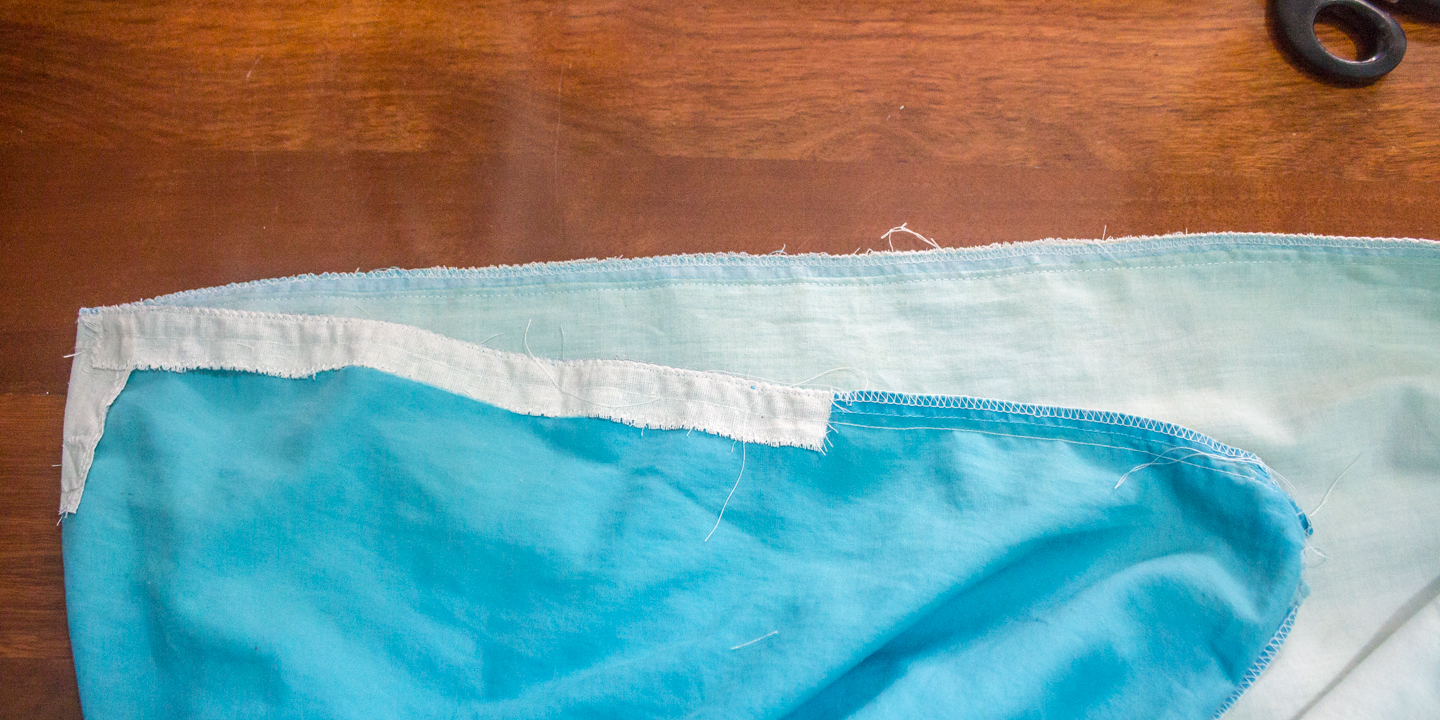
To ensure the already weakened stitch is not stressed any further, I sewed a new line in front as seen.. It is