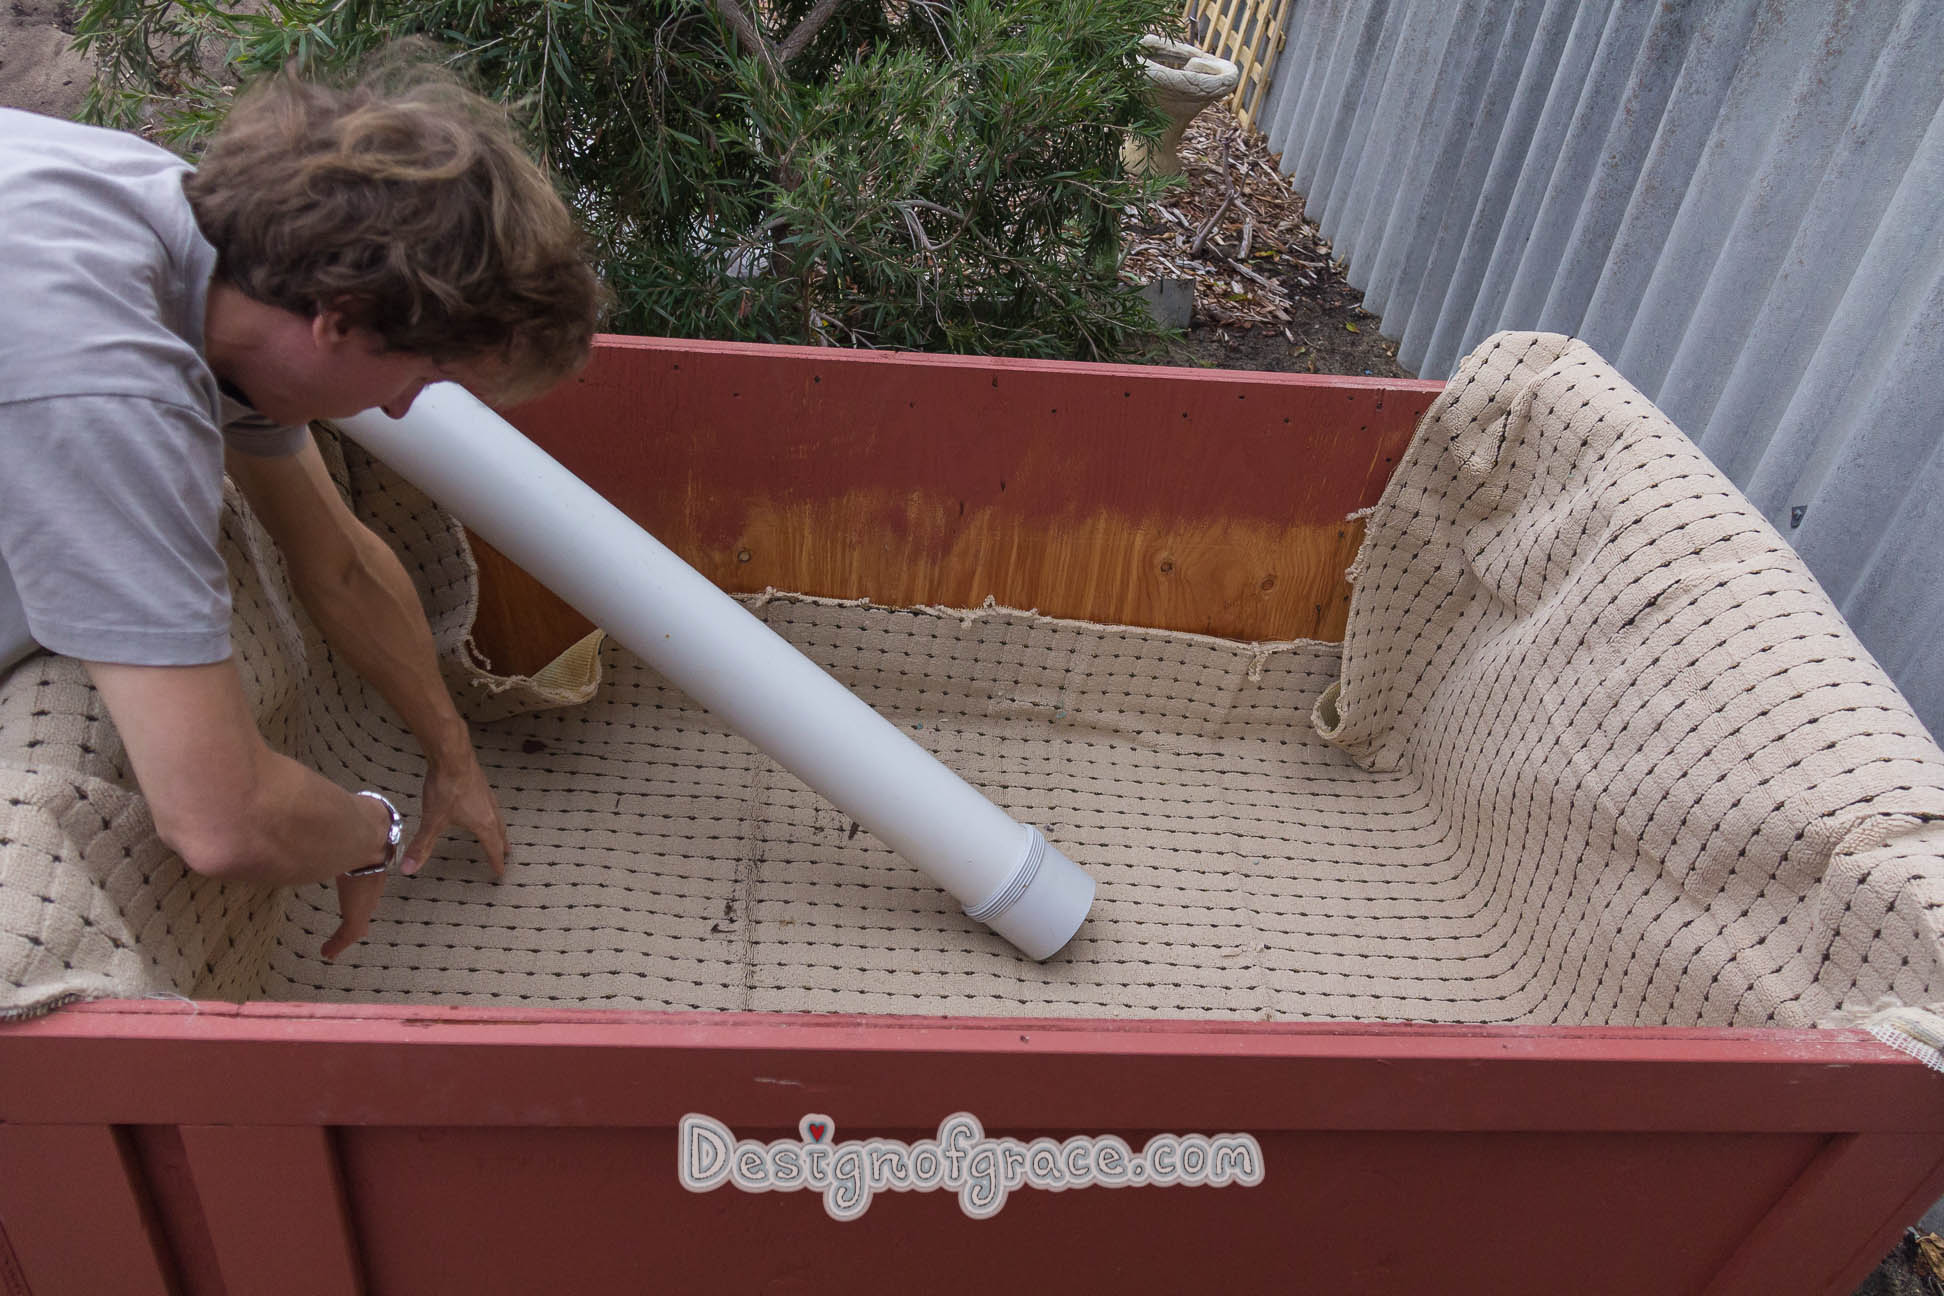
So after months of research and gathering of the materials needed, we are FINALLY making our wicking bed.
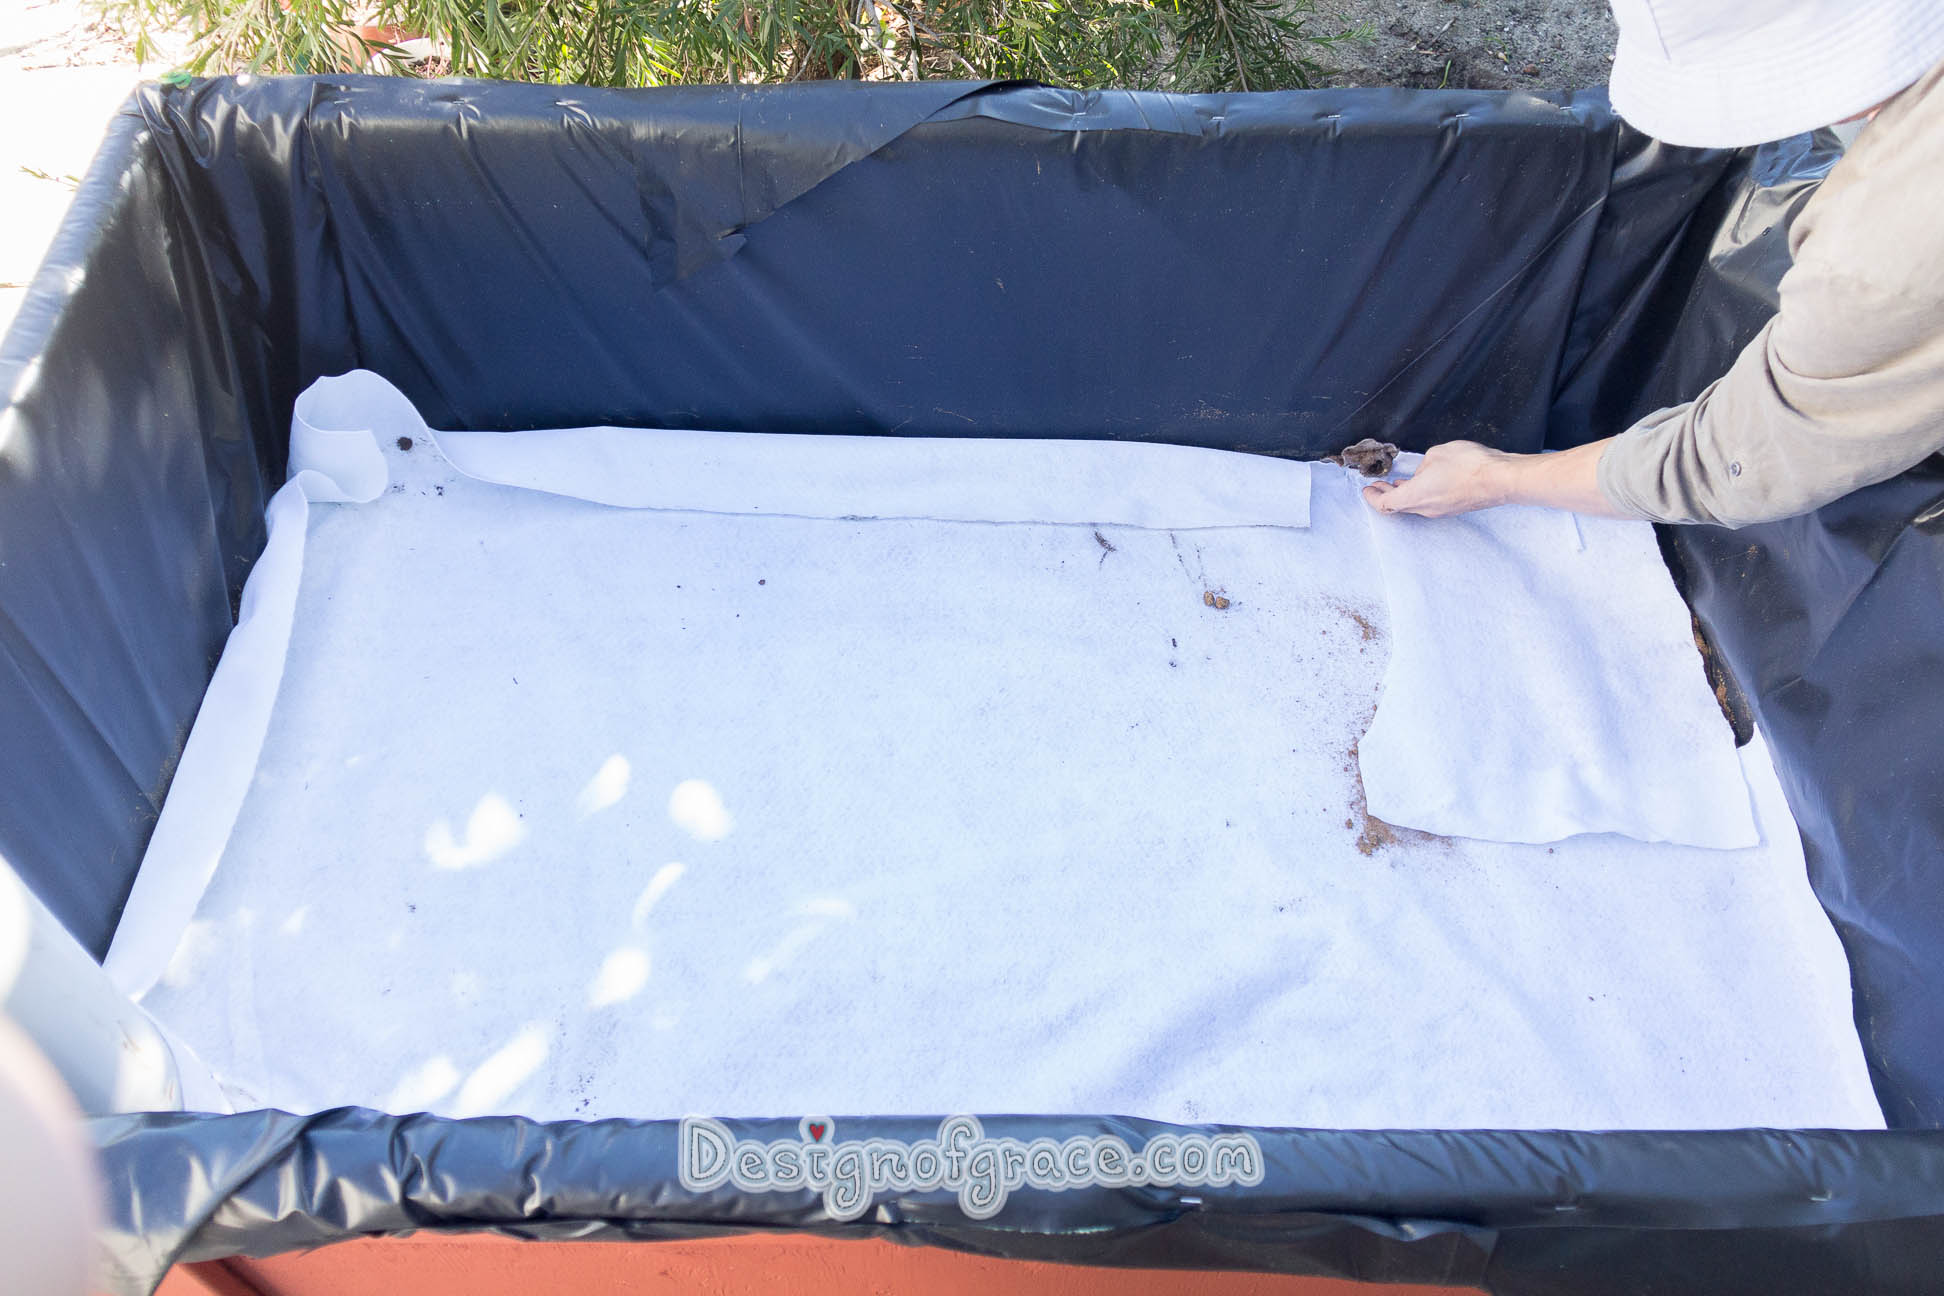
Below shows our progress with each layer, I will be updating this post showing you each layer 🙂
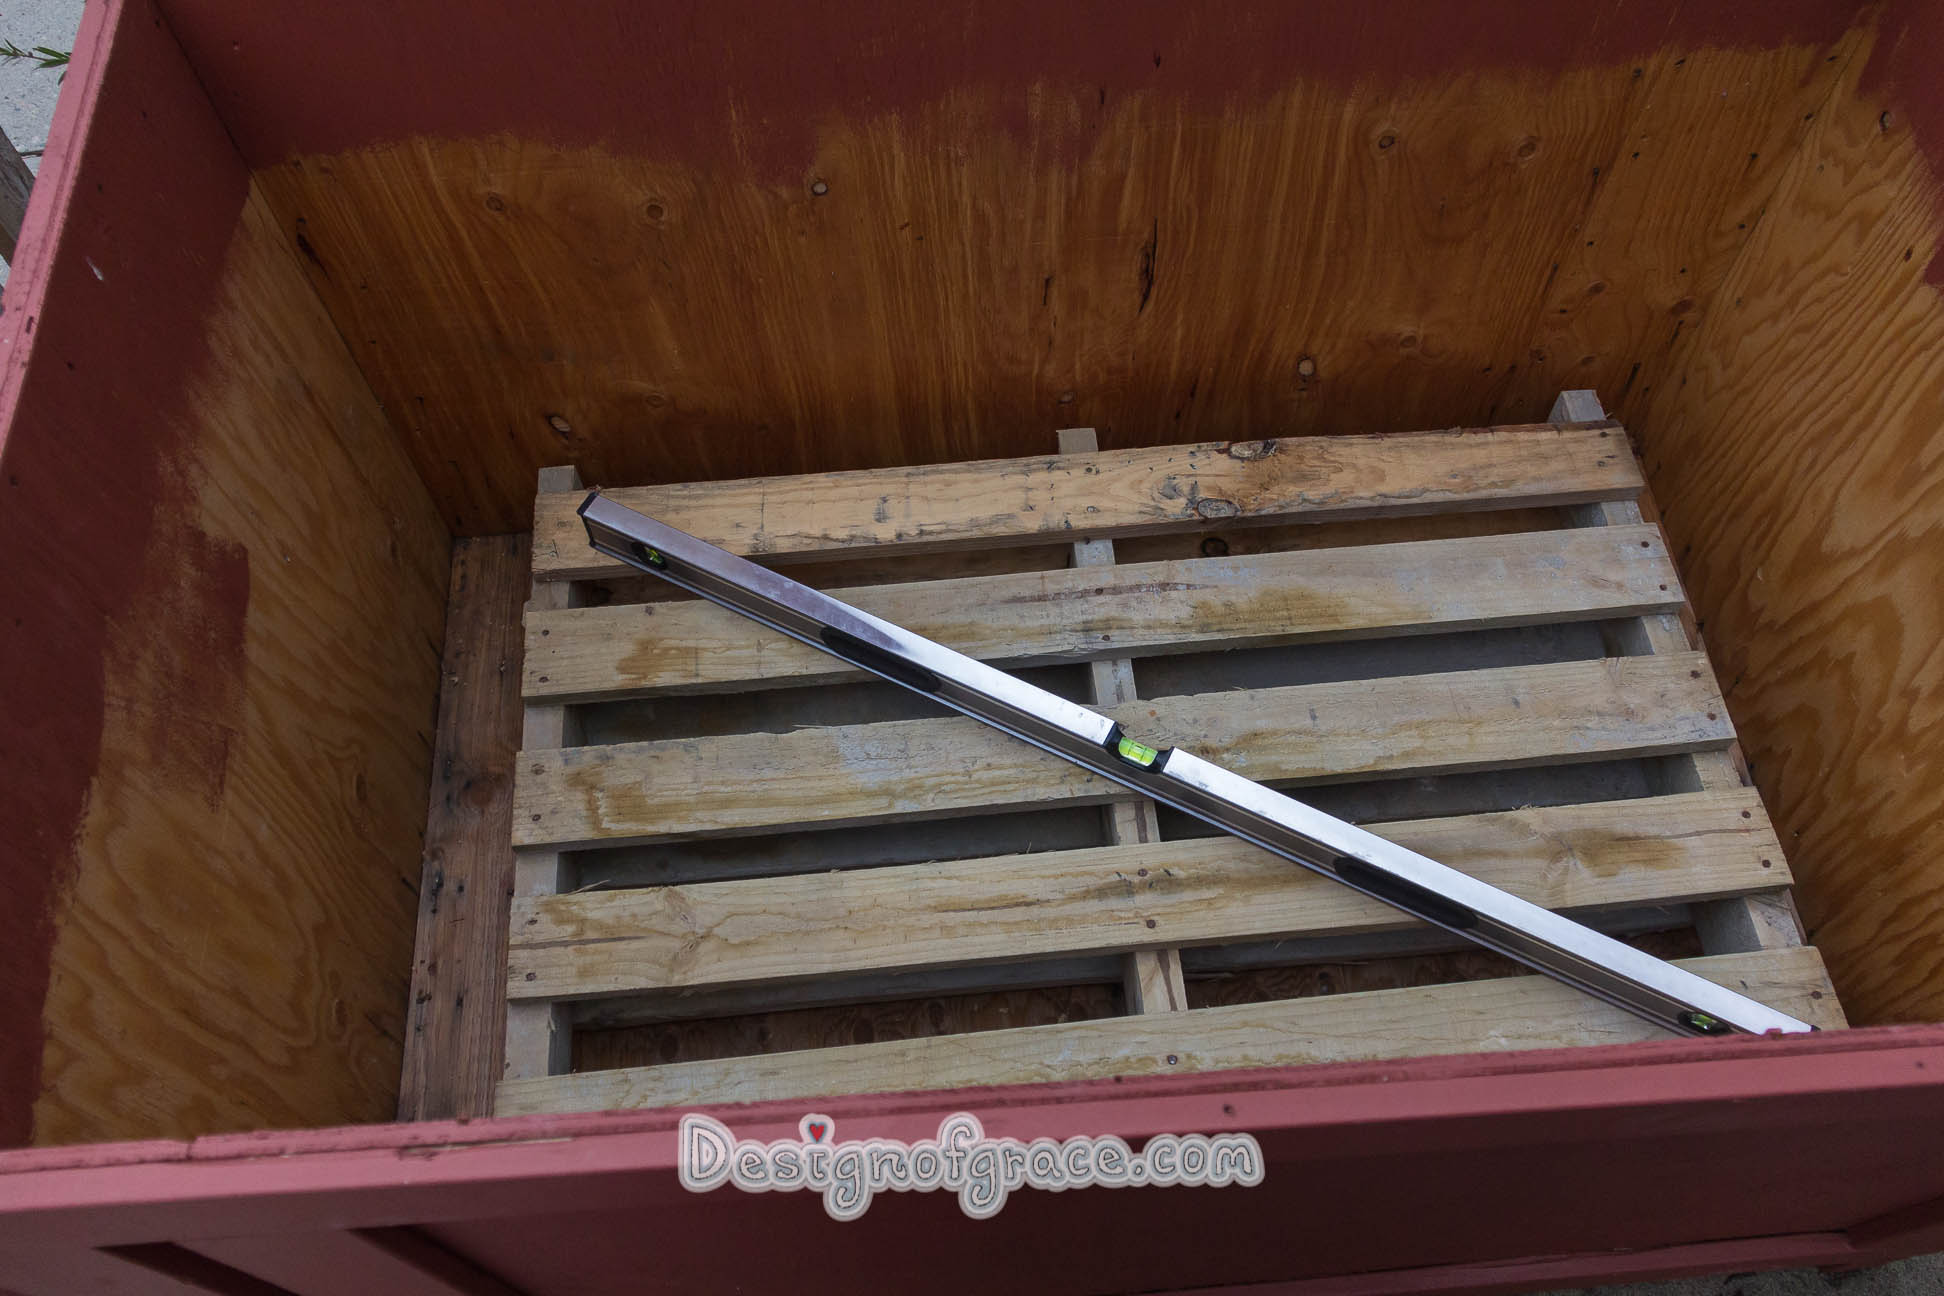
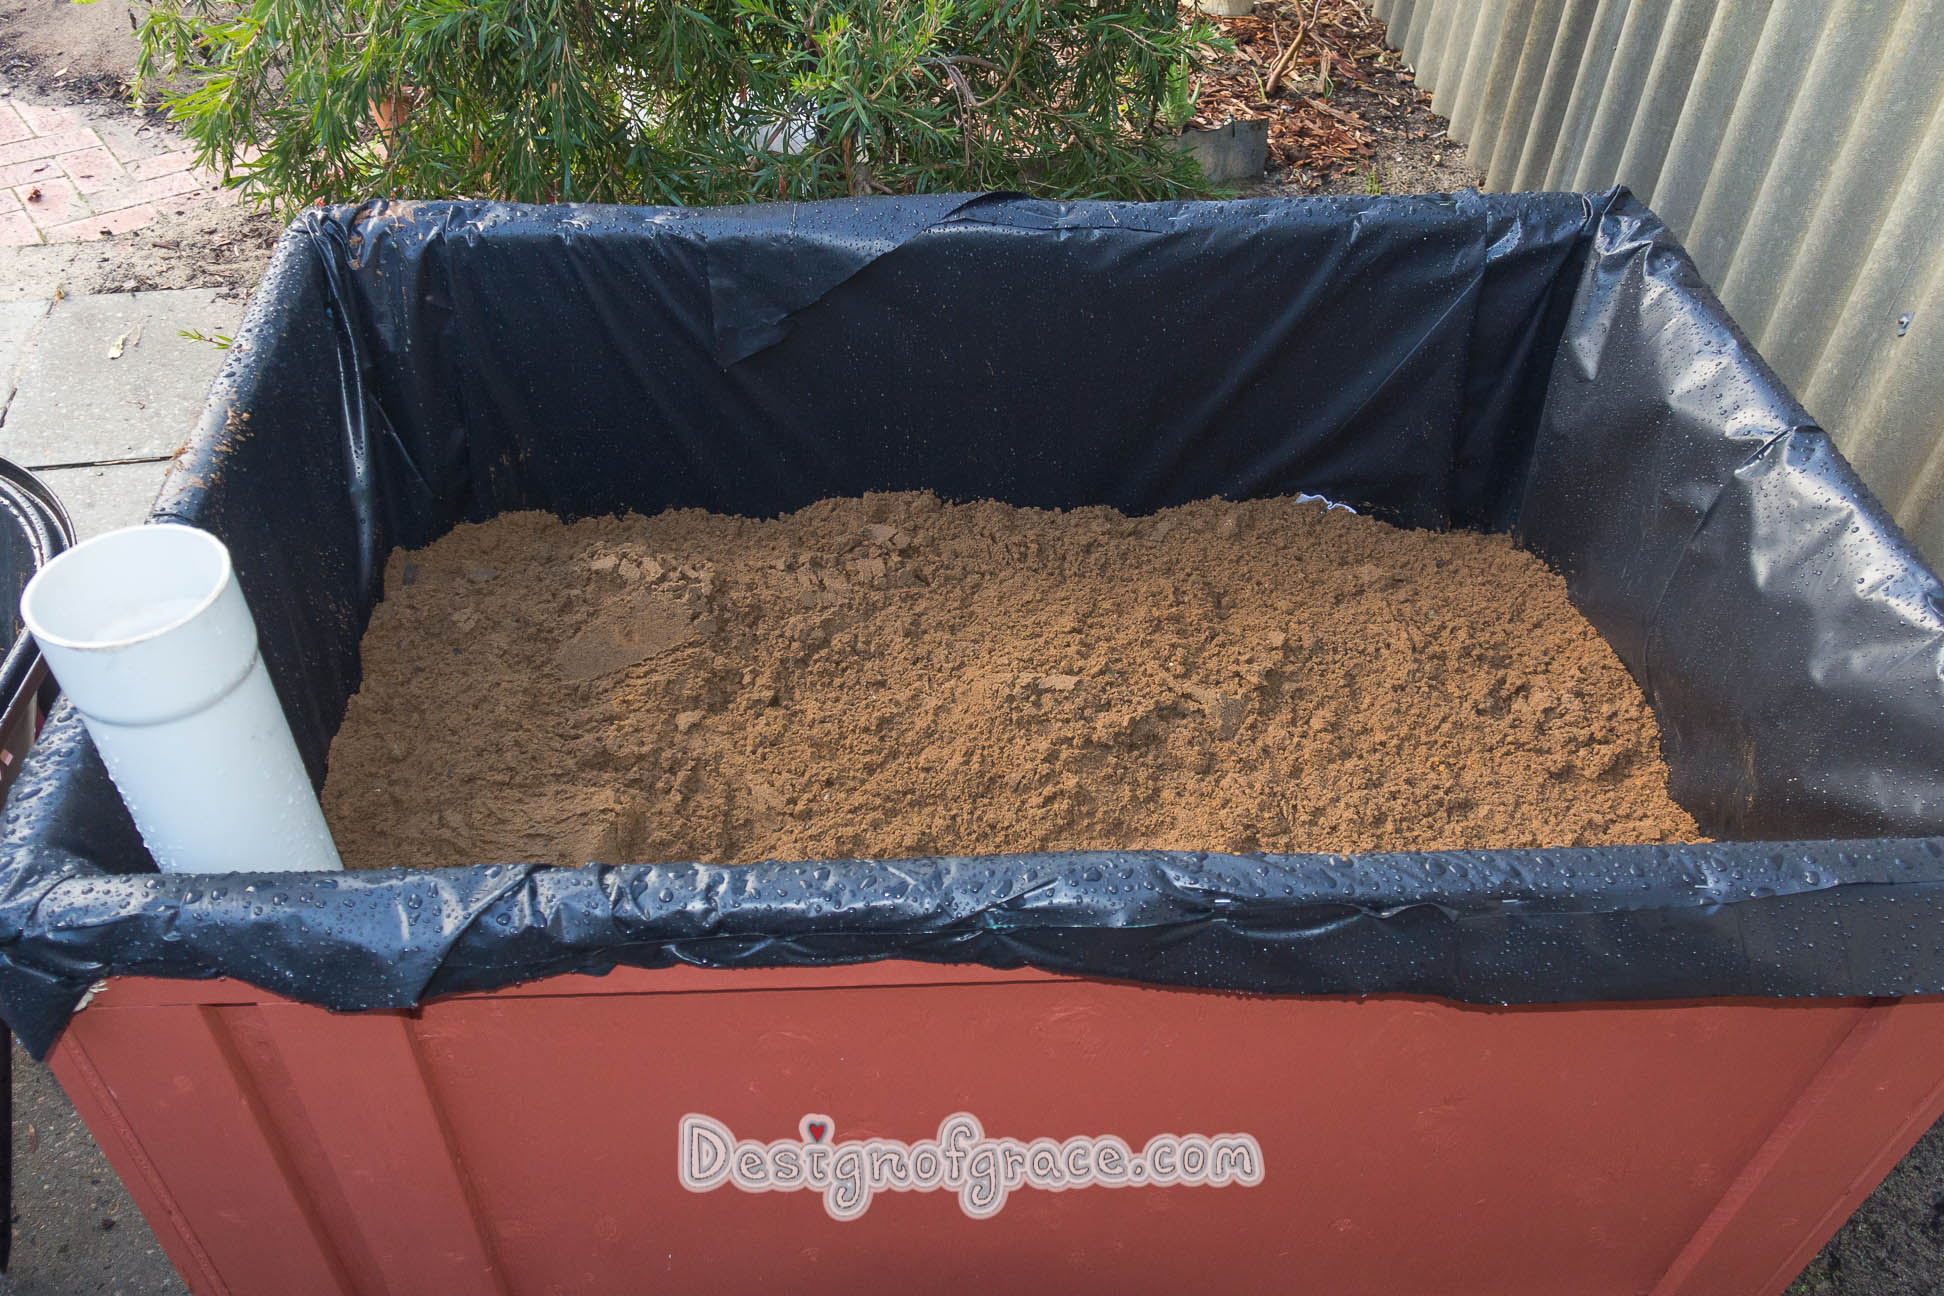
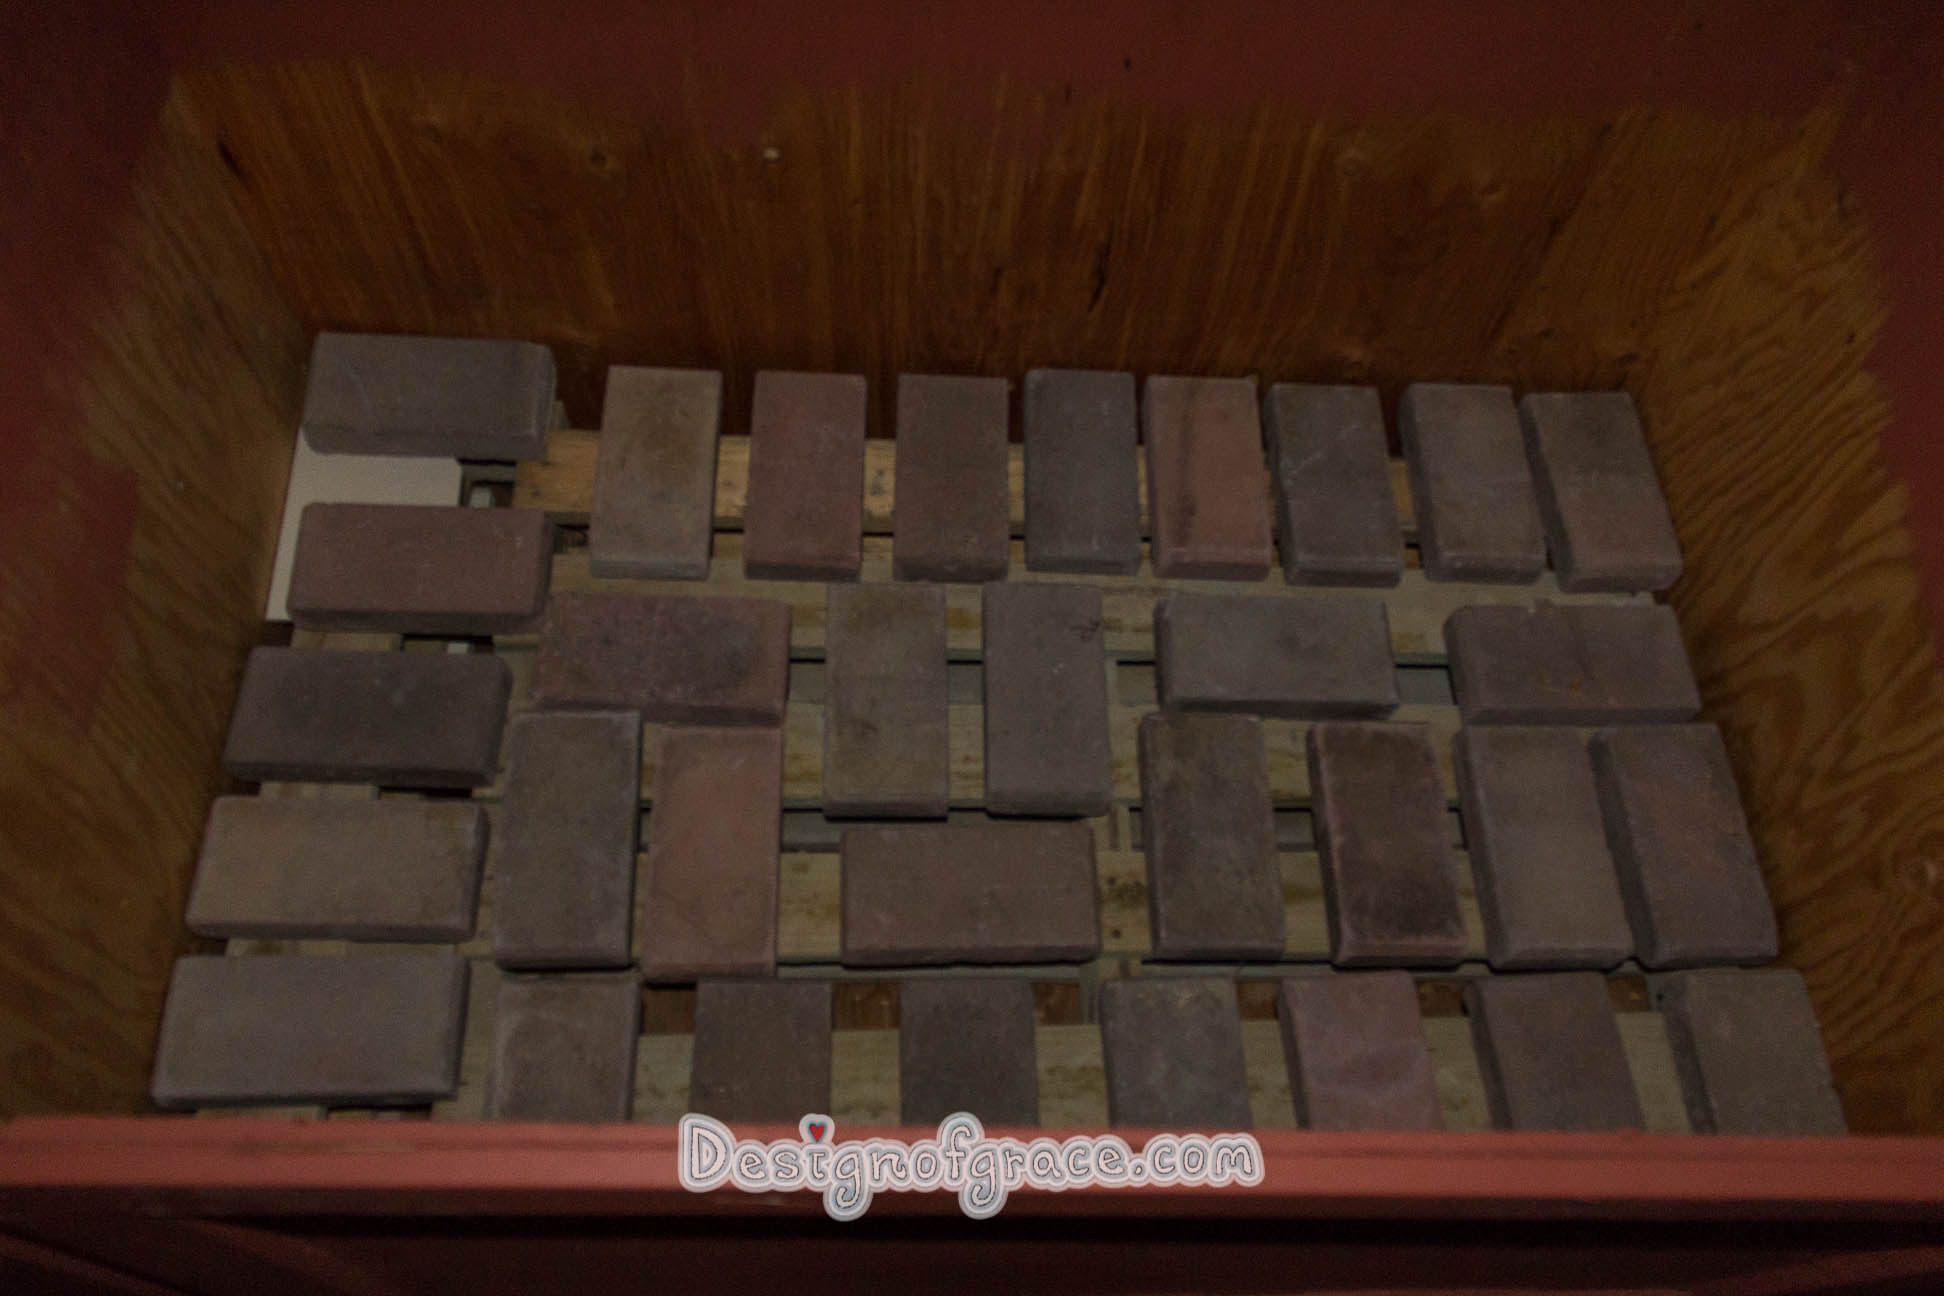
We used a pallet to fill up 150 mm of the vertical space of the container.
We made sure that it was level.


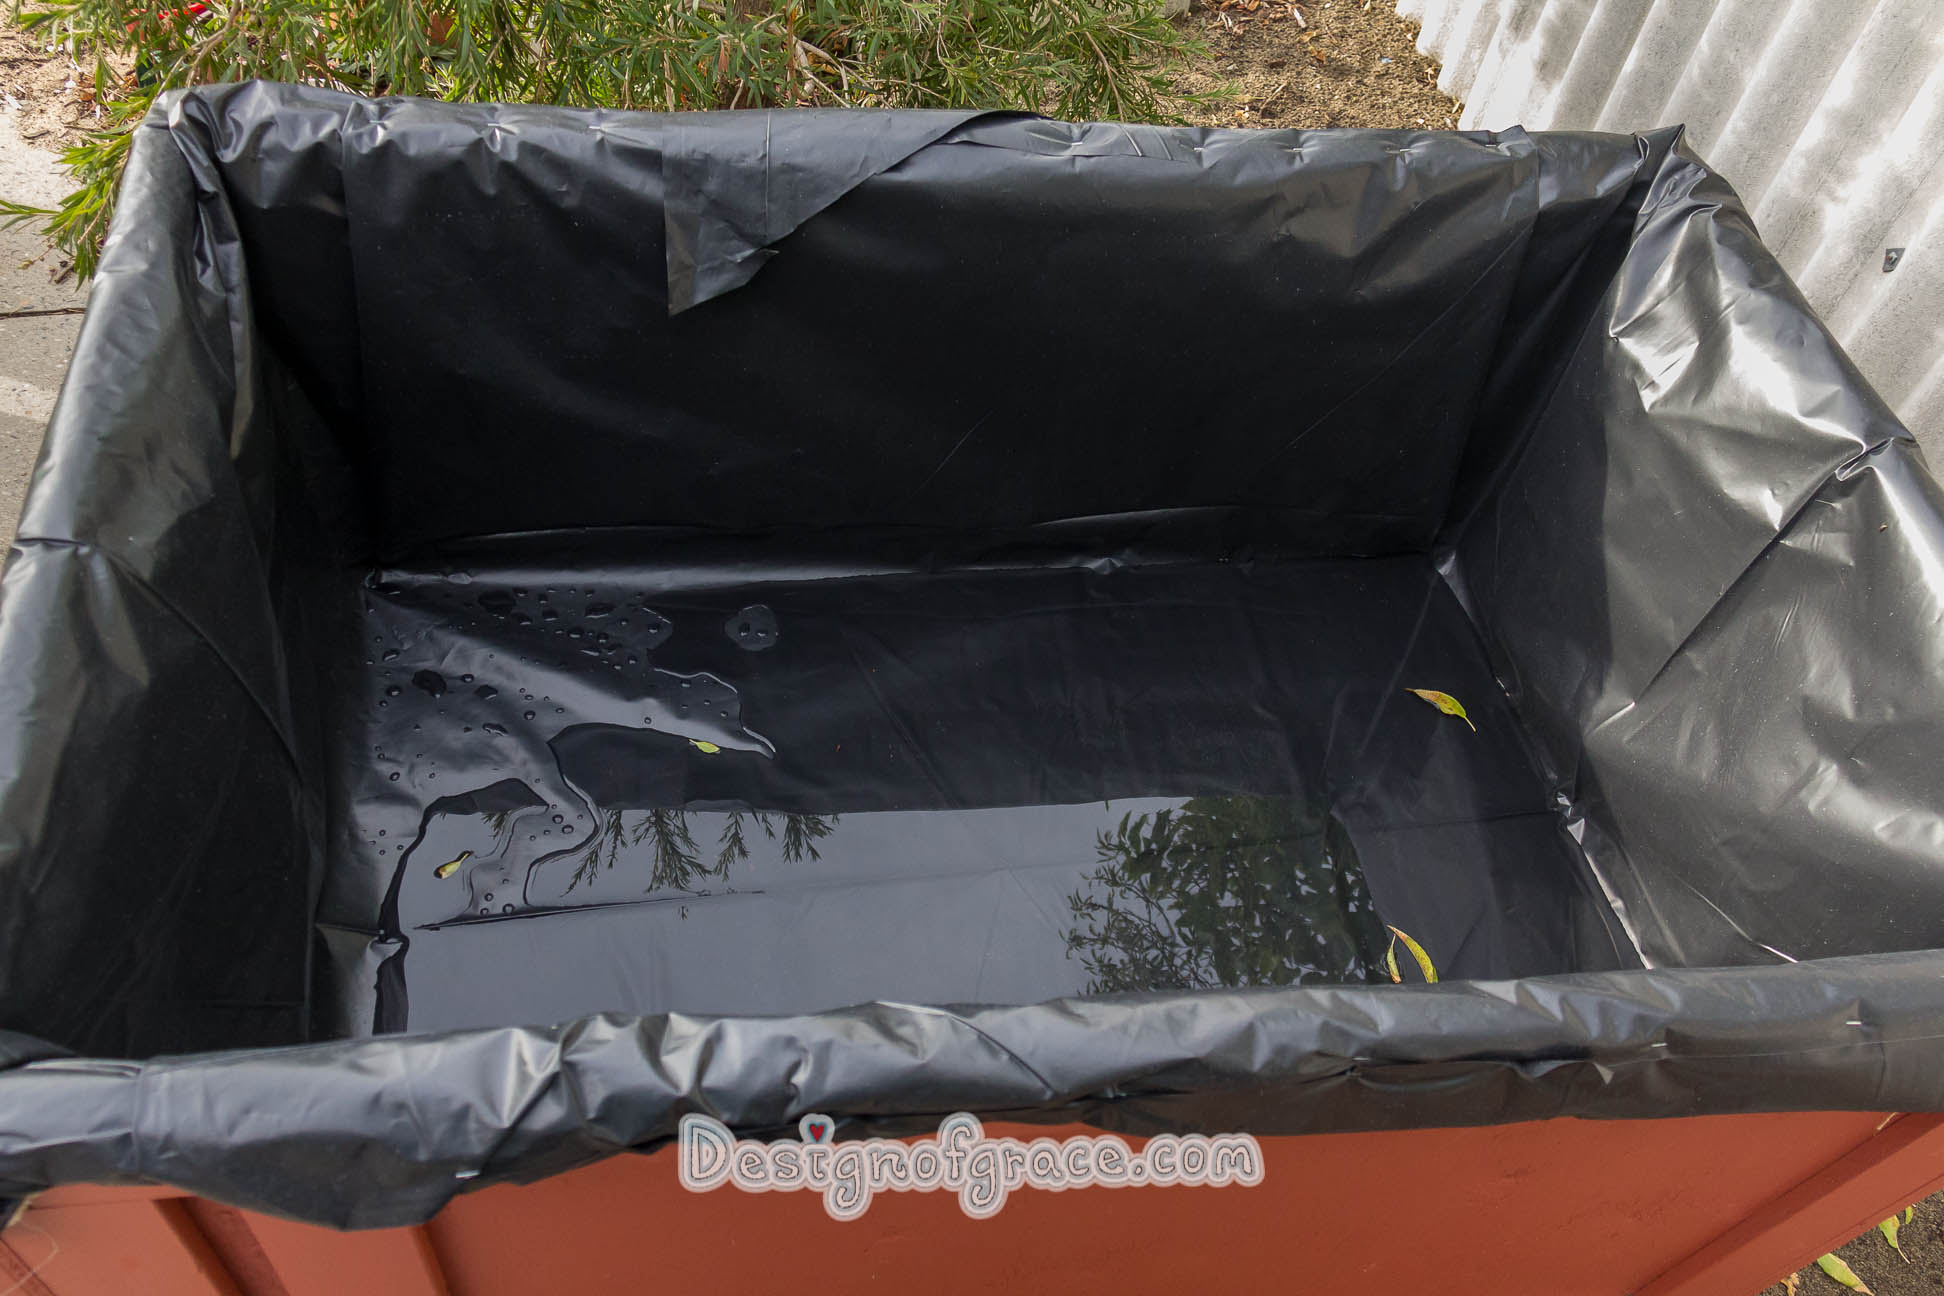
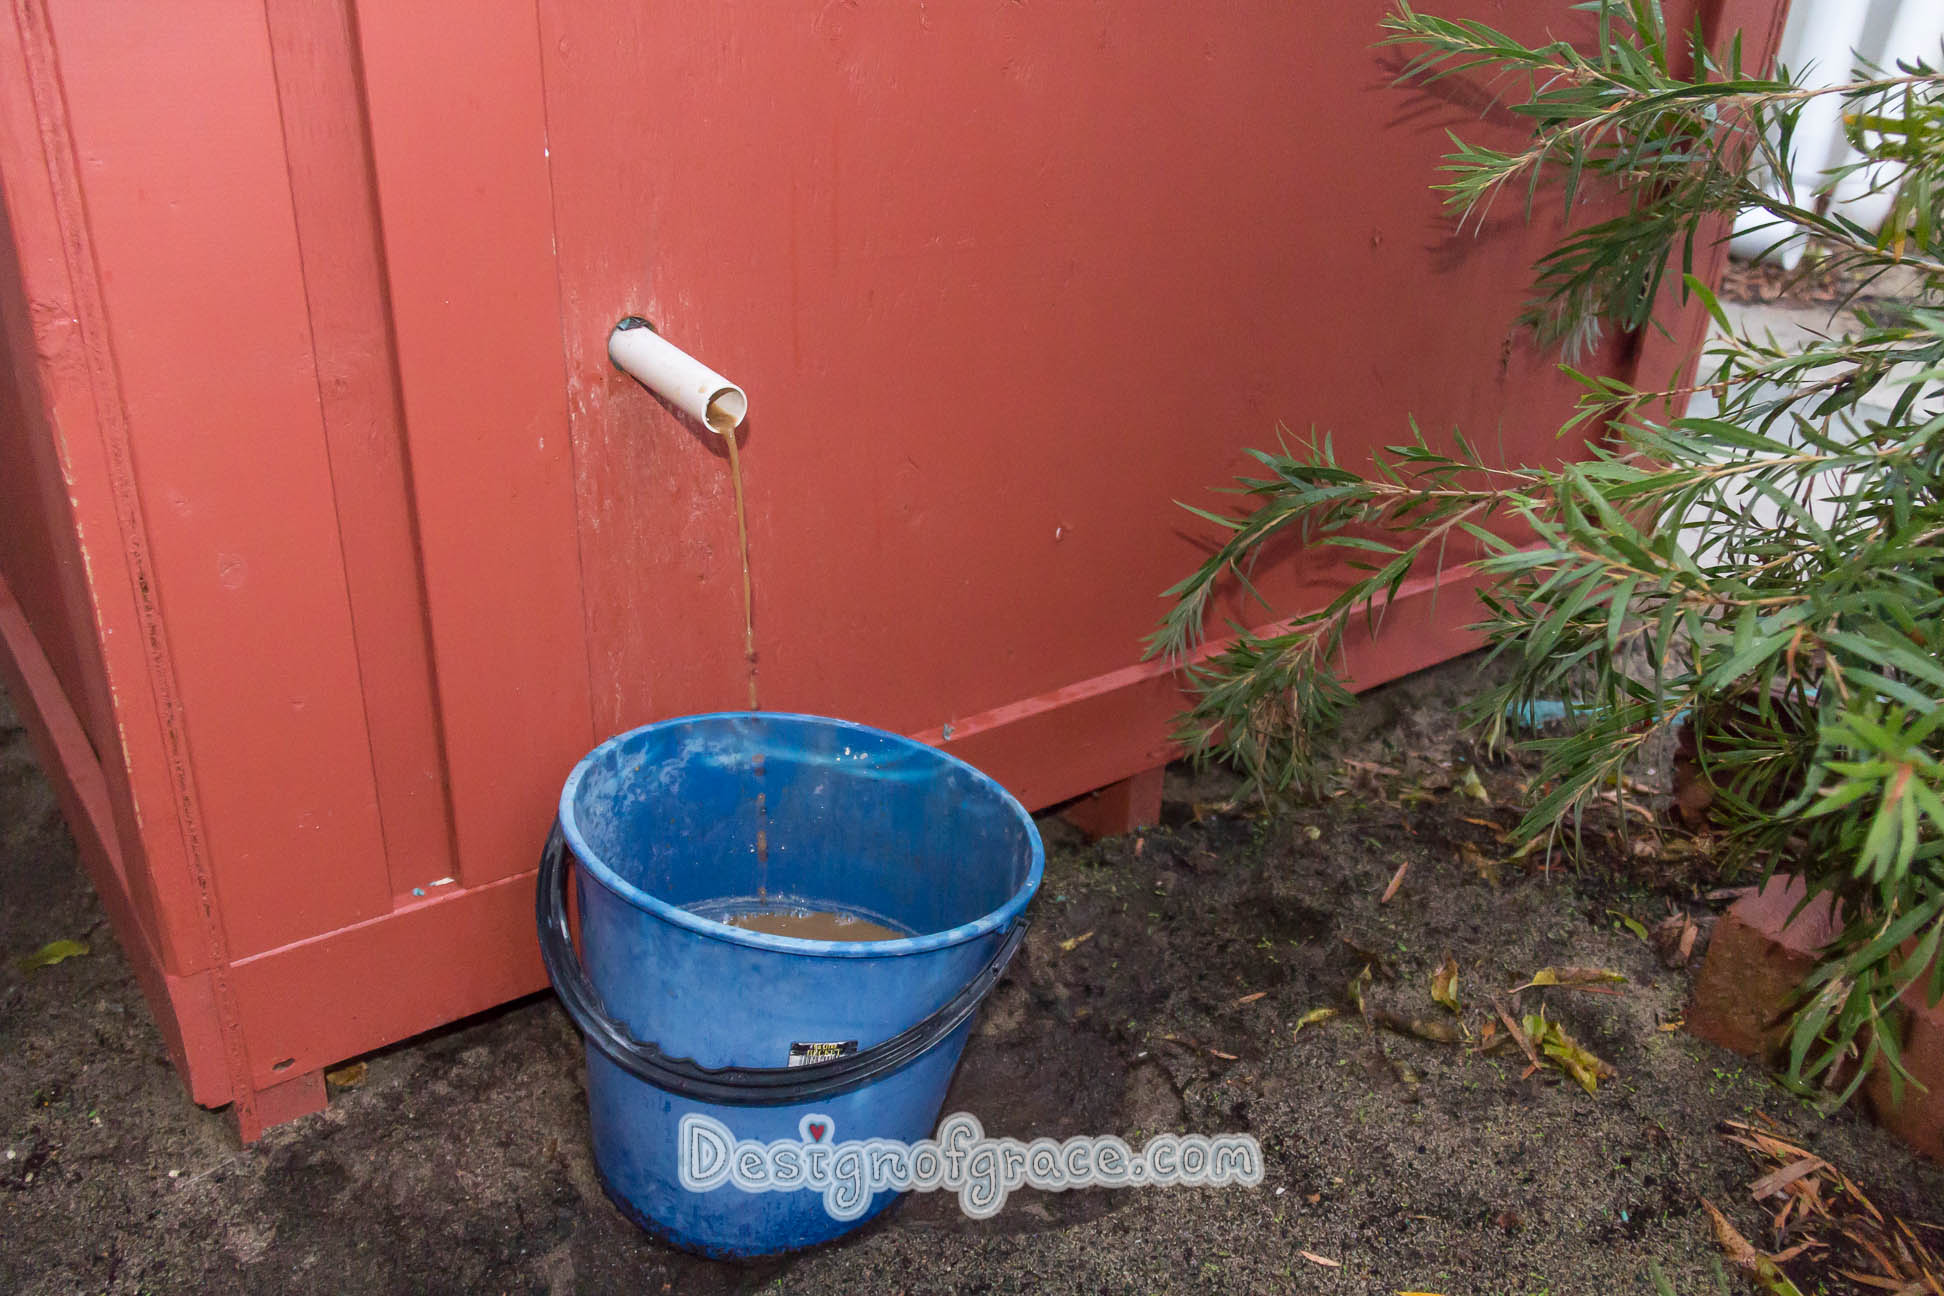
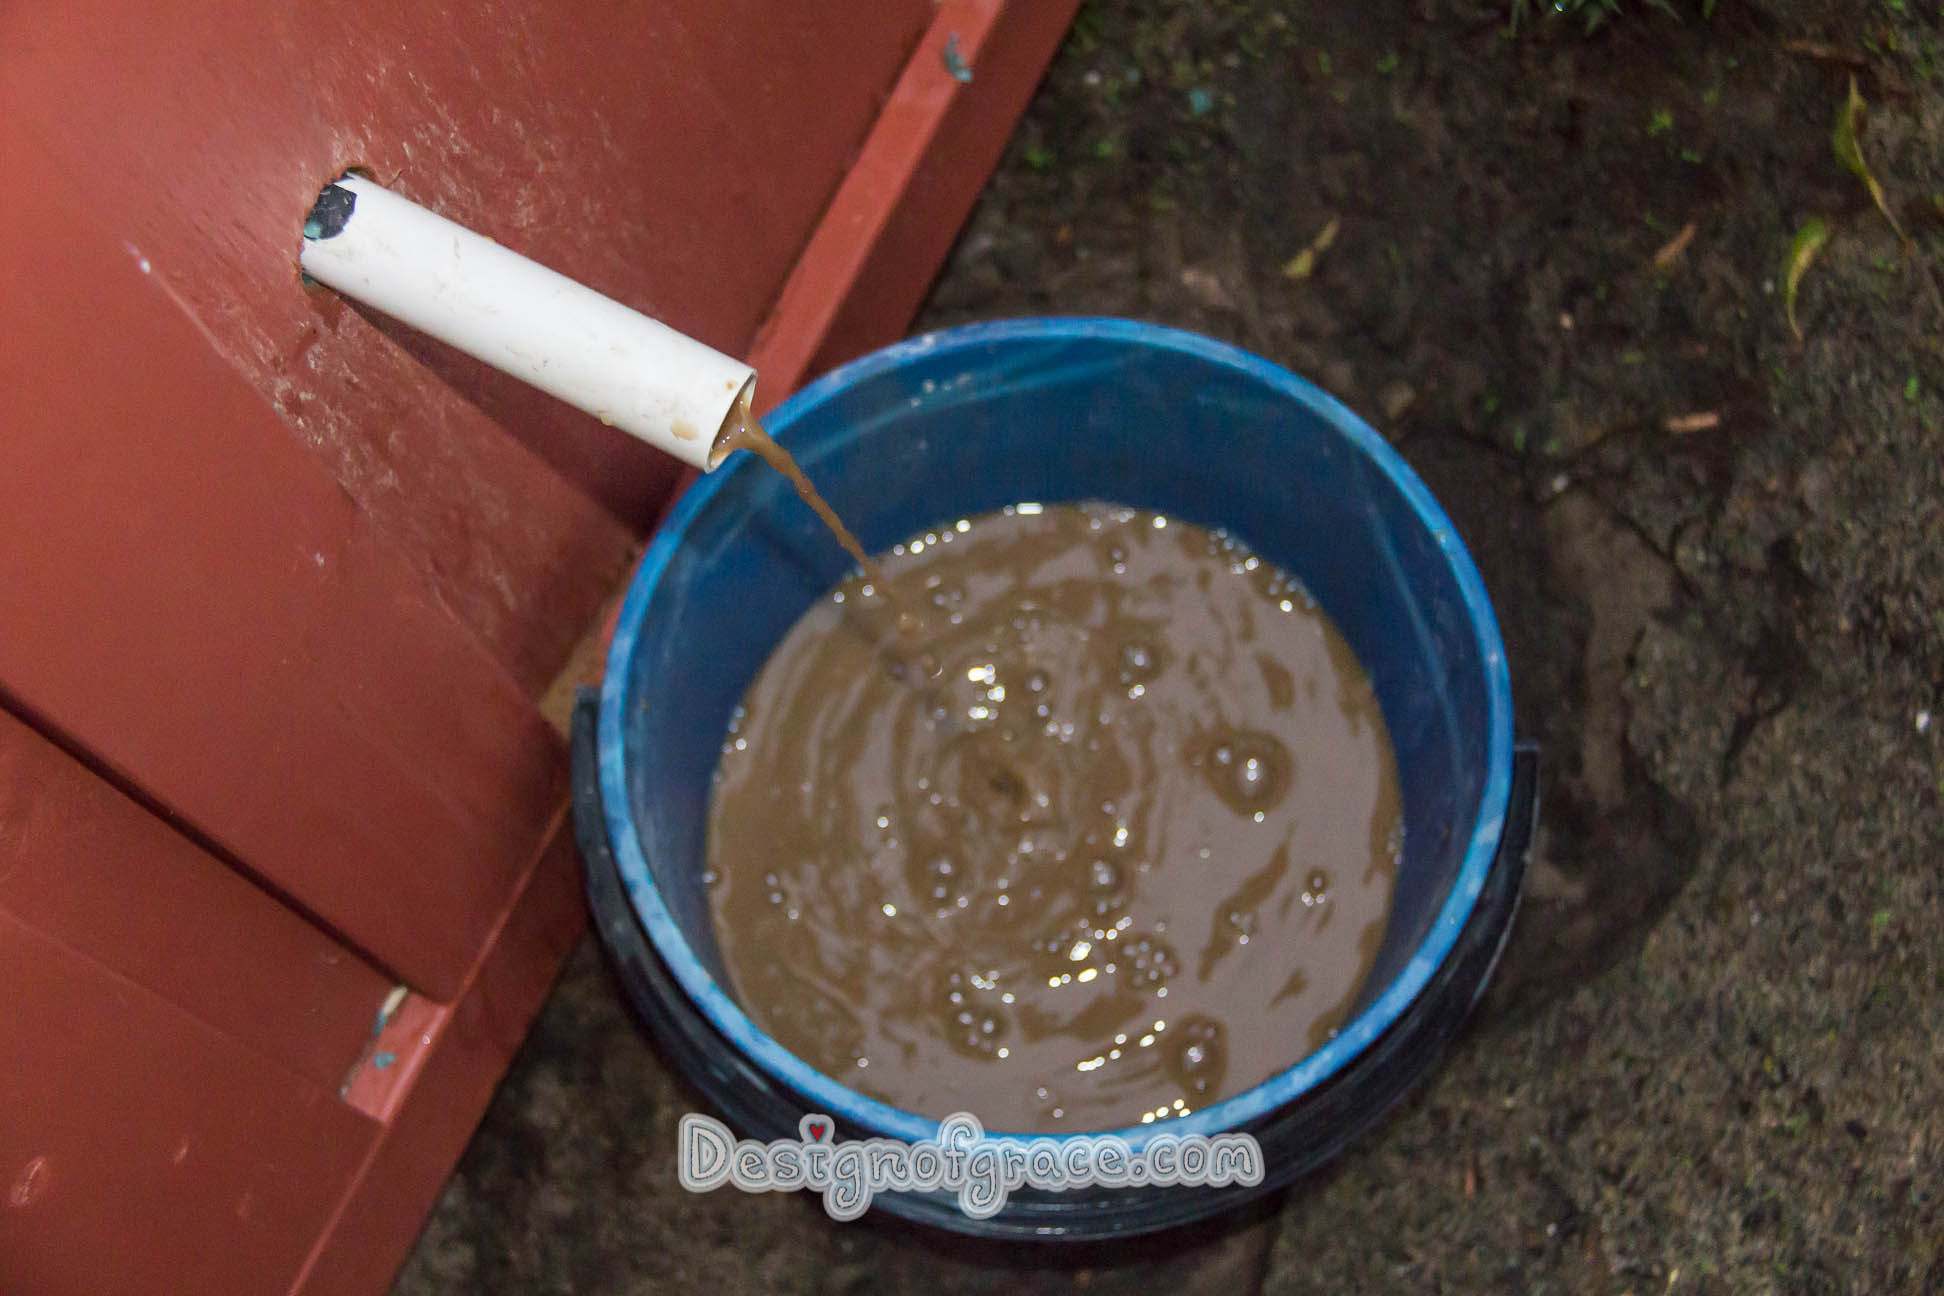
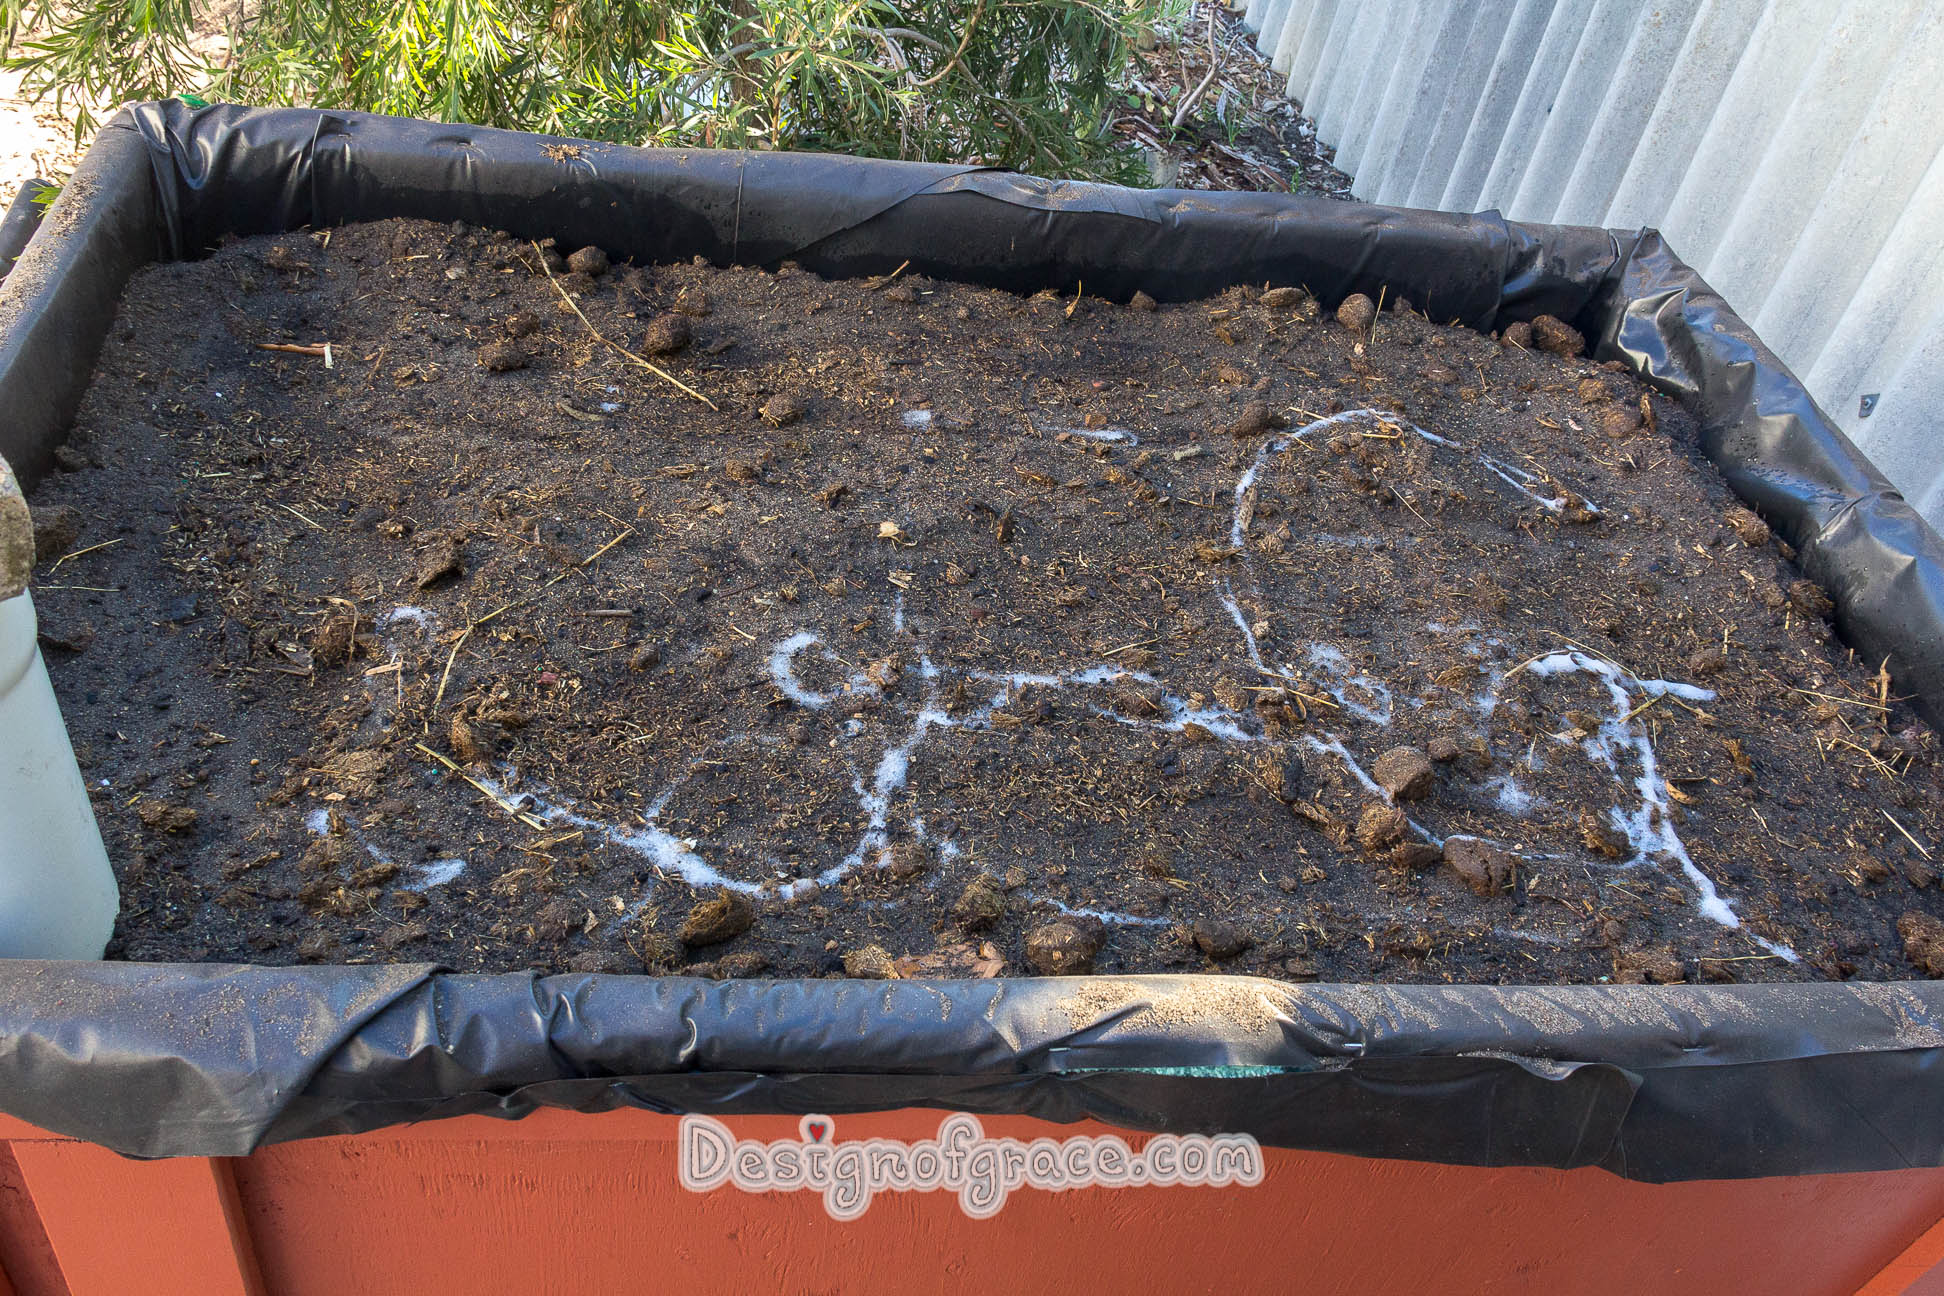
Took this photo the next day and it rained over night, so it was collecting water=)
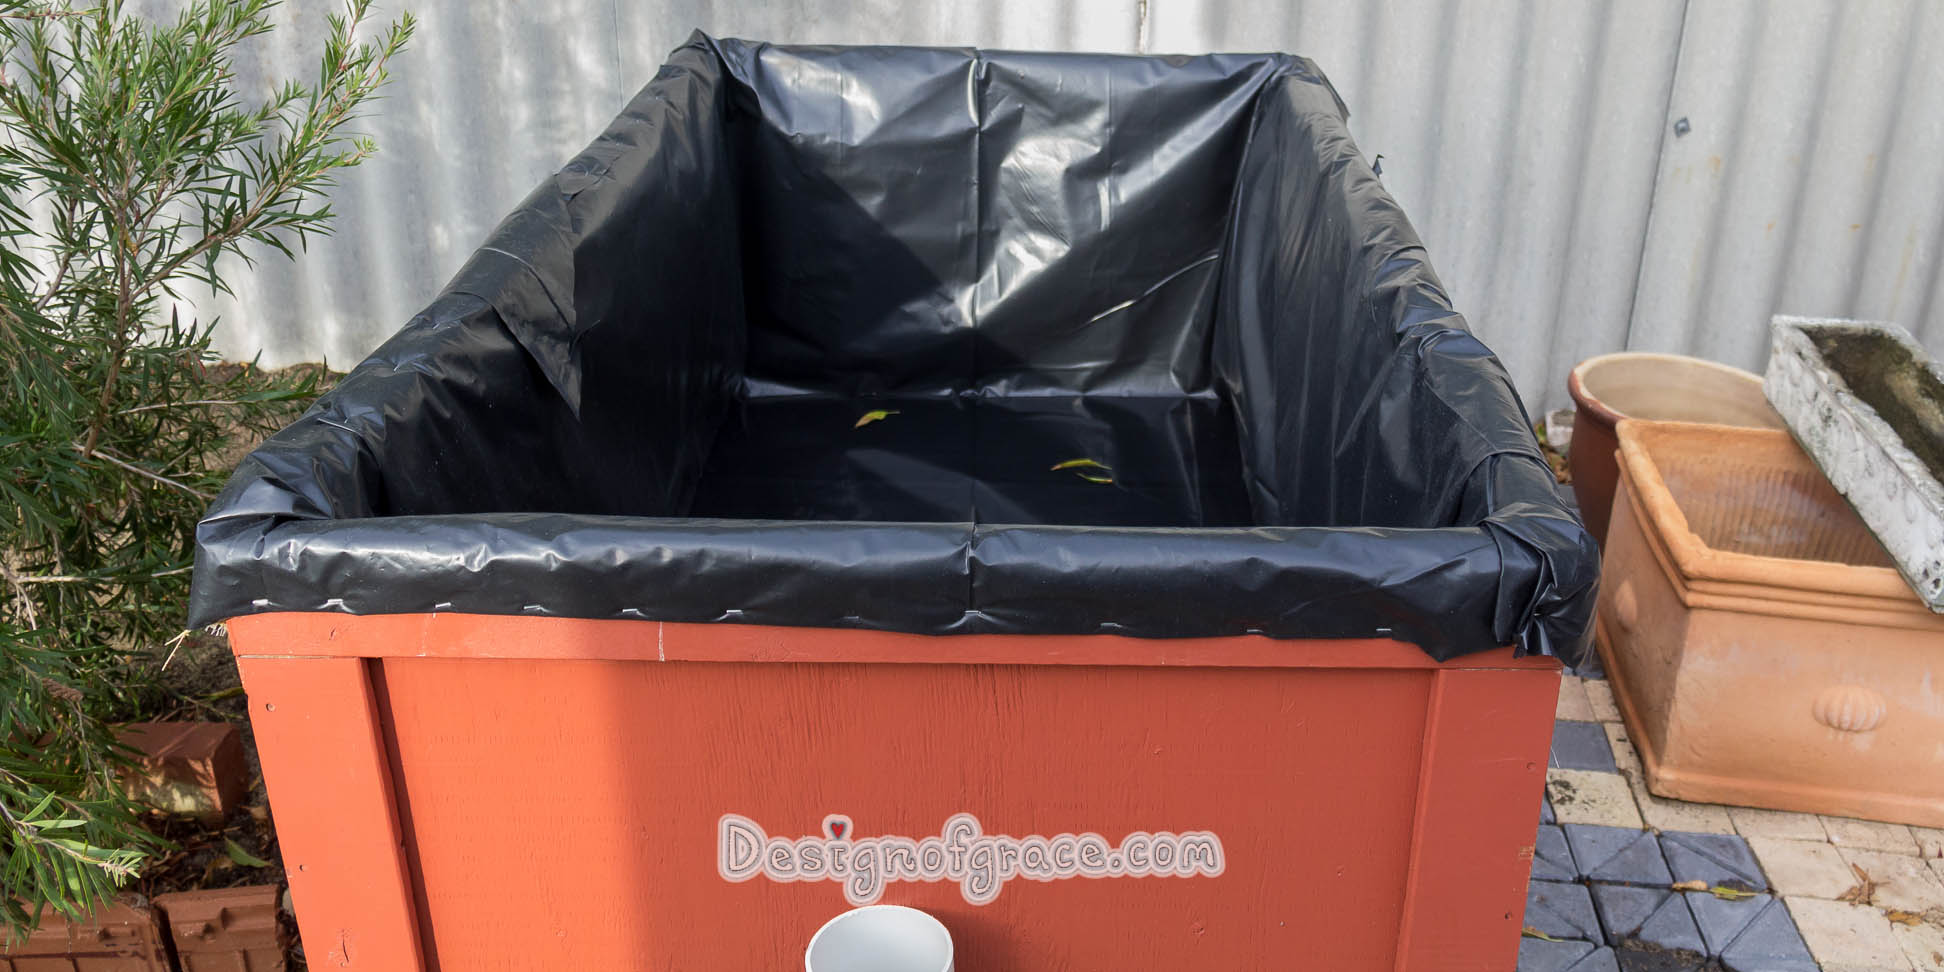
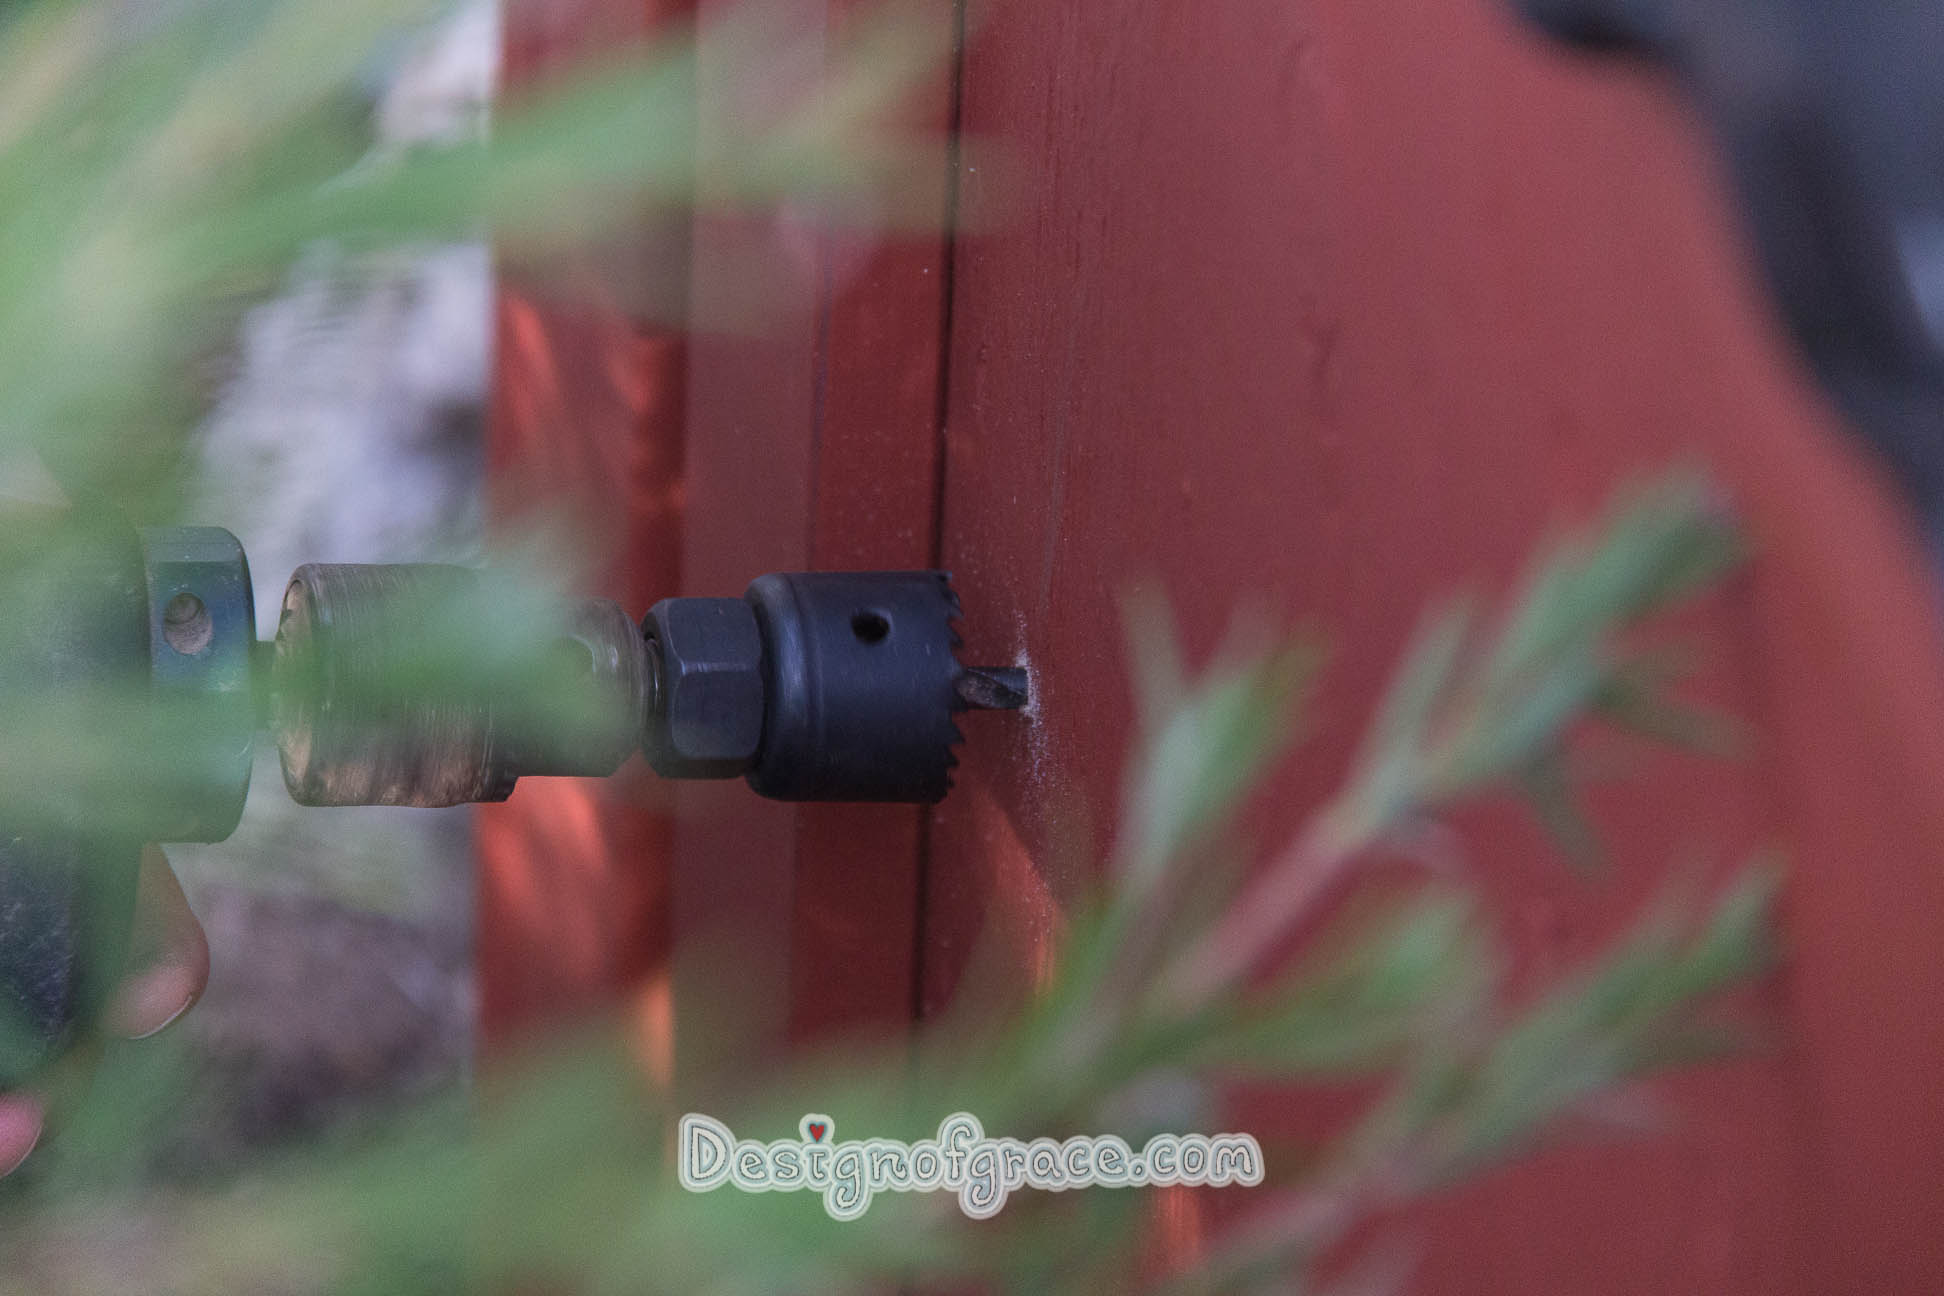
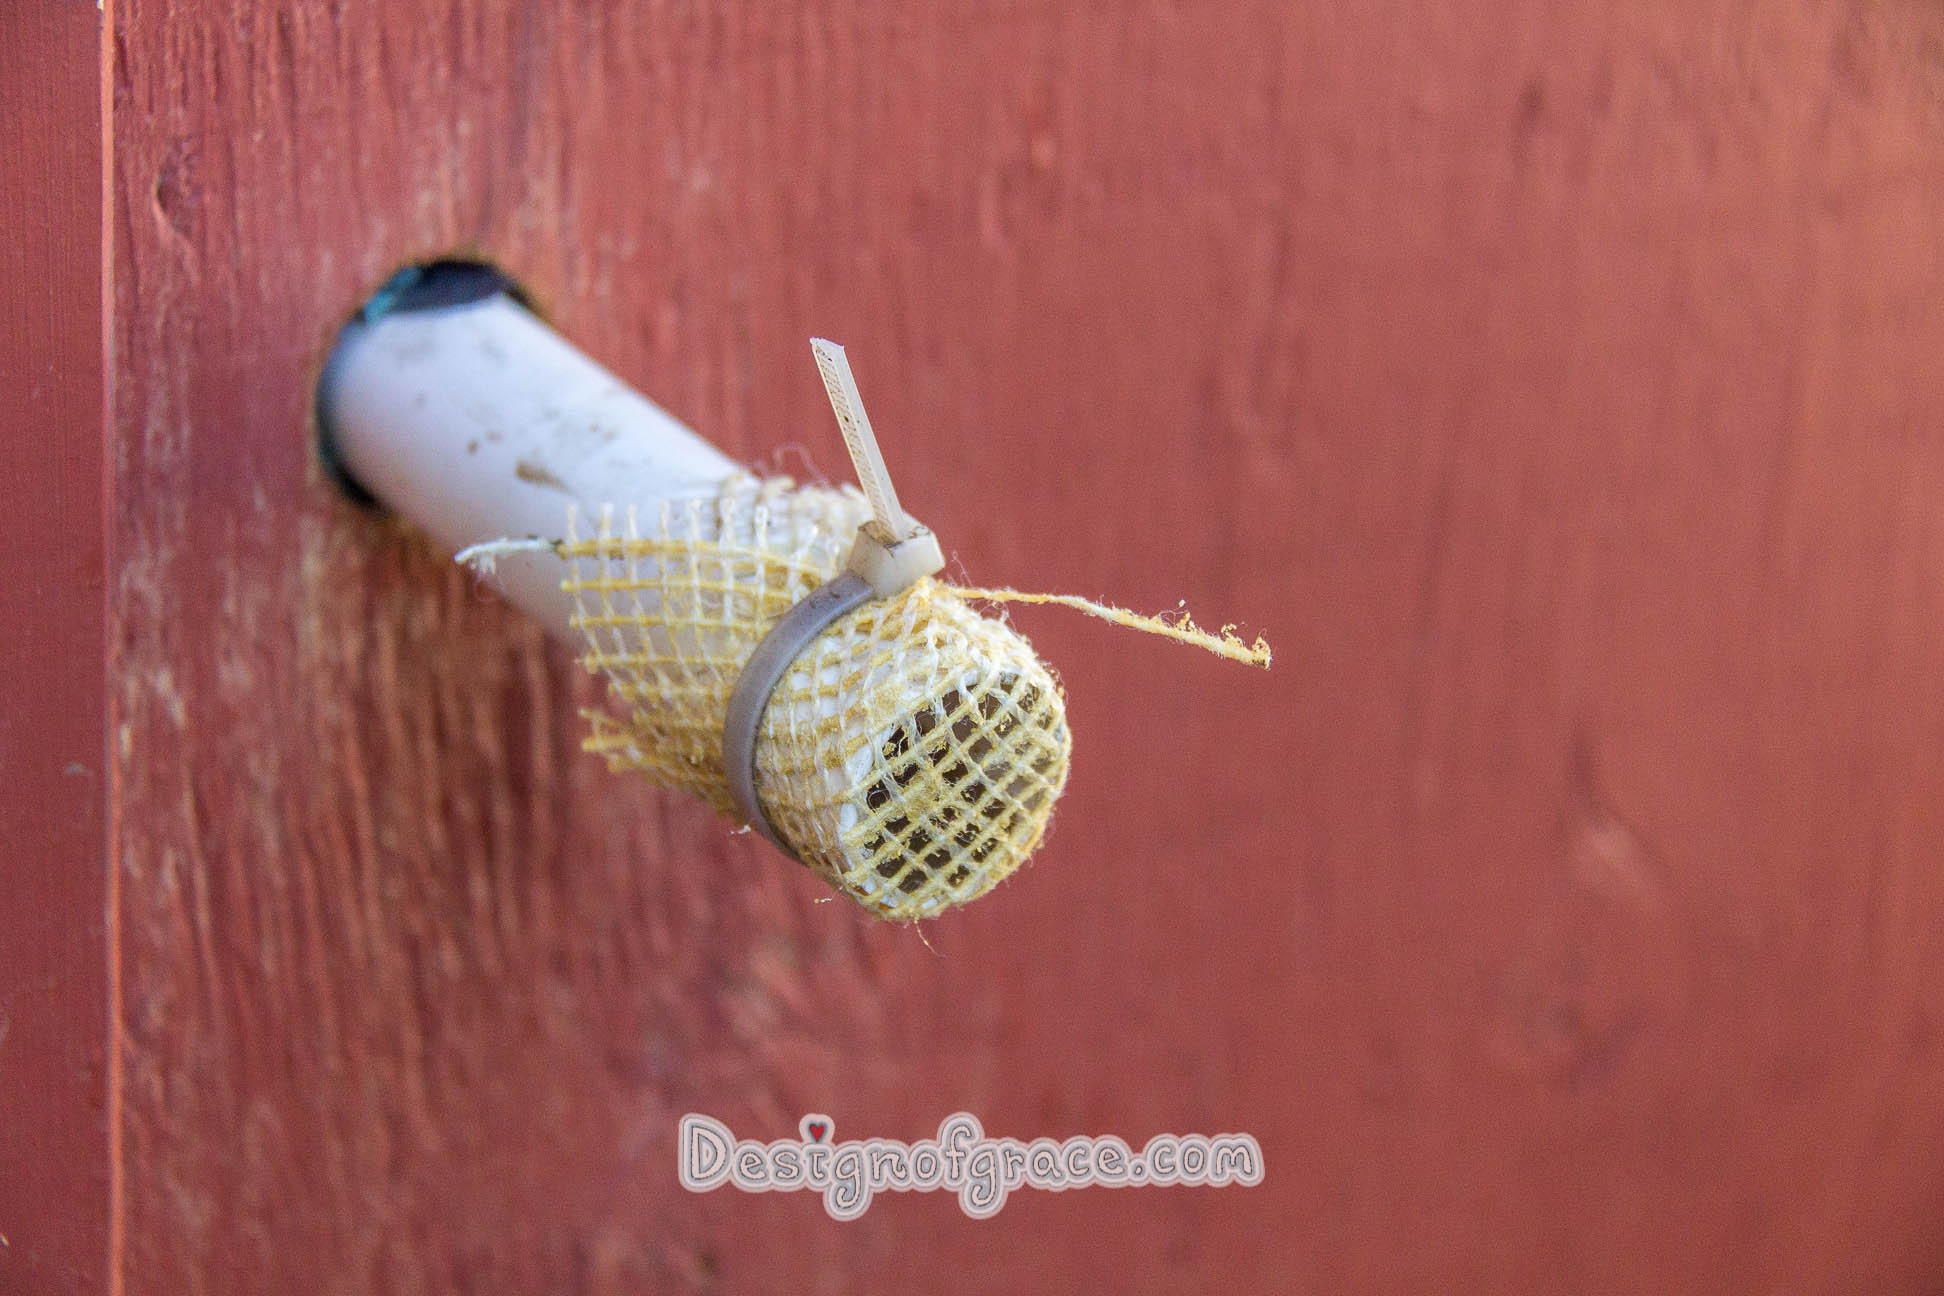
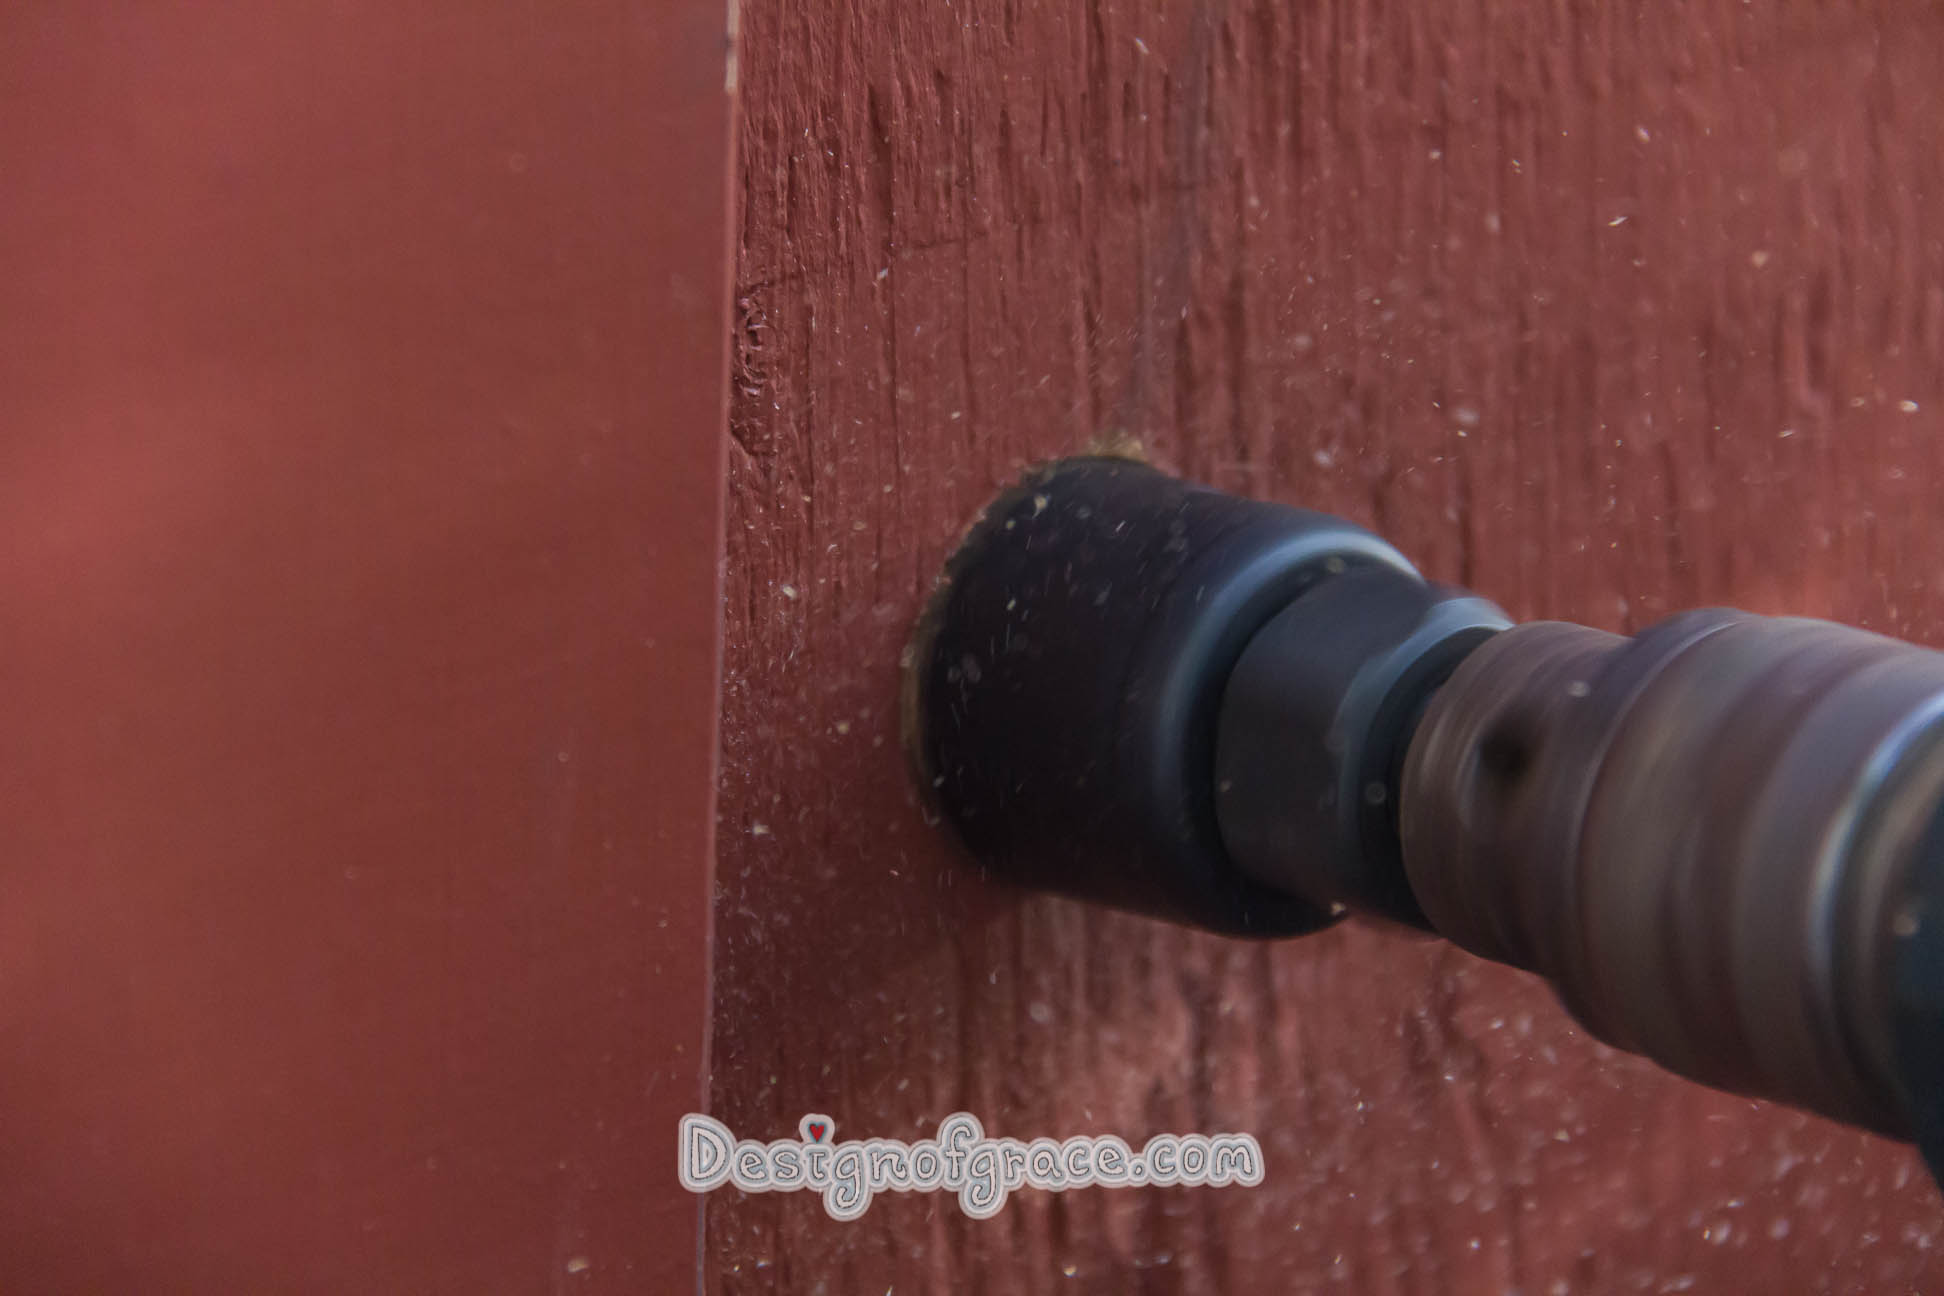
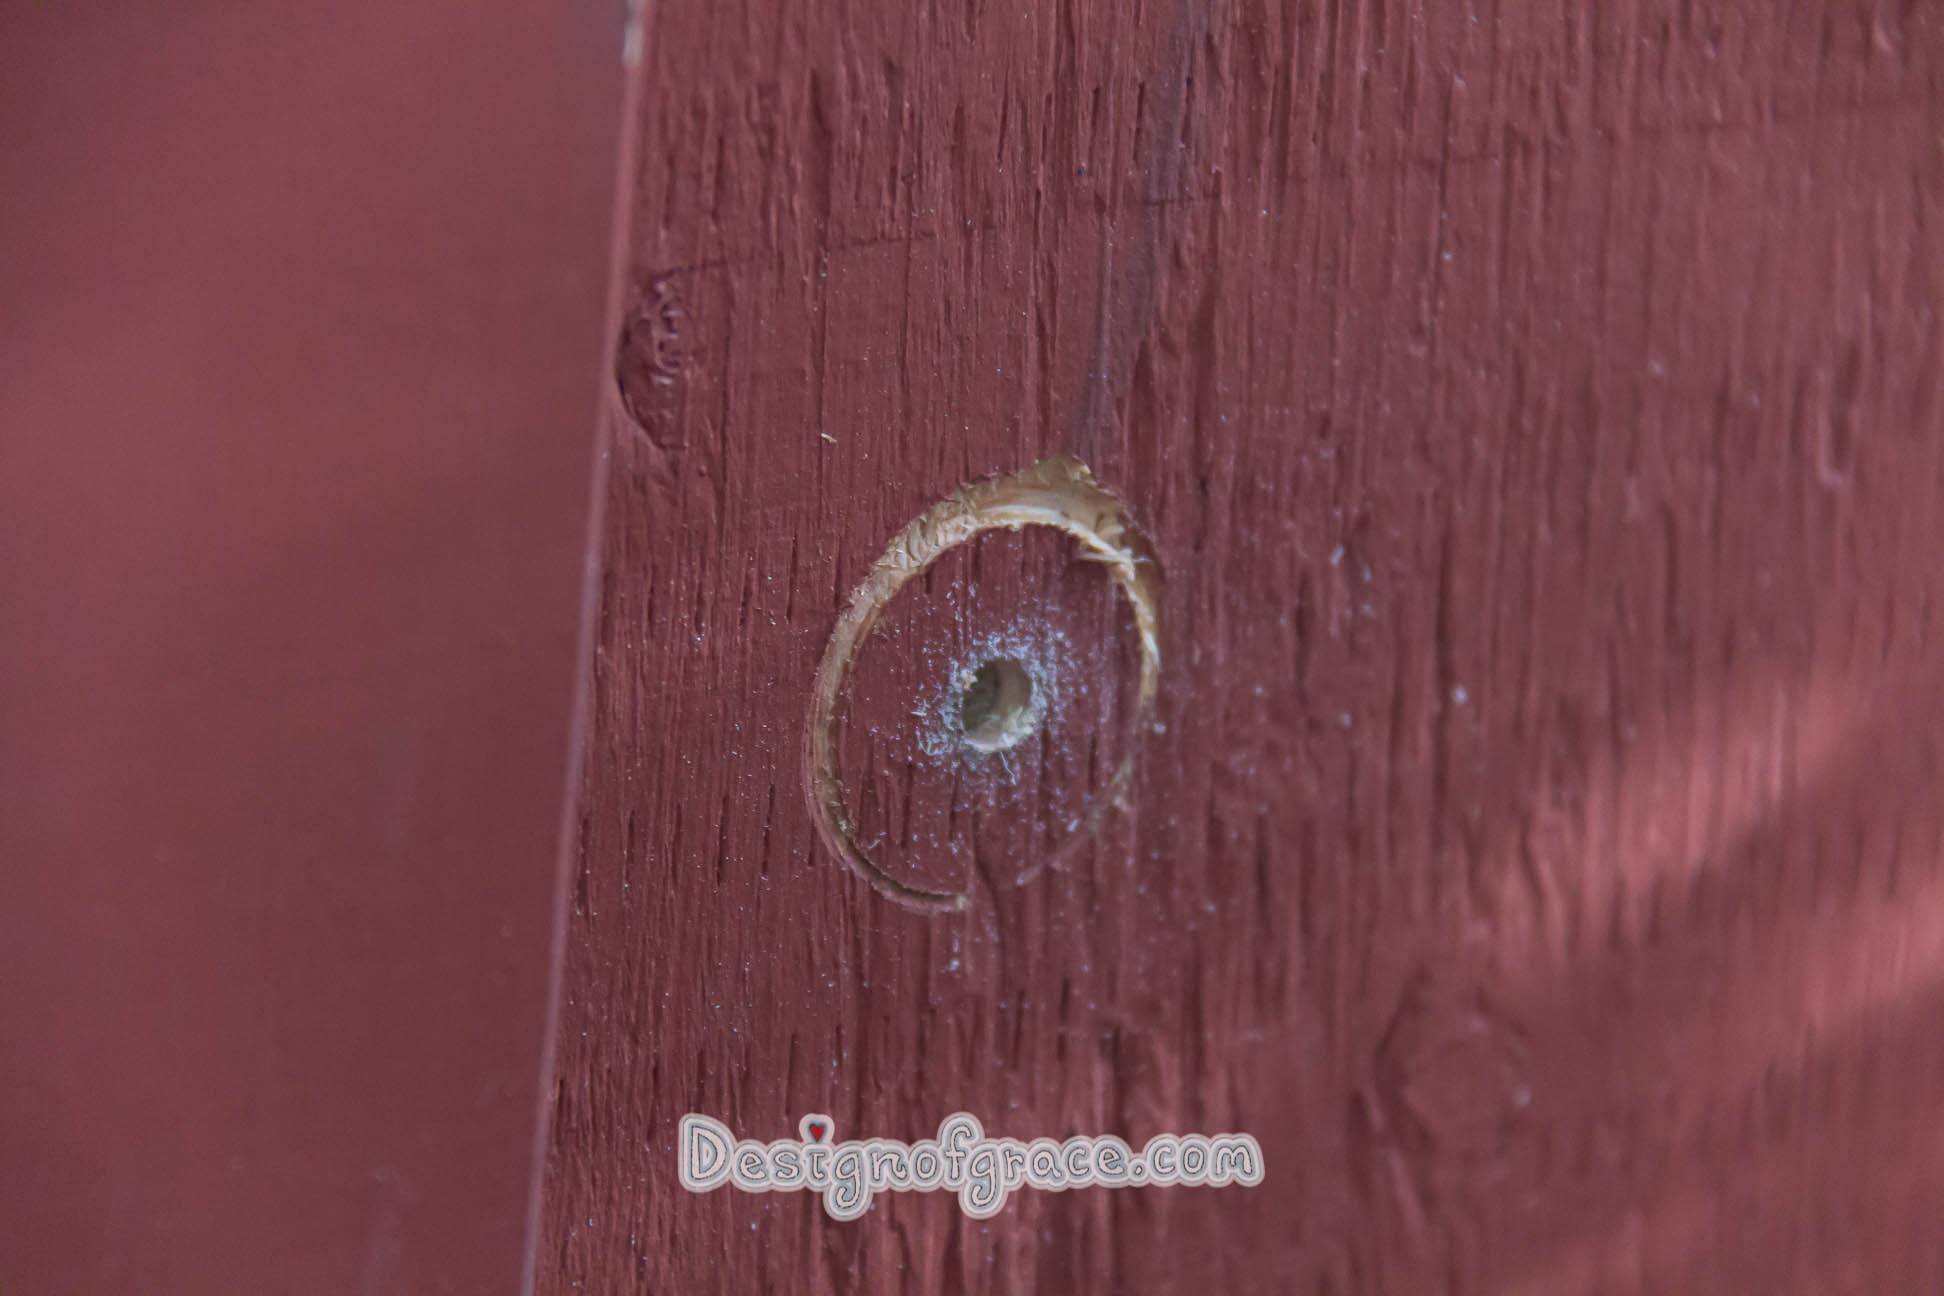
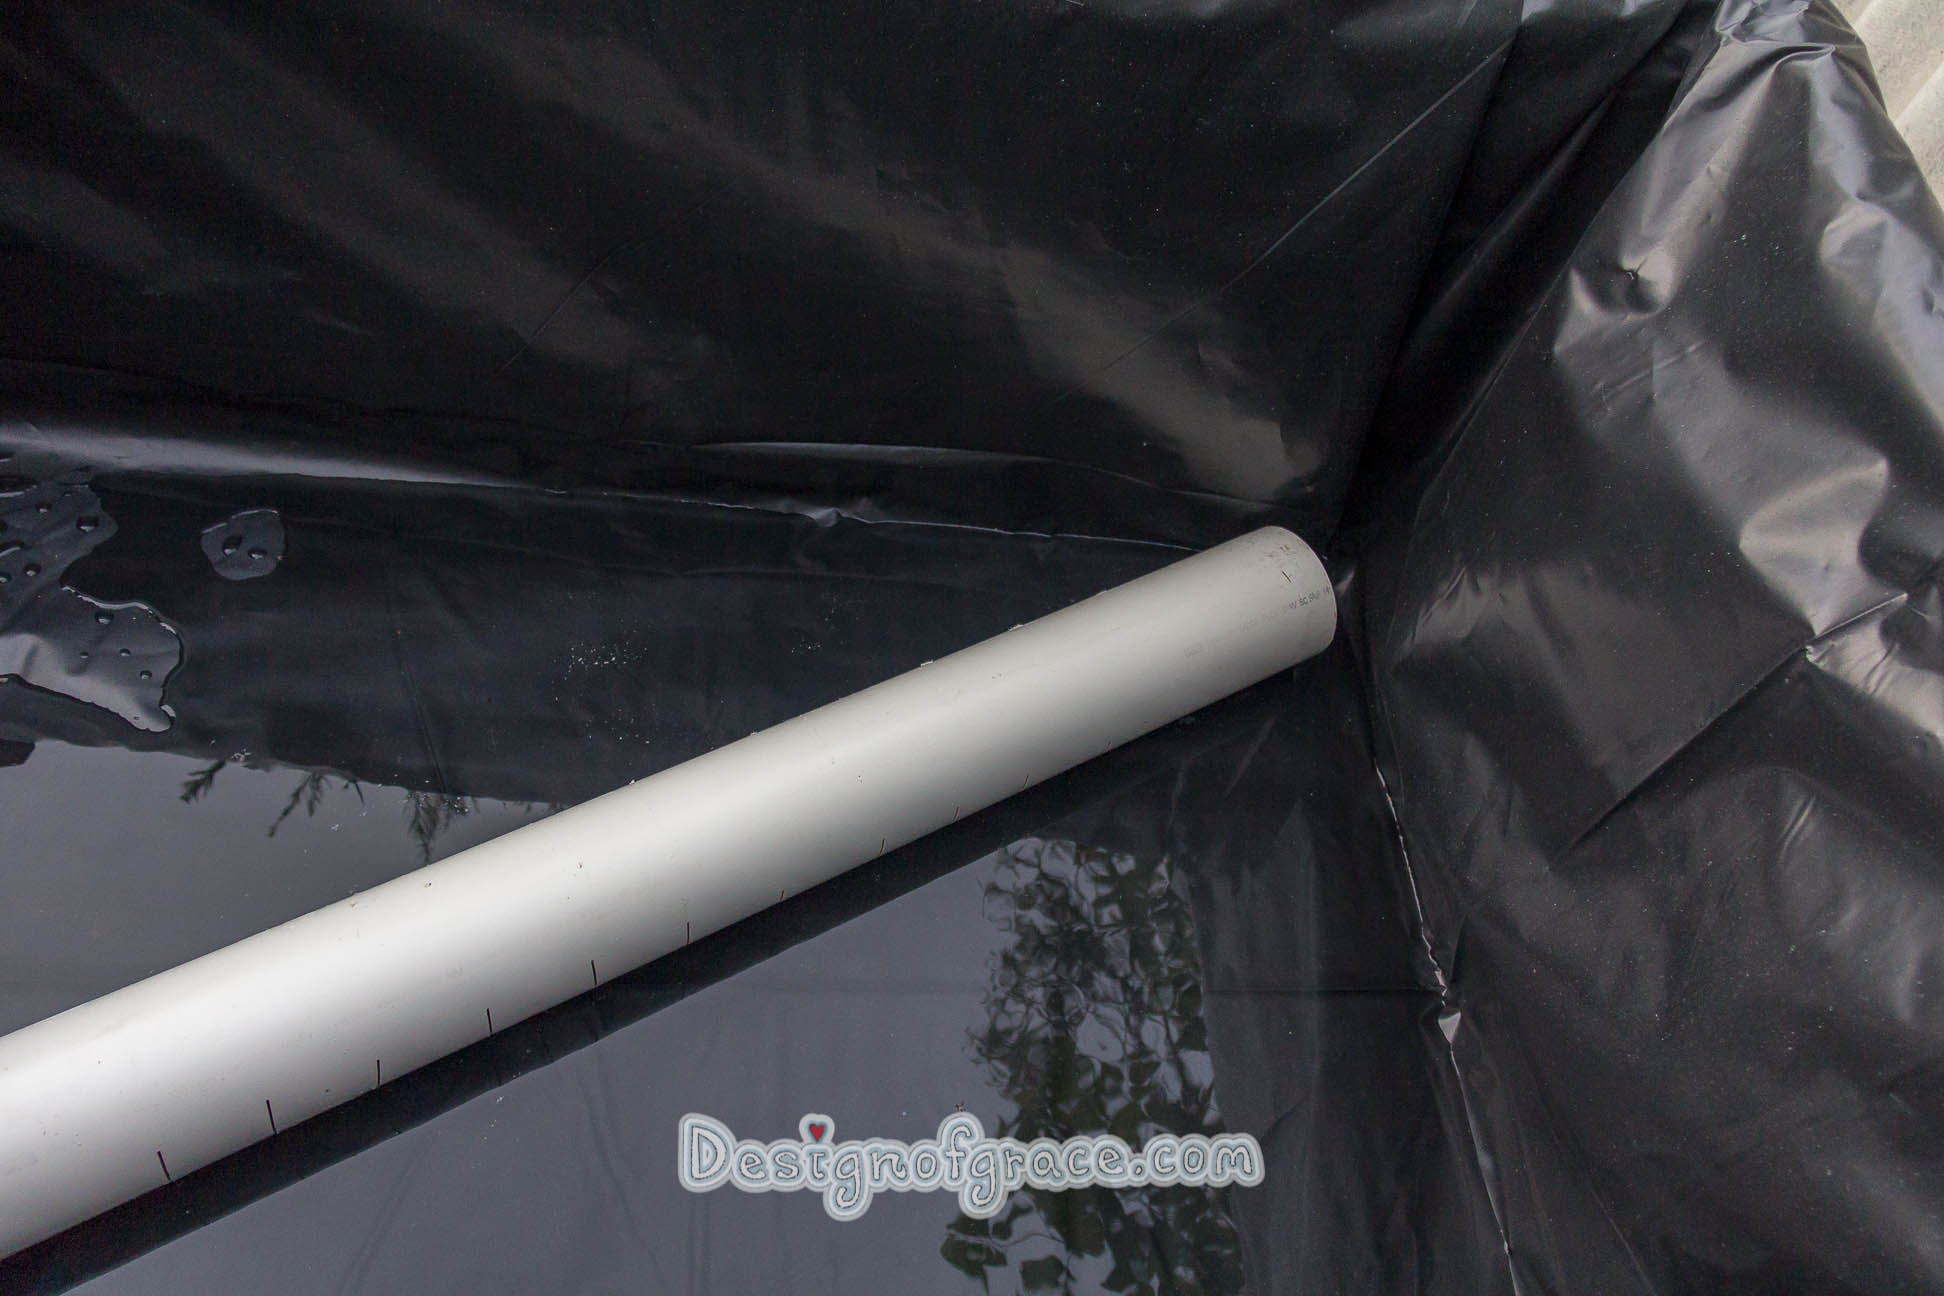
In hind sight, we should have drilled the hole before we added the black plastic layer.

As you can see, it’s been raining quite a bit and water has been collected.
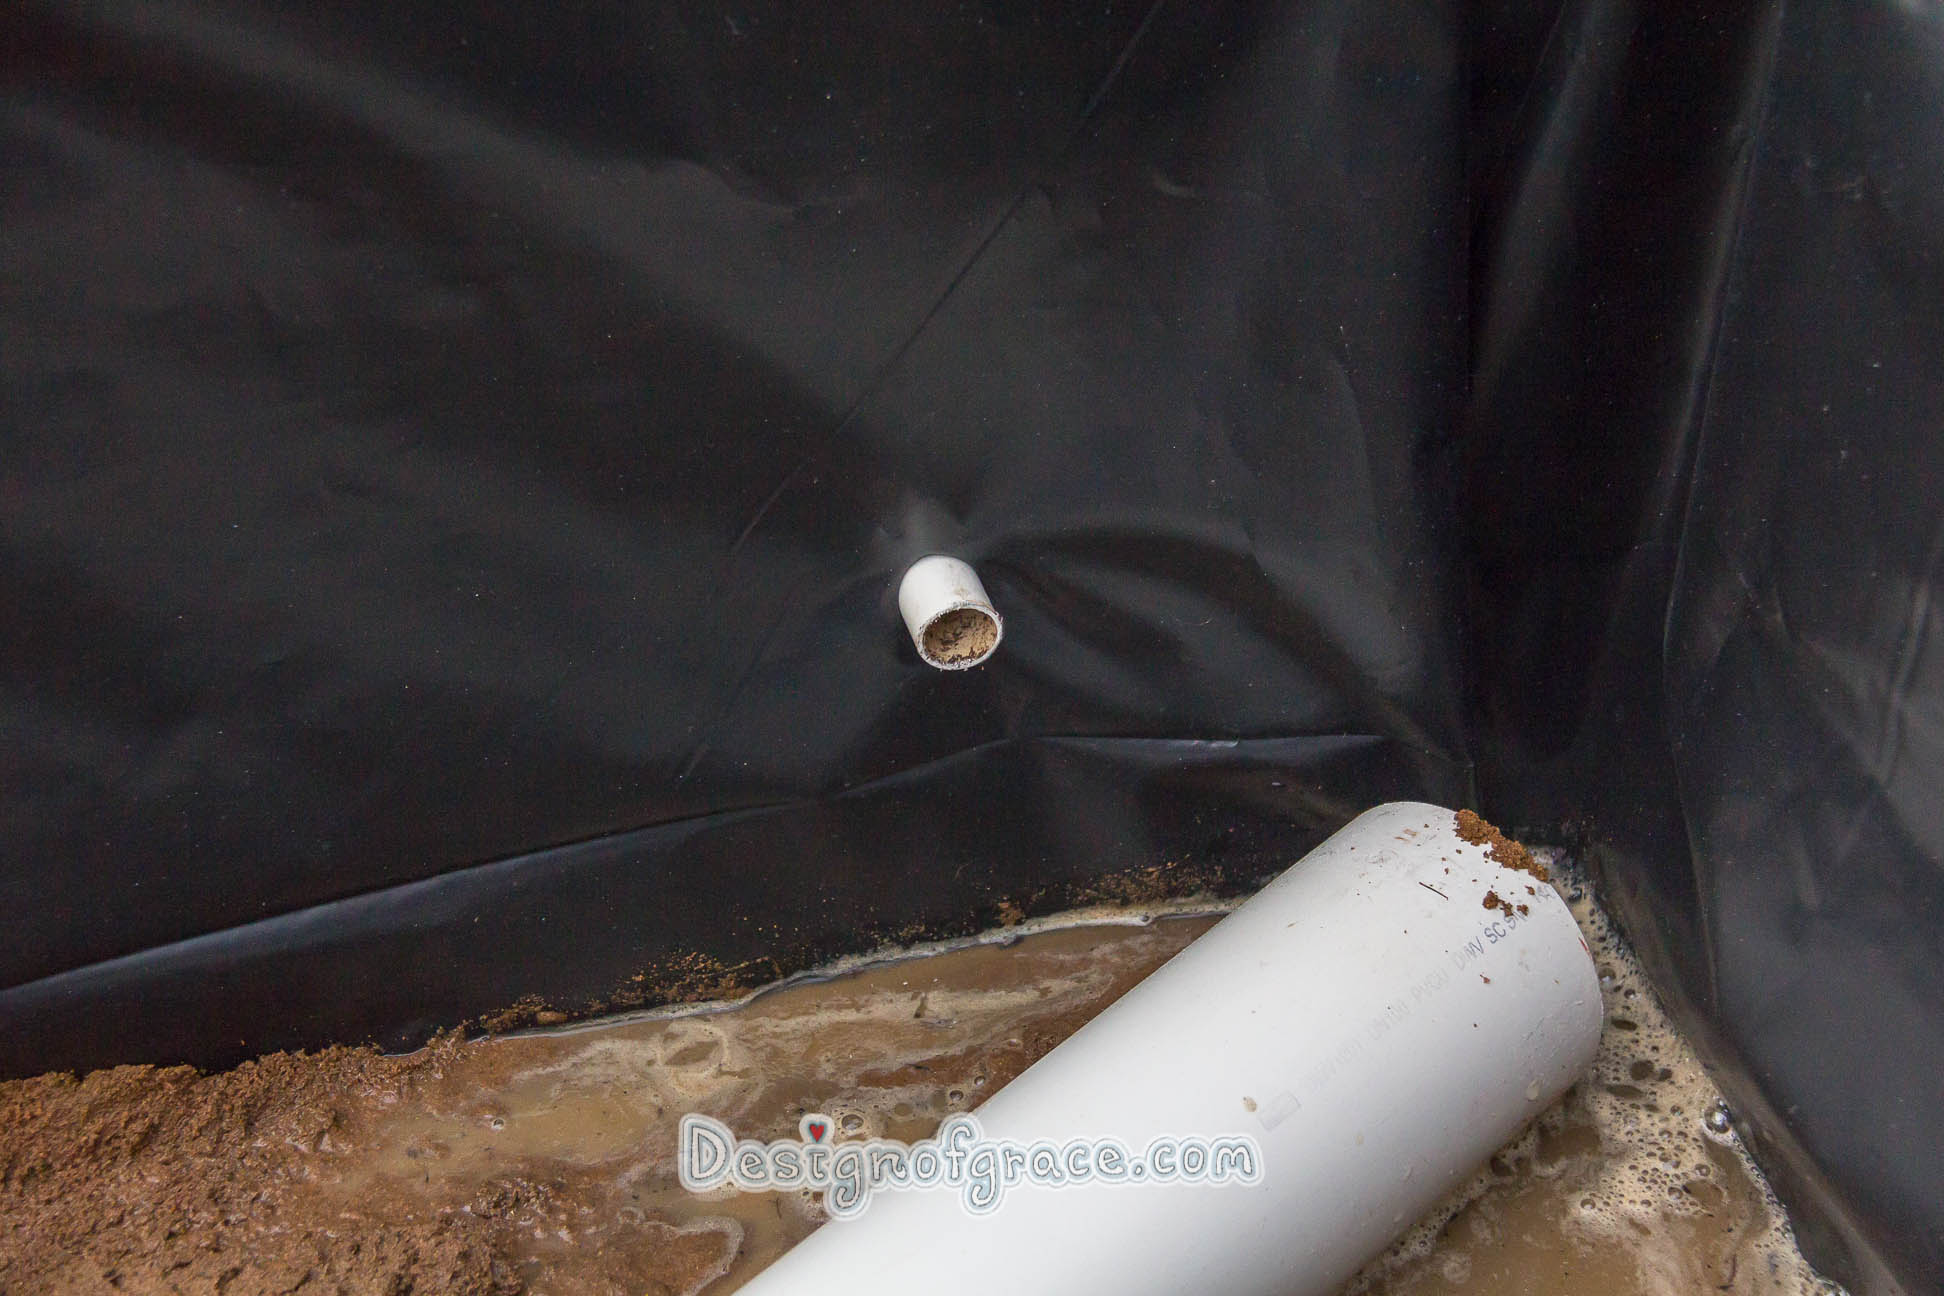
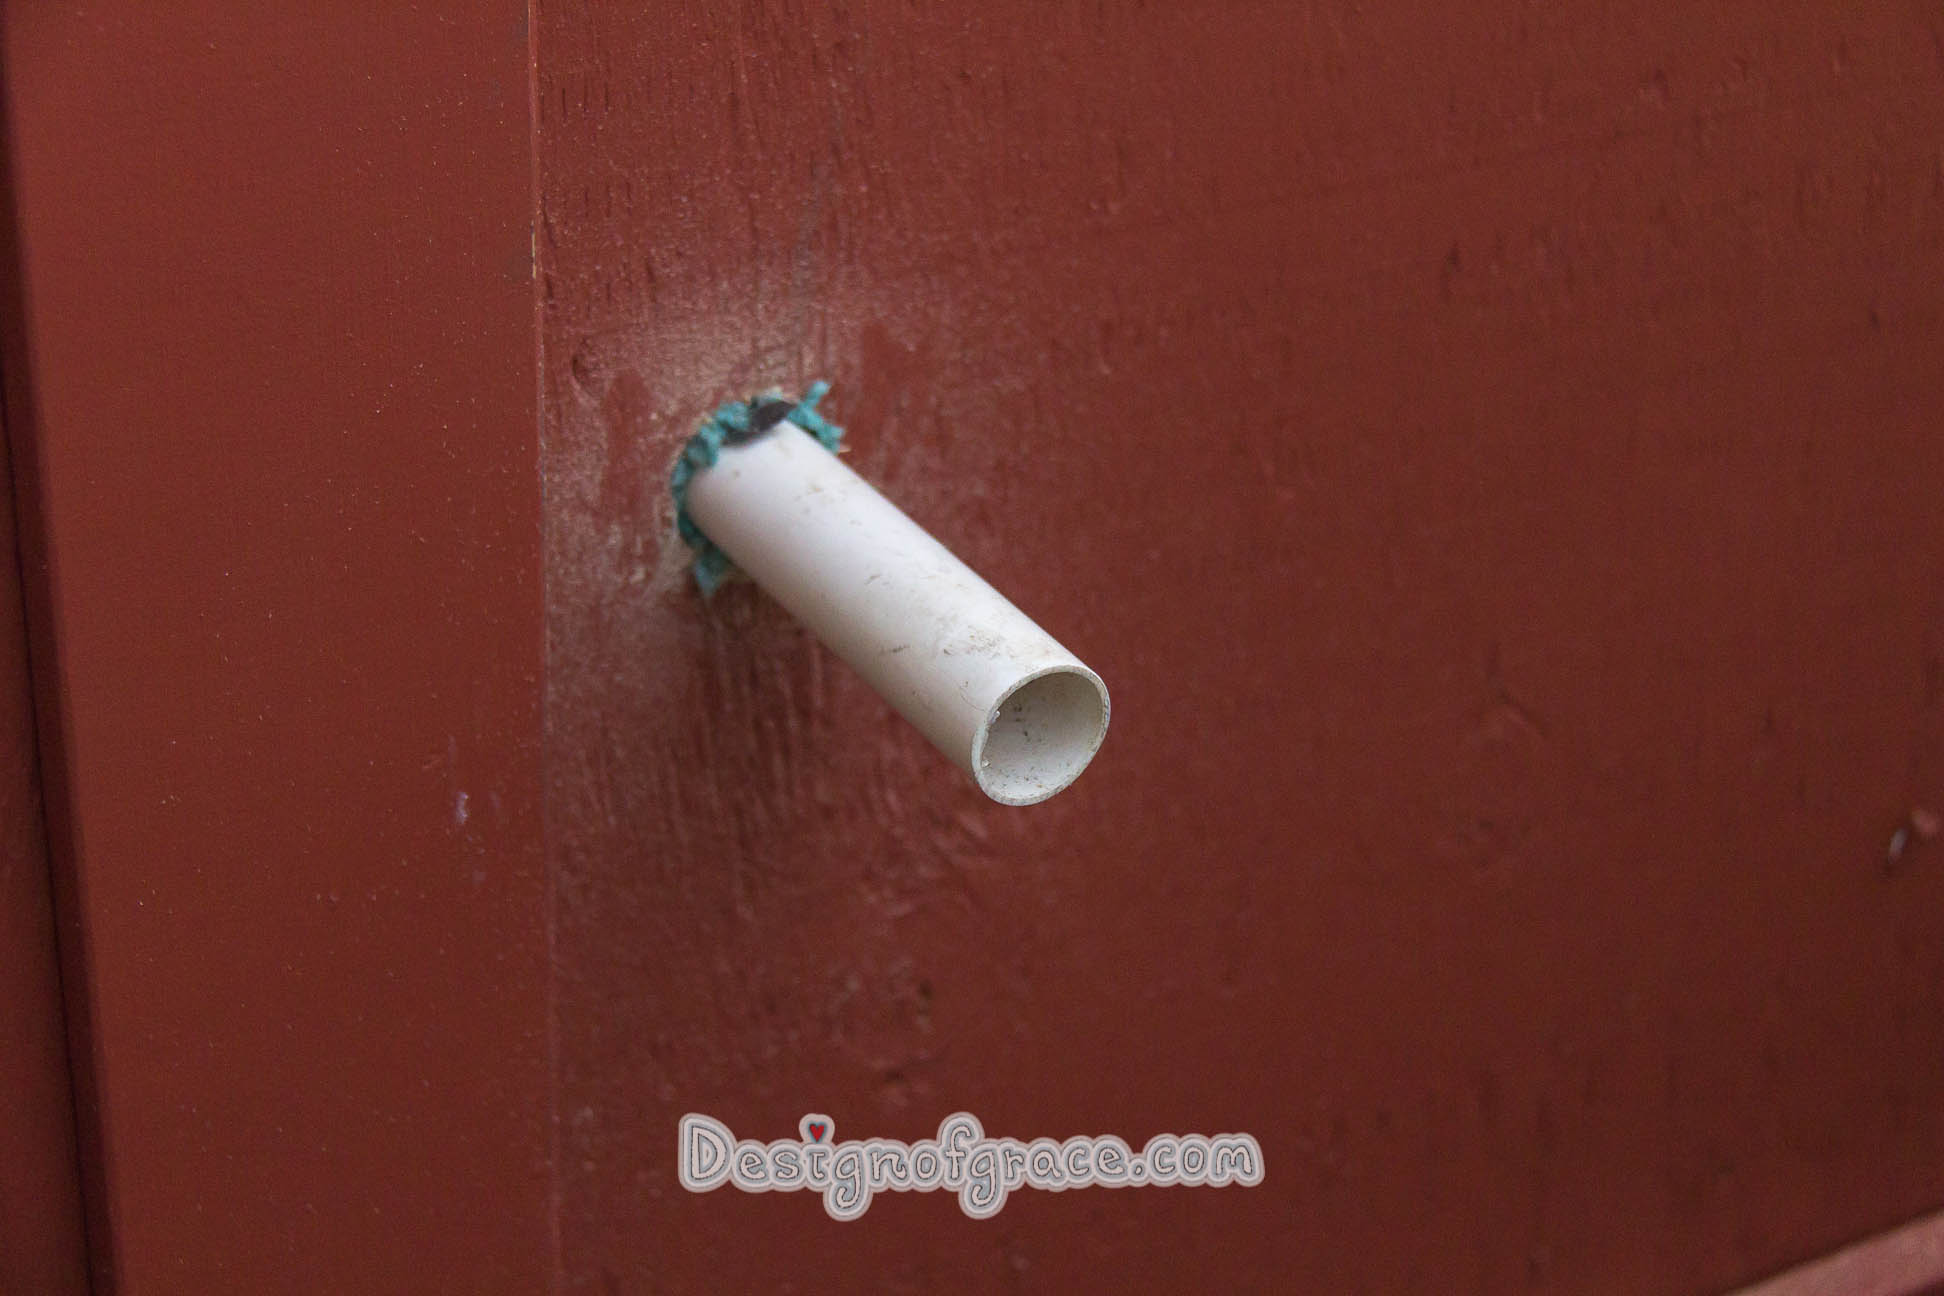
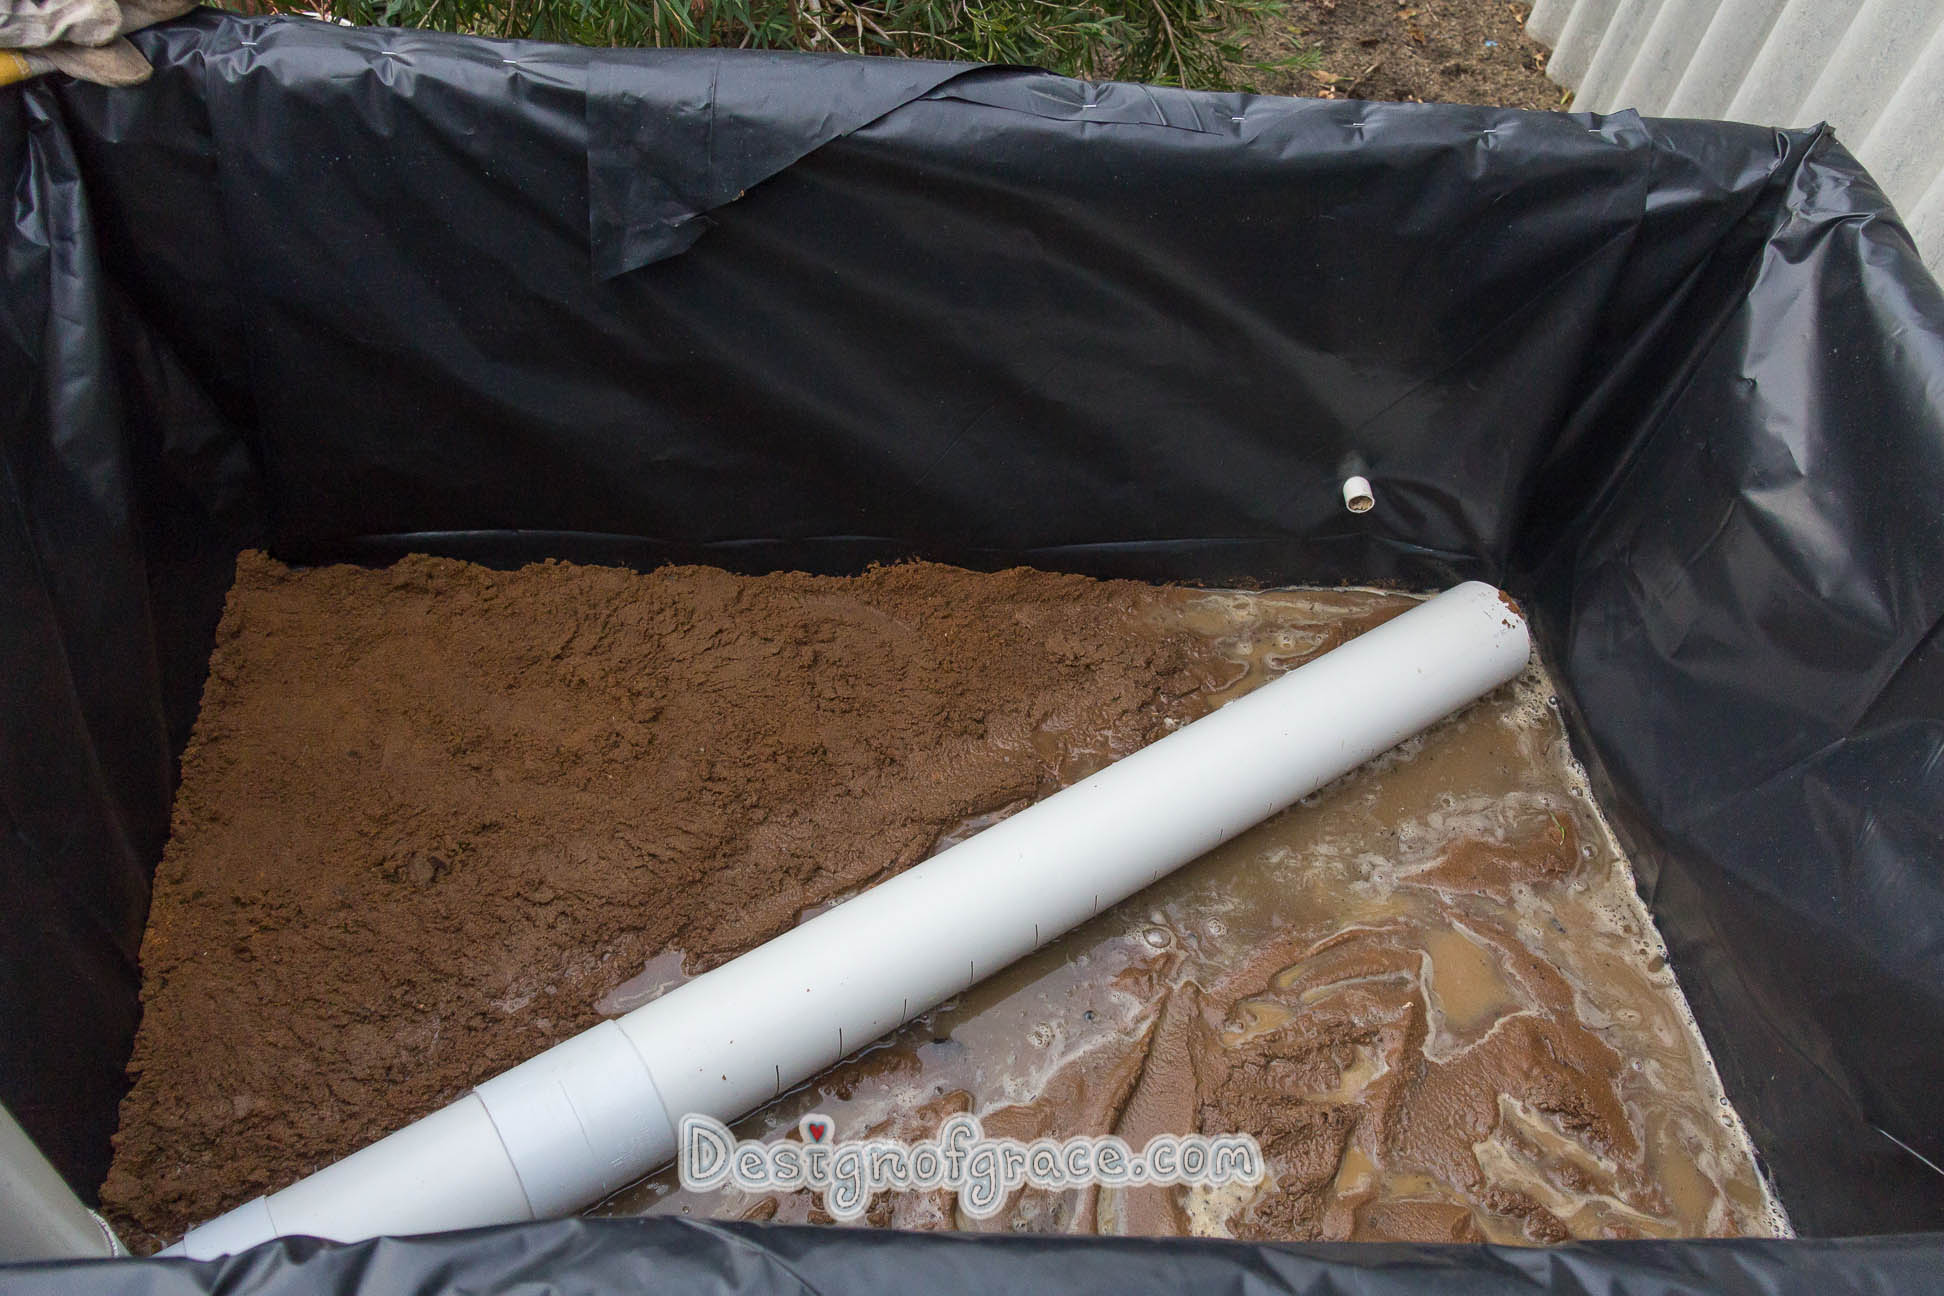

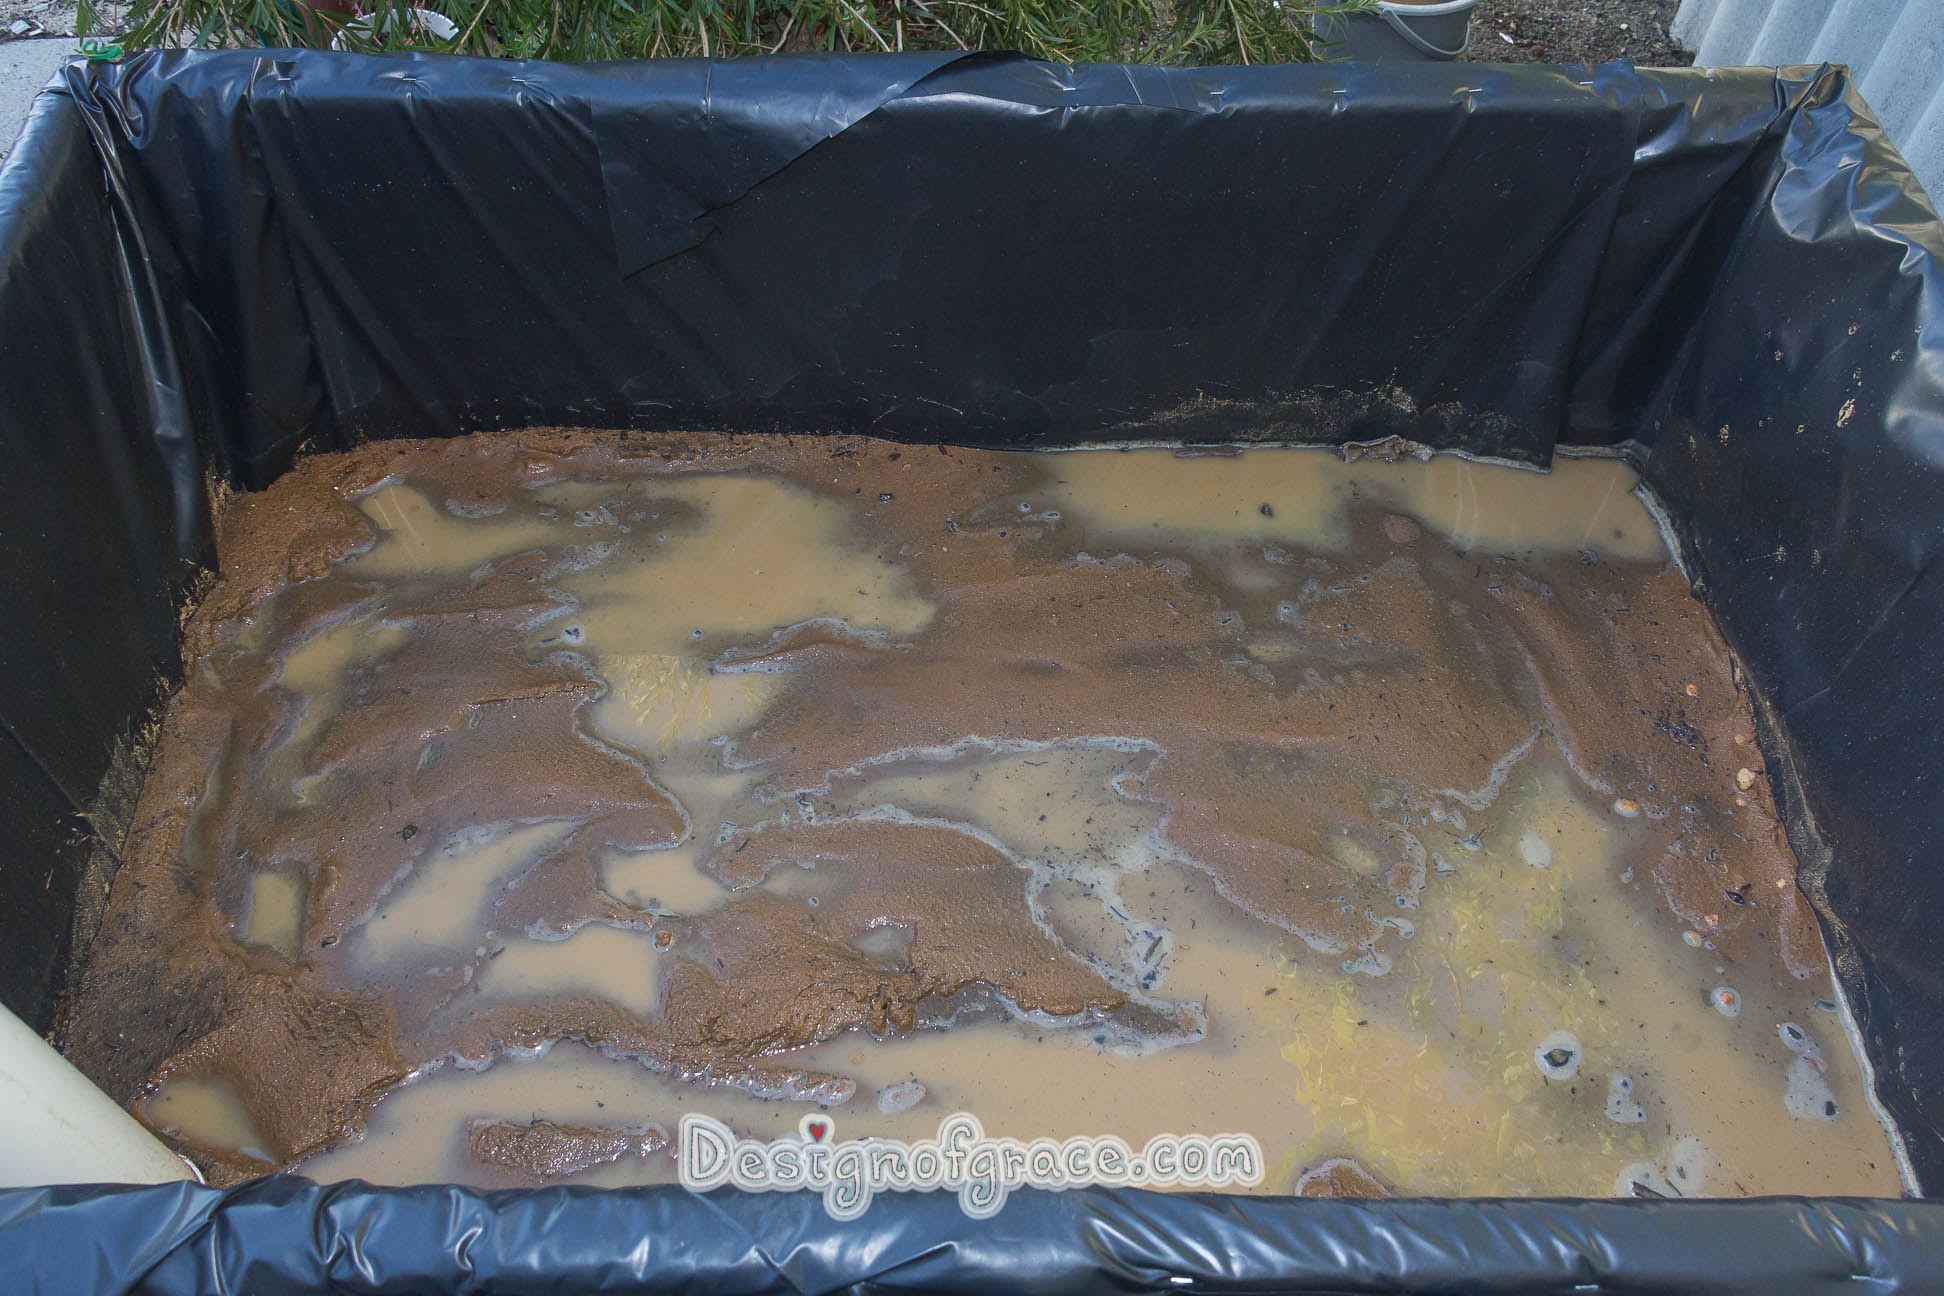
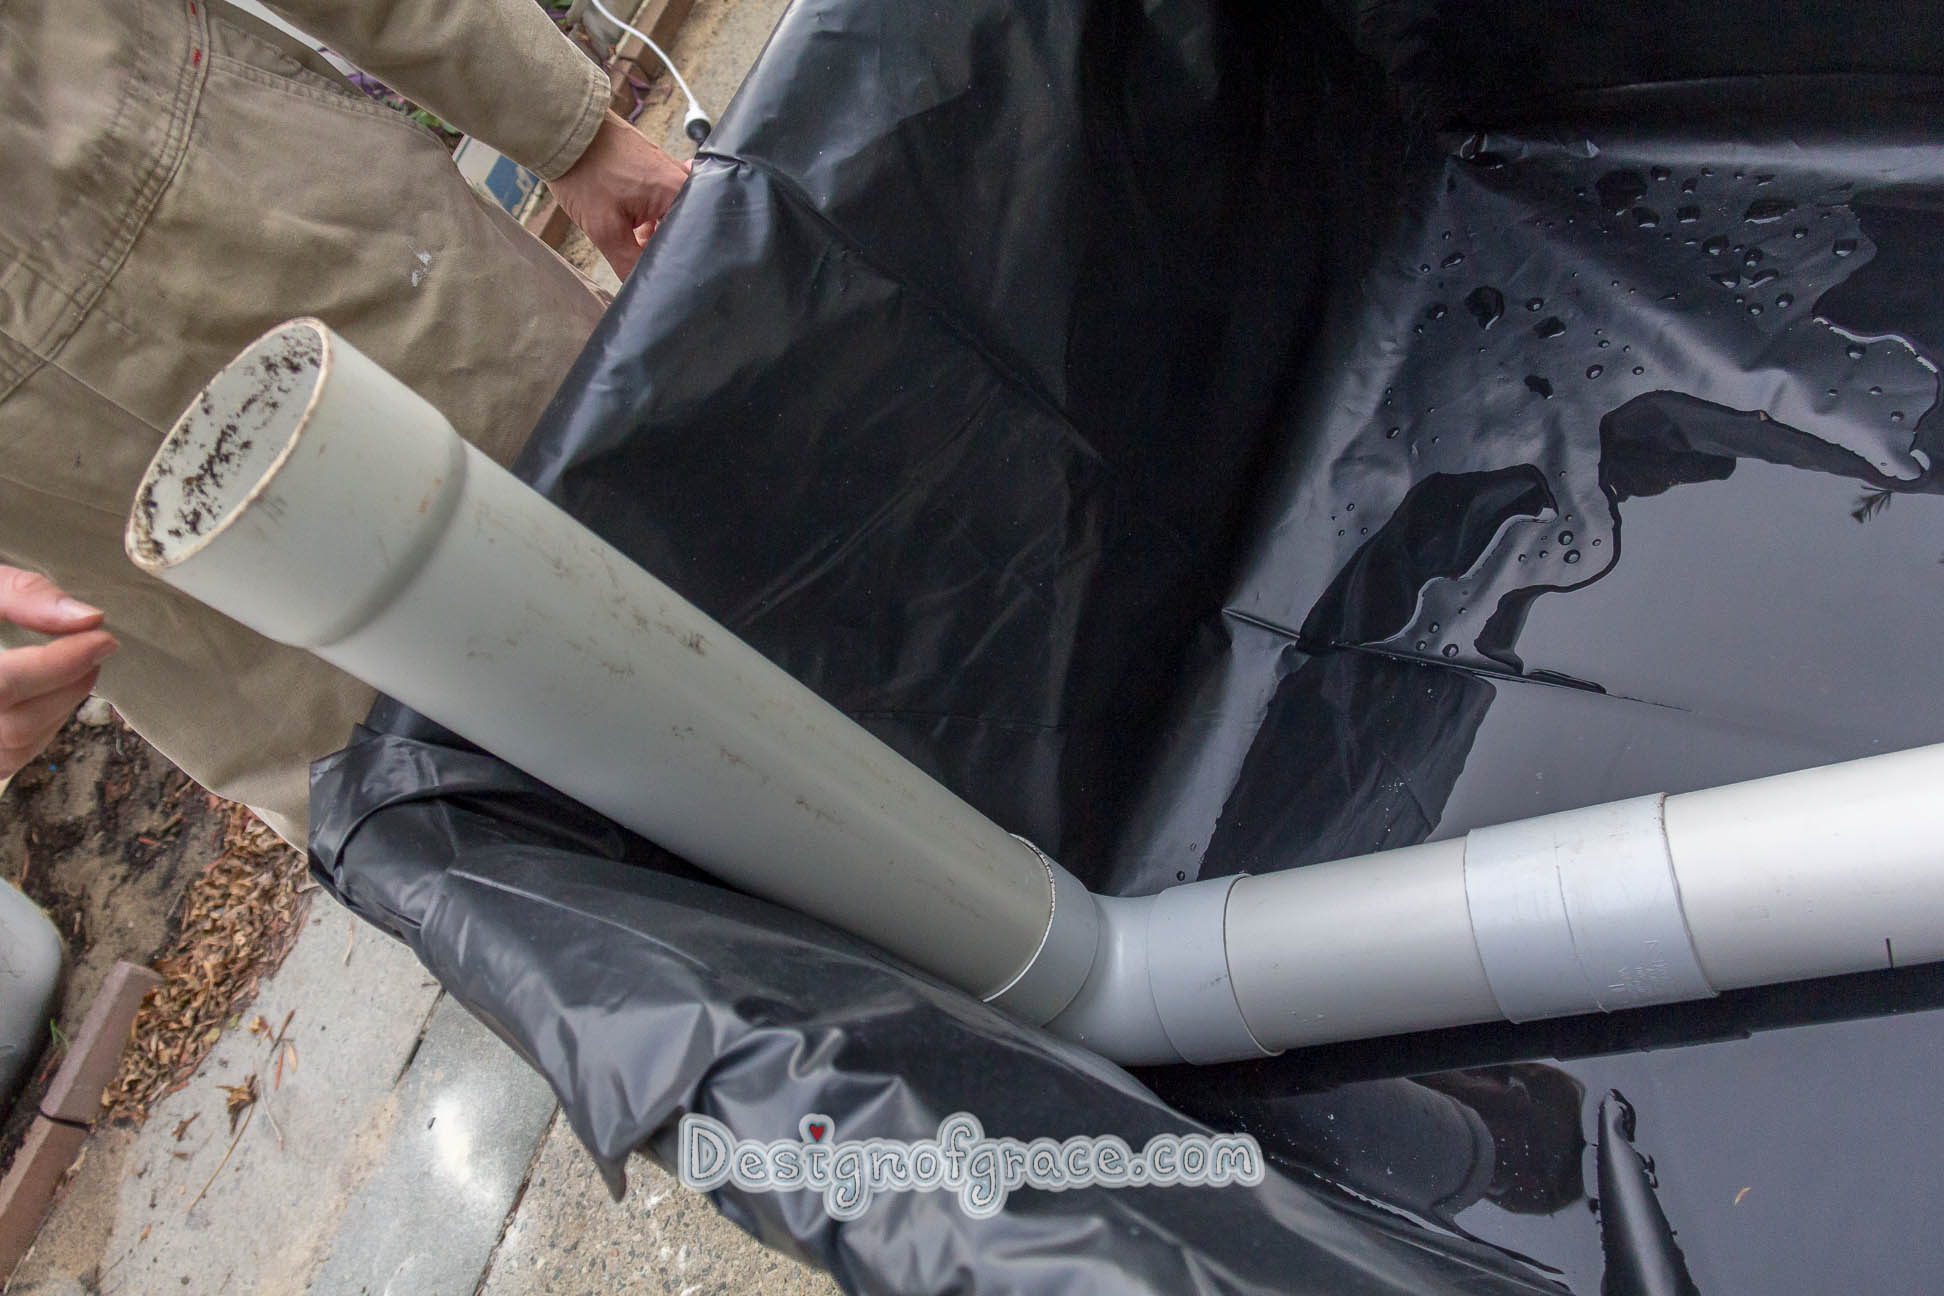
Also added geo fabric to the overflow pipe.
Will have to change it to shade cloth as the water was not getting out fast enough.