Curious as to what the room looked likebefore now? Check out
Part 1 of the Creative Studio DIY series
Part 2 of the Creative Studio DIY Series
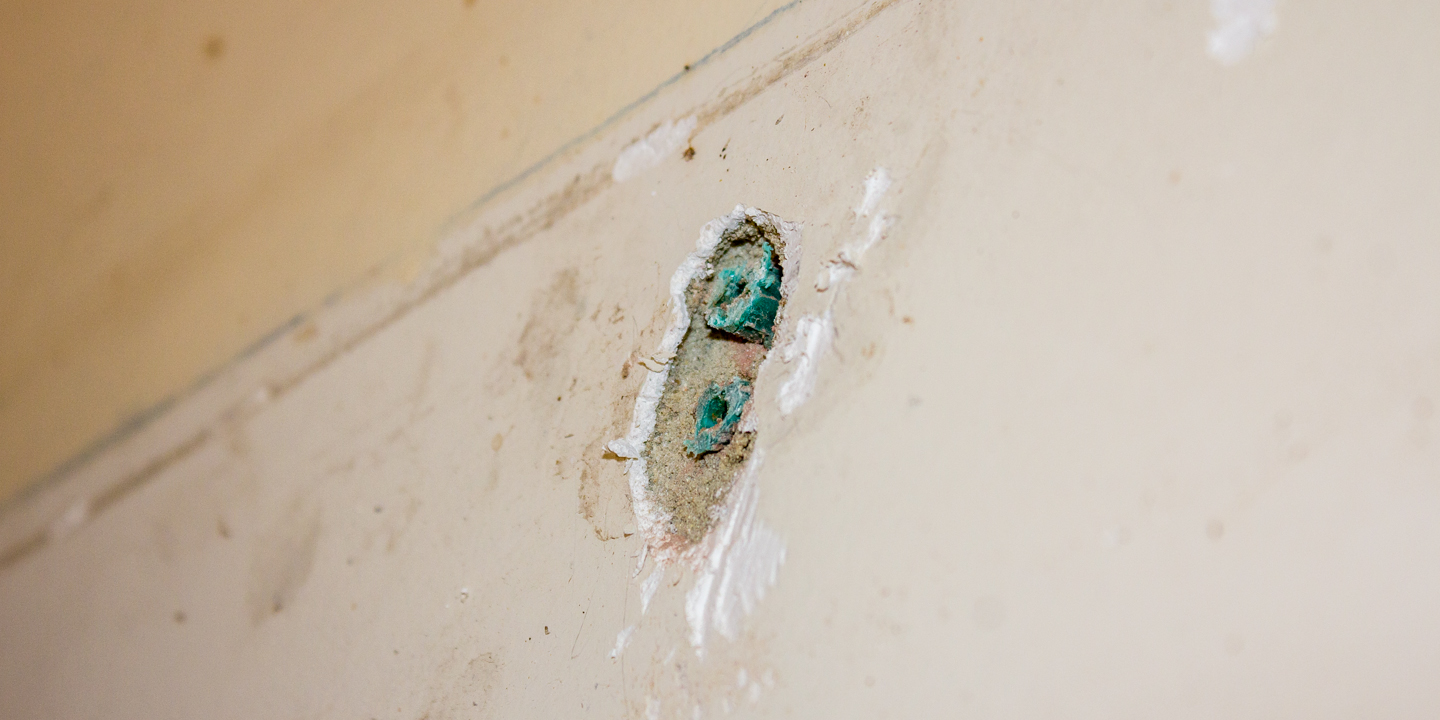
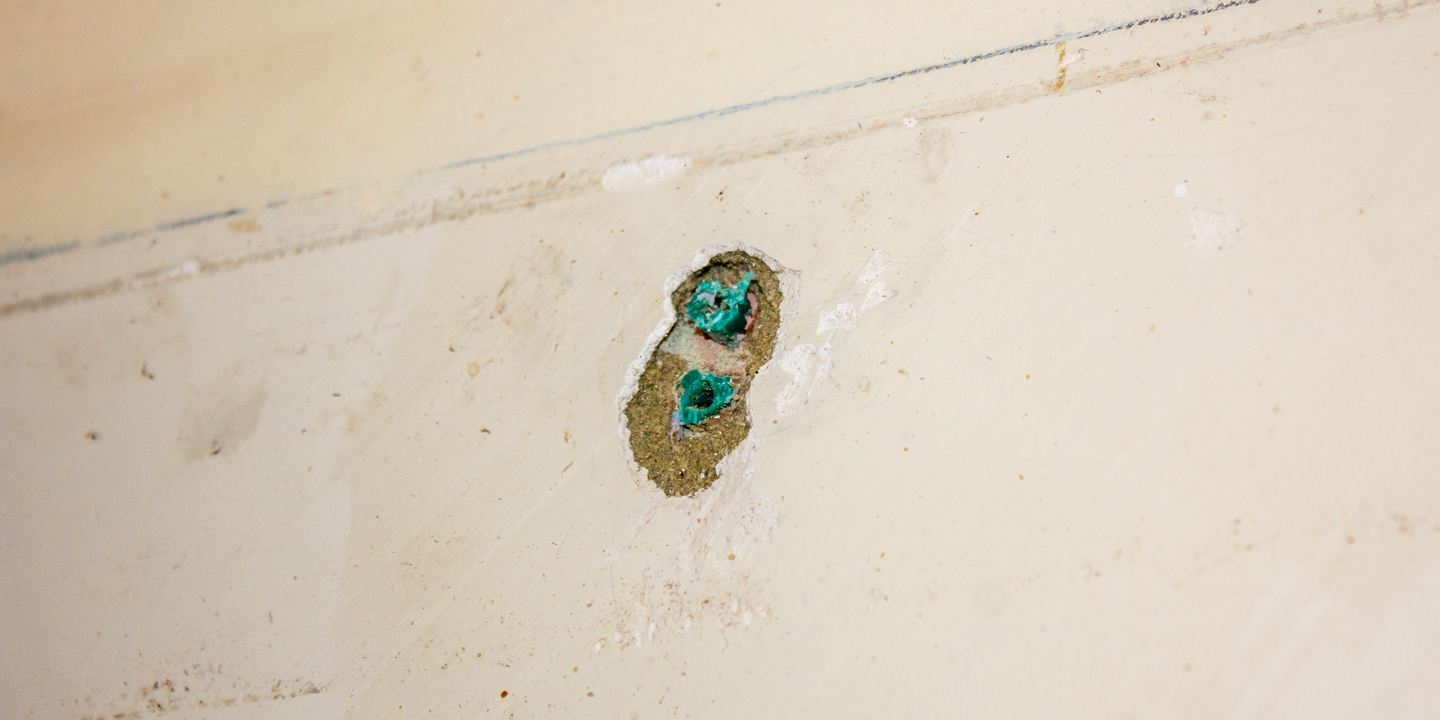
Just wanted to encourage you to try DIY at home.. I use to think it was really hard to fill the cracks on the wall or even to use the drill!
There is an art to it, but with practice. You will soon be glad that you did! Reminds me of the saying..
Give a man a fish and you feed him for a day;
Teach a man to fish and you feed him for a lifetime.
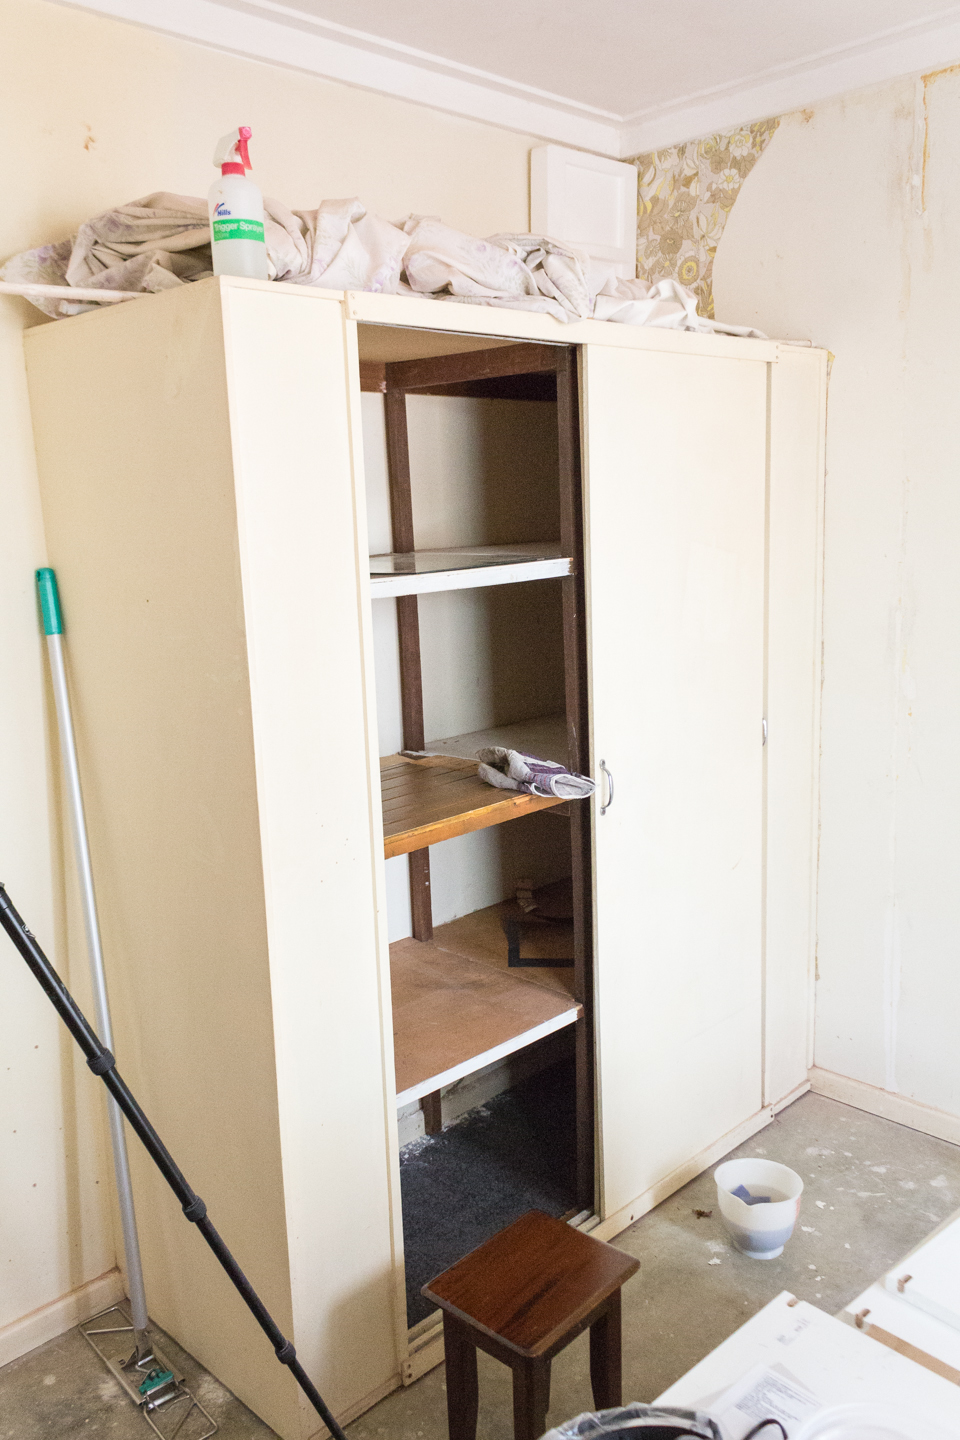
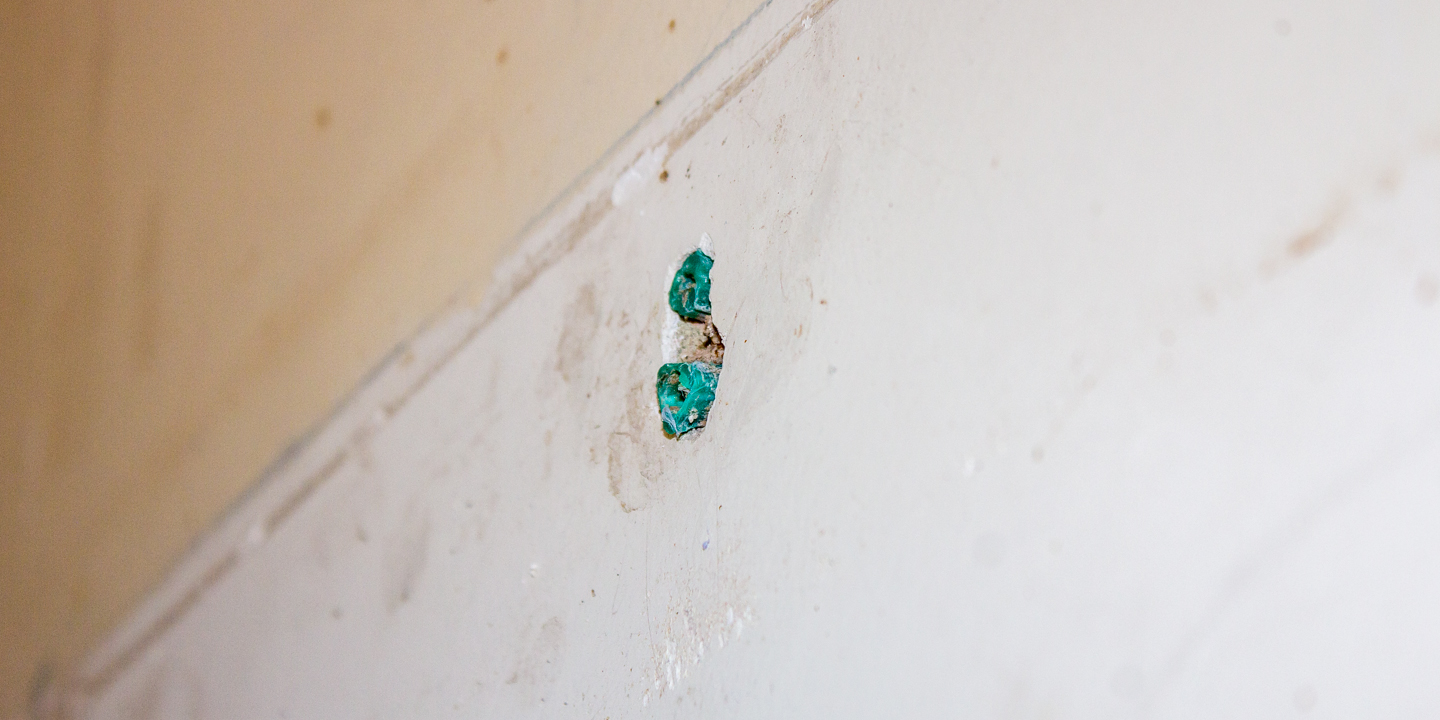
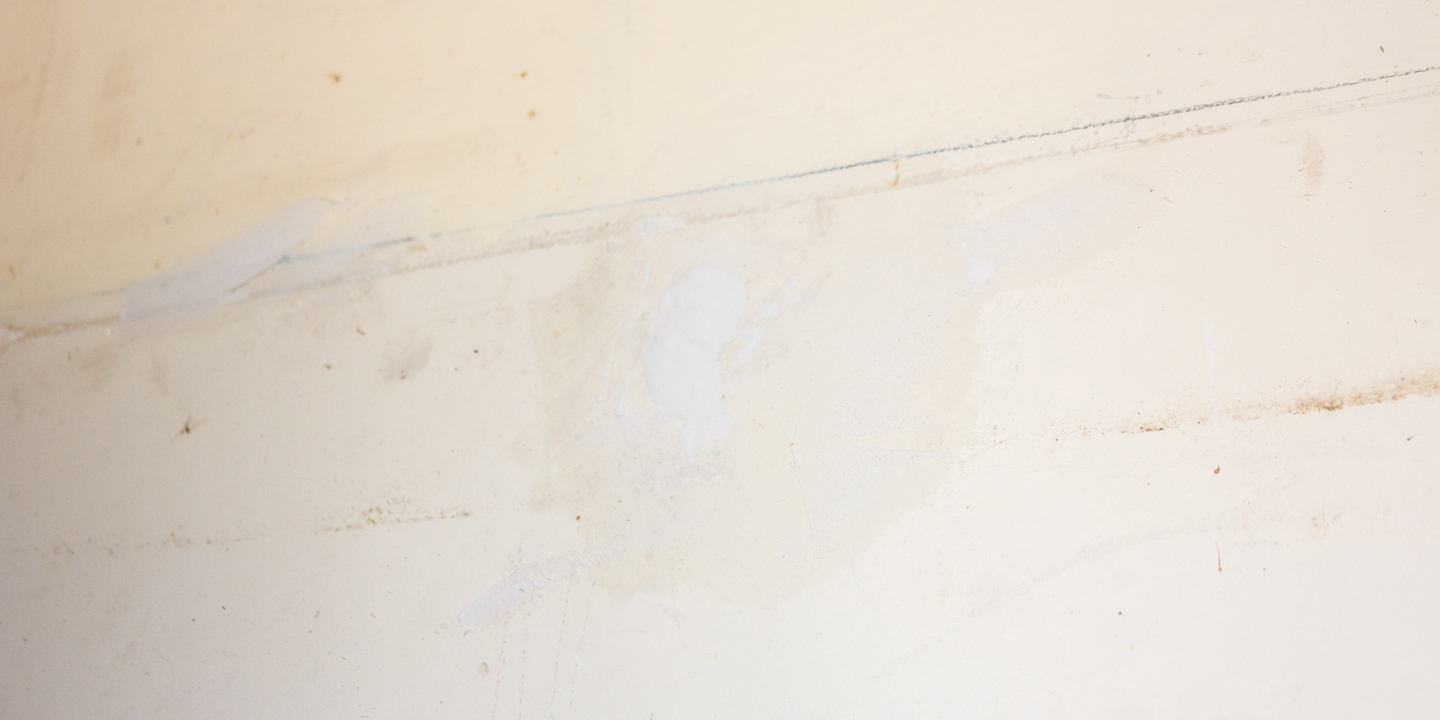
Here is what I did today.. It may just look like a white wall.. but the before photo was not very pretty.. it was pretty disgusting.. It had dead bugs.. i think moths.. and roaches and mold and the studs where the shelves were.
Enjoy,
Grace-yi
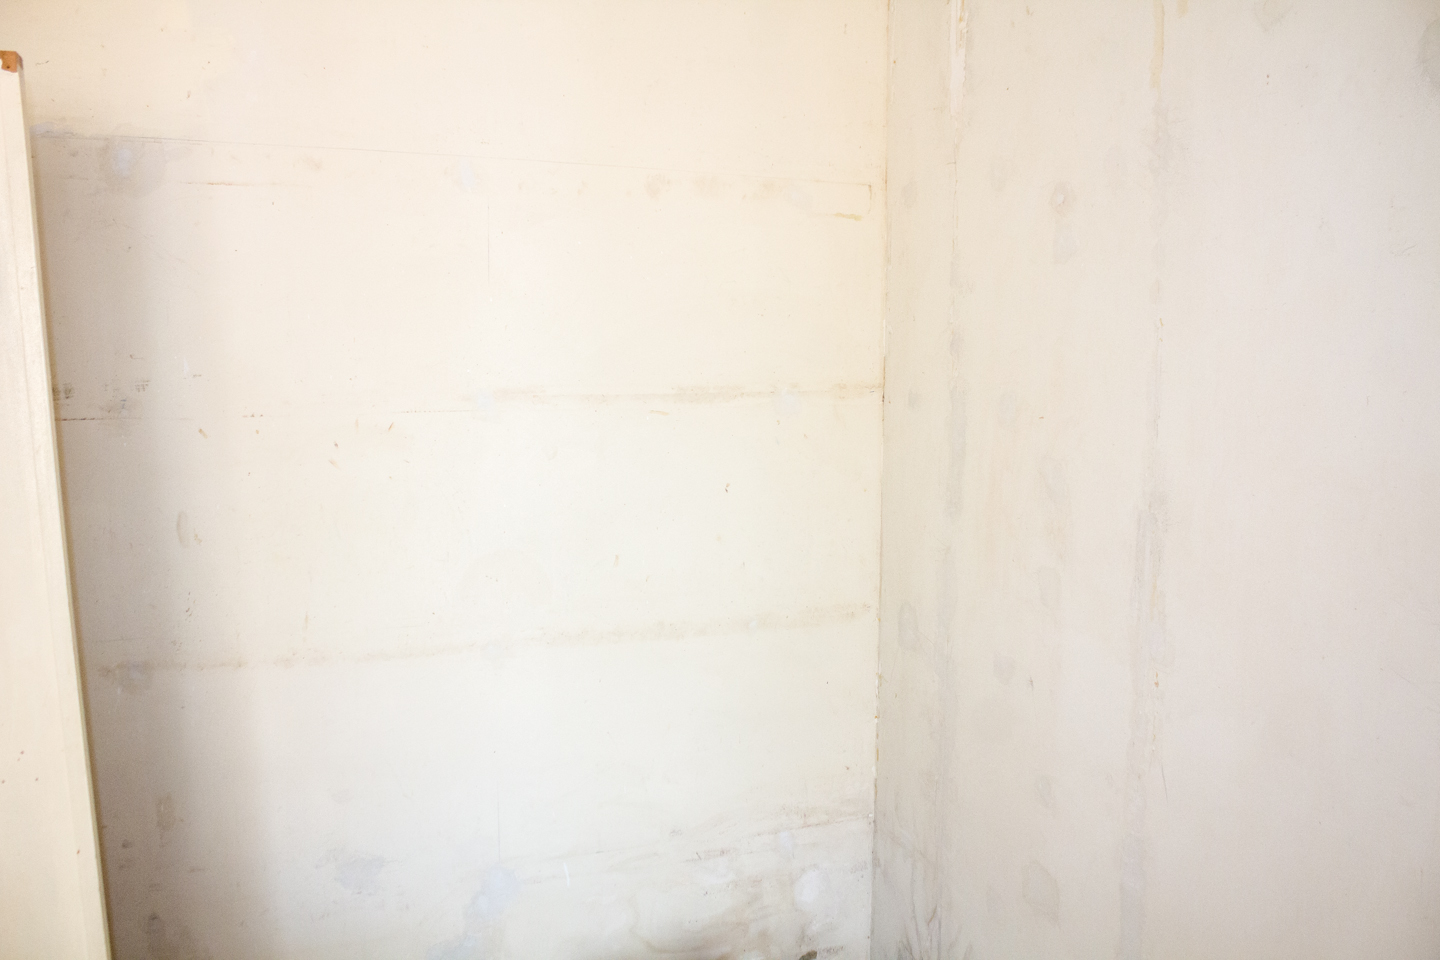
This is how it looked like before.. It’s a pity I didn’t take the before photo of when hubby took out the wardrobe.. It was not a pretty sight!
After plenty of practice, I have finally able to get it nice and smooth:D
Check out what happens next!
Part 4 of the Creative Studio DIY Series